To make garlic bread in a toaster oven, set it to 375°F on the Bake setting, place your prepared bread cut-side up on the rack, and bake for 8–10 minutes. If you want a crispy top, switch to Broil for the final 2 minutes. The exact time depends on how thick your bread is and whether you’re using fresh or frozen.
Safety First: Toaster ovens run extremely hot and the exterior surfaces, rack, and pan can cause serious burns — always use oven mitts when handling anything inside. Keep the toaster oven at least 4 inches from walls or cabinets, and never leave it unattended while broiling. Butter and oil can smoke at high heat; if you see excessive smoke, turn the oven off immediately and let it cool before opening.
Quick Facts: Toaster Oven Garlic Bread
- Best temperature: 375°F for soft-centered bread, 400–425°F if you want more crunch throughout
- Bake time: 8–10 minutes on Bake, then 1–2 minutes on Broil for a golden, crispy top
- Always place bread cut-side up on the middle rack — not directly on the bottom tray
- Foil under the bread catches drips and makes cleanup much easier
- Fresh garlic gives better flavor than garlic powder, but garlic powder browns more evenly and doesn’t burn as easily under the broiler
I’ve made garlic bread probably a hundred times in a toaster oven. Some batches came out perfect. A few were disasters — either pale and soggy in the middle, or so blackened on top that the smoke detector went off. What follows is everything I’ve actually figured out, including the stuff that tripped me up early on.
The Butter Mixture: Don’t Skip This Step
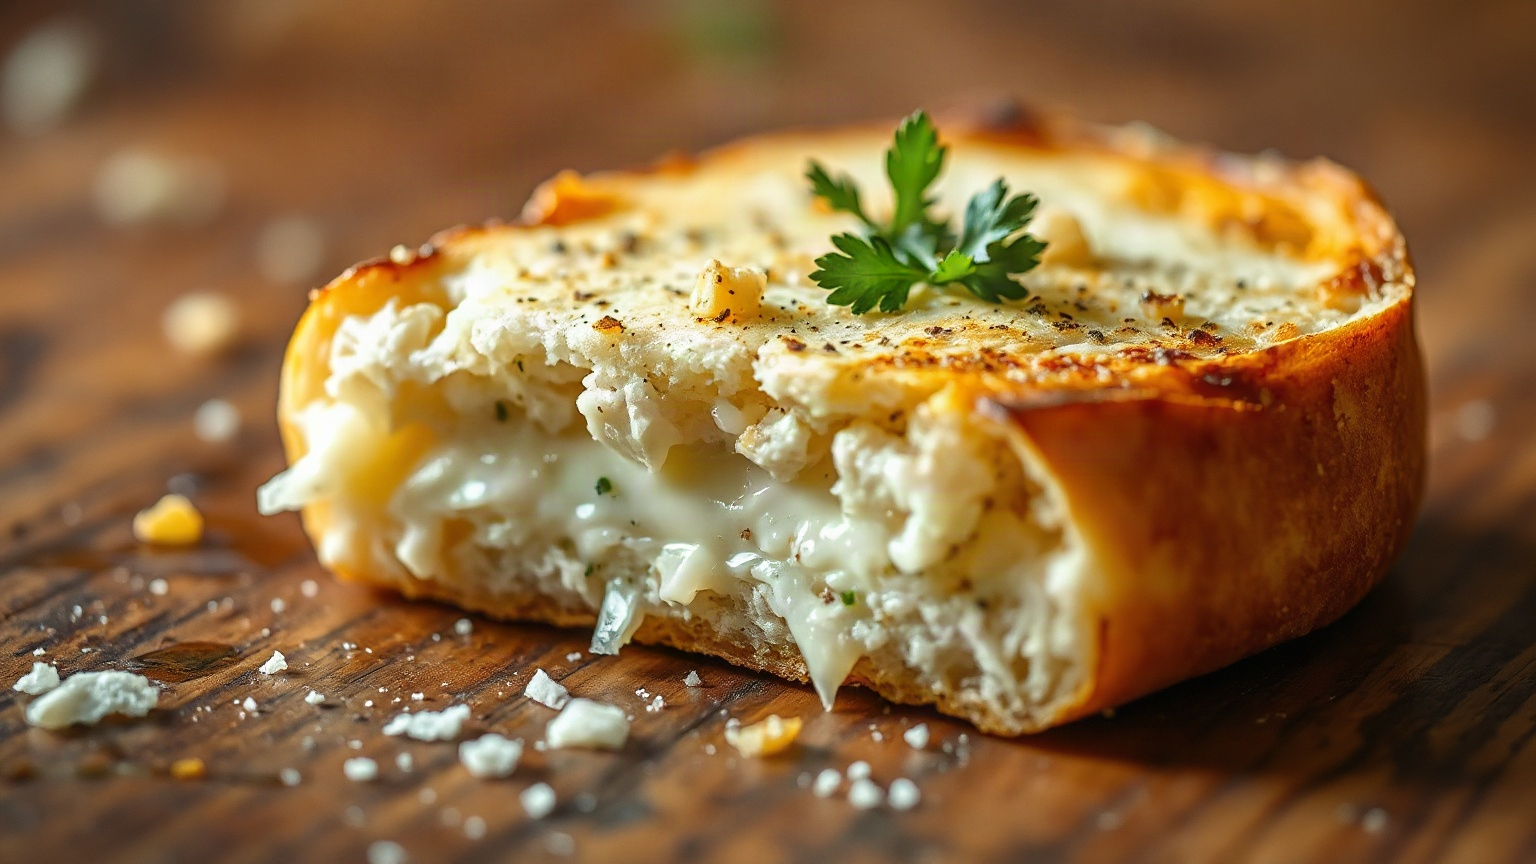
The bread itself is almost beside the point. What makes or breaks toaster oven garlic bread is the butter mixture, and it deserves a little more attention than most recipes give it.
Here’s what I use: 3 tablespoons of softened unsalted butter, 2 cloves of fresh garlic (grated on a microplane, not minced — there’s a real difference), a pinch of flaky salt, and about a teaspoon of fresh parsley if I have it. That’s it. Some people add olive oil to the mix, which I actually like — it helps the butter spread further and gives a slightly richer, less dairy-heavy flavor. A half teaspoon of olive oil stirred into the butter works well.
What I’d avoid: jarred pre-minced garlic. It’s wetter, it can make the bread soggy, and the flavor is just… flat. Fresh garlic grated fine is a completely different thing. If you genuinely don’t have fresh garlic, garlic powder works — use about half a teaspoon per 3 tablespoons of butter — and honestly it behaves better under high heat without burning.
Spread the butter mixture generously. Don’t be shy. The bread is going to absorb it, and a thin layer will give you dry, flavorless results. You want it visibly coated.
Exact Temperature and Time (What Actually Works)
This is the part most recipes get vague about, so let me be specific.
For soft, buttery garlic bread with a little color
Preheat to 375°F on the Bake setting. This takes about 5 minutes in most toaster ovens. Place the bread cut-side up on the middle rack — not on the bottom drip tray — and bake for 8–10 minutes. You’re looking for lightly golden edges and a top that’s gone from shiny (raw butter) to matte and slightly browned. The middle should still be soft and a little yielding.
For crispy-outside, buttery-inside garlic bread
Same start: 375°F, Bake, middle rack, 8 minutes. Then switch to Broil and leave it for 90 seconds to 2 minutes, watching the whole time. Don’t walk away. Seriously. The difference between perfect and burnt under a broiler is about 45 seconds. The top will bubble, then turn golden and get small brown spots — that’s when you pull it.
The first time I tried this, I switched to Broil and went to get a glass of water. Came back to charcoal. Now I just stand there.
For extra-crispy garlic bread all the way through
Bump the initial temp to 425°F and bake for 6–8 minutes. Skip the broil step — at 425°F the top will brown on its own. This works better with thicker Italian loaf slices that can handle more heat without drying out completely. Thin sandwich bread at 425°F will just get hard and a bit papery.
| Goal | Temp | Setting | Time | Broil Finish? |
|---|---|---|---|---|
| Soft and buttery | 350°F | Bake | 10–12 min | No |
| Crispy top, soft middle | 375°F | Bake then Broil | 8 min + 90 sec | Yes, 90 sec |
| Extra crispy throughout | 425°F | Bake | 6–8 min | No |
| Frozen garlic bread | 400°F | Bake | 12–15 min | Optional, 1 min |
Which Bread to Use (And One Type to Avoid)
French baguette or Italian loaf are the obvious choices, and they’re obvious for a reason. The crumb is open enough to soak up butter without getting waterlogged, and the crust crisps up beautifully. Cut them lengthwise for the classic presentation or into 1-inch rounds if you’re making individual pieces.
Ciabatta is underrated for this. It’s got a chewier interior and crisps on the outside in a way that’s almost better than a baguette. Try it if you can find a half-loaf.
Sourdough works too, though the tang can sometimes compete with the garlic. Not a dealbreaker, just worth knowing.
What doesn’t work: regular sliced sandwich bread. It’s too thin, too soft, and it basically just toasts flat. You lose the contrast between a crispy outside and a buttery inside. It ends up tasting like garlic toast, which isn’t bad, but it’s not garlic bread.
Day-old bread is actually better than fresh for this. Fresh bread, especially a soft Italian loaf, has more moisture, and that moisture fights against crisping. A day-old baguette that’s slightly stale will get crispy on the outside faster while staying chewy in the middle. I keep a day-old baguette in the freezer specifically for this.
Rack Position, Pan Setup, and a Few Gear Notes
Middle rack is the default for baking. It keeps the bread far enough from the top element that the butter doesn’t scorch before the bread heats through. If your toaster oven only has two rack positions, use the lower one for the bake phase and then move it up (carefully, with mitts) for the broil finish.
Use a toaster oven baking pan lined with foil underneath the bread. The butter will drip, and baked-on butter is genuinely annoying to clean up. Foil takes 2 seconds to swap out. You can also place the bread directly on a toaster oven wire rack with the foil-lined pan below — this gives you more airflow around the bread and crispier results on the bottom, which I prefer.
One thing that trips people up: preheating matters here more than it does for regular toast. If you put the bread in a cold toaster oven, the butter melts and soaks into the bread before the crust has a chance to set. You get greasy bread instead of buttery bread. Let it preheat fully — most ovens signal this with a beep or a light change.
If you’re looking for a toaster oven that handles recipes like this well, I’ve covered the best mini toaster ovens separately with actual testing notes. For general reheating context, reheating food in a toaster oven covers temperature logic that’s useful to know broadly.
The Edge Cases Nobody Talks About
Frozen garlic bread in a toaster oven
Frozen store-bought garlic bread (the kind in the foil sleeve) works fine in a toaster oven. Set it to 400°F on Bake, place it directly on the rack foil-side down, and give it 12–15 minutes. The foil sleeve actually helps steam the inside while the crust crisps up. You can open the foil for the last 3 minutes if you want more browning on top. Don’t use the Broil setting with frozen bread — you’ll char the top before the inside thaws properly.
Cheesy garlic bread
Add shredded mozzarella or provolone on top after the first 6 minutes of baking. Not before — if you add cheese from the start, it browns too fast and turns rubbery before the bread has cooked through. Six minutes in, pull the rack, add cheese, push it back, and bake another 2–3 minutes. Then broil for 60–90 seconds to get the cheese bubbly and spotted. Parmesan is fine sprinkled on from the start since it doesn’t melt the same way.
When your toaster oven runs hot
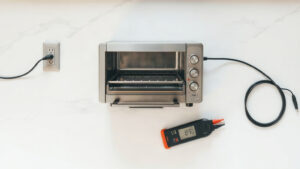
A lot of toaster ovens run 25–50°F hotter than the dial says. If your bread keeps browning faster than expected, get a cheap oven thermometer and check. Serious Eats has a good explainer on oven calibration that applies to toaster ovens too. And for context on how toaster oven heating elements actually work, the piece on how hot a toaster gets is worth a quick read. Adjust your target temperature down by 25°F and check at the 7-minute mark instead of 8–10.
The Part That Actually Makes It Good
Garlic bread sounds simple, and it is. But the difference between forgettable garlic bread and the kind people ask you about is almost always the butter ratio and the finish. More butter than you think is necessary. A broil finish you watch carefully. Fresh garlic grated fine, not chopped. None of this is difficult — it’s just specific.
The toaster oven is actually better for this than a full-size oven, in my opinion. It preheats faster, the smaller space means more consistent heat around the bread, and the broiler element is close enough to the food that the broil finish takes 90 seconds instead of 4 minutes. For one to four pieces of garlic bread, it’s genuinely the right tool. Food Network’s classic garlic bread recipe is worth bookmarking as a baseline, though I’d argue their butter quantity is slightly conservative.
Frequently Asked Questions
What temperature should I set my toaster oven for garlic bread?
375°F on the Bake setting is the sweet spot for most garlic bread — it’s hot enough to crisp the crust and melt the butter into the bread without burning the garlic before the inside heats through. If you want a crispier result throughout, you can go up to 425°F, but keep a close eye on it after the 6-minute mark. Thinner bread will always need a lower temp or less time.
How long does garlic bread take in a toaster oven?
At 375°F, garlic bread takes 8–10 minutes on the Bake setting for a classic Italian or French loaf slice. Add a 90-second to 2-minute Broil finish if you want a golden, slightly crispy top. Frozen garlic bread takes longer — closer to 12–15 minutes at 400°F.
Should I use Bake or Broil for garlic bread in a toaster oven?
Start with Bake to heat the bread through and let the butter absorb properly. Broil is best used only as a short finish — 90 seconds to 2 minutes at the end — to get that golden, slightly crispy top. Using Broil from the start will burn the surface before the inside is warm. Never walk away during the broil step.
Can I make garlic bread in a toaster oven from frozen?
Yes. Set your toaster oven to 400°F on Bake and place the frozen garlic bread directly on the rack, foil-side down if it came in a foil sleeve. Bake for 12–15 minutes, opening the foil for the last 3 minutes if you want more surface browning. Skip the Broil setting with frozen bread — the outside will char before the inside thaws.
Why is my toaster oven garlic bread soggy in the middle?
The most common cause is skipping the preheat — if the oven isn’t fully hot when the bread goes in, the butter melts and soaks into the bread before the crust has a chance to crisp. Fresh bread with high moisture content can also cause this; day-old bread works better. Make sure you’re preheating fully and using the middle rack, not the bottom drip tray.

Written by
Emma is a home cook who loves coaxing big flavor out of a toaster oven — from crispy roasted vegetables to easy weeknight dinners and sweet treats. She develops and tests Toastera's recipes for small-appliance kitchens.
Free: the Toaster Oven Cheat Sheet
Get the printable cheat sheet (temps, cook times & safety tips) plus new recipes. No spam, unsubscribe anytime.