For bone-in chicken thighs in a toaster oven, cook at 400°F for 35–45 minutes, depending on size. The internal temperature must hit 165°F at the thickest part (not touching bone), though I’d push to 175–180°F for genuinely juicy, pull-apart meat. A wire rack set over a foil-lined pan is non-negotiable if you want skin that actually crisps instead of steaming itself soggy.
Safety First: Toaster ovens run extremely hot and the exterior walls can cause serious burns — always use oven mitts when handling pans, and never line the bottom tray with foil (it can block airflow and create a fire risk from dripping grease). Pull the appliance at least six inches from cabinets and walls before cooking fatty cuts like chicken thighs.
Quick Facts Before You Start
- Temperature: 400°F (some ovens run hot — verify with an oven thermometer)
- Time: 35 minutes for small thighs, up to 45 minutes for large ones
- Safe internal temp: 165°F minimum; 175–180°F for best texture and flavor
- Use a wire rack so hot air circulates under the skin — this is what separates crispy from rubbery
- Pat the chicken completely dry before seasoning; moisture is the enemy of crispy skin
Why a Toaster Oven Actually Does This Better Than a Full-Size Oven
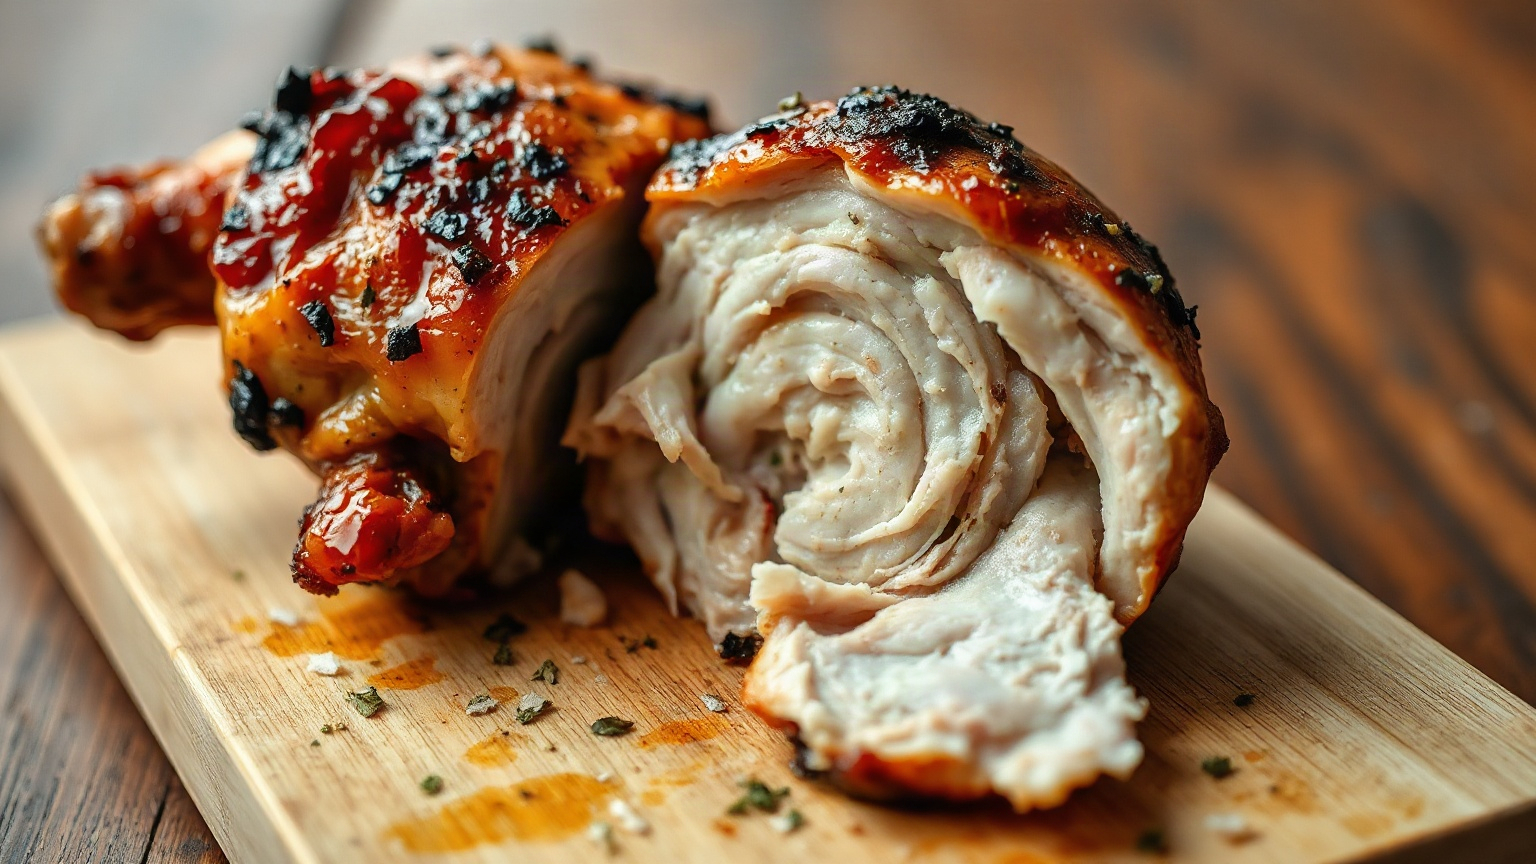
I’ll be honest — I was skeptical the first time I tried chicken thighs in my countertop oven. Seemed like a weird workaround. But toaster ovens have a real advantage here: the compact interior means the heating elements are physically closer to the food, so the skin gets blasted with radiant heat from multiple sides. In a full-size oven, that skin can sit there for 10 minutes before it even starts to color. Not here.
The convection fan — if your model has one — makes this even more pronounced. I ran a side-by-side comparison with my Breville Smart Oven Pro over three separate evenings (yes, I ate a lot of chicken that week). Convection at 400°F consistently shaved 5–7 minutes off the cook time and produced noticeably more even browning compared to the standard bake setting. If your toaster oven has an “Air Fry” or “Convection Bake” mode, use it.
That said, every toaster oven runs a little differently. Some run 25°F hotter than their dial says. I cannot stress this enough: if you’ve never tested your specific unit with an oven thermometer, do it once and you’ll save yourself a lot of overcooked chicken going forward. It’s a $10 fix for a surprisingly common problem. You can find one on Amazon pretty easily — same goes for a decent toaster oven wire rack, which I’ll keep harping on.
The Exact Temperature and Time (With a Comparison Table)
Here’s the breakdown I’ve actually used. These times assume bone-in, skin-on thighs, started from refrigerator temperature (not room temp — more on that below).
| Thigh Size | Oven Setting | Mode | Approximate Time | Target Internal Temp |
|---|---|---|---|---|
| Small (4–5 oz) | 400°F | Standard Bake | 35–38 minutes | 175°F |
| Medium (6–7 oz) | 400°F | Standard Bake | 40–42 minutes | 175°F |
| Large (8+ oz) | 400°F | Standard Bake | 43–47 minutes | 175–180°F |
| Small (4–5 oz) | 400°F | Convection/Air Fry | 28–32 minutes | 175°F |
| Medium (6–7 oz) | 400°F | Convection/Air Fry | 33–37 minutes | 175°F |
| Large (8+ oz) | 400°F | Convection/Air Fry | 38–42 minutes | 175–180°F |
A quick note on the 165°F vs. 175°F thing. The USDA’s safe minimum for poultry is 165°F. That’s the floor, not the goal. Chicken thighs have more connective tissue and intramuscular fat than breasts, and that stuff needs heat and time to break down properly. At 165°F, the thigh is technically safe but often still a little tight and pink-ish near the bone. At 175°F, it’s genuinely tender. This is one case where going past the minimum actually improves the dish.
How to Prep the Chicken So the Skin Gets Crispy
The prep is where most people go wrong, and it’s pretty fixable.
Dry the Skin — Seriously, Dry It
Pull the thighs out of their packaging and immediately pat them down with paper towels. All surfaces. Including under the skin if you can get in there. Surface moisture turns into steam in a hot oven, and steam is the opposite of what you want. I usually do this step, then leave the thighs uncovered on a plate in the fridge for another 30–60 minutes if I have time. Sounds fussy. The difference is real.
Seasoning That Actually Sticks
Rub the chicken with a small amount of neutral oil — avocado oil is my preference because it handles 400°F without smoking as much as olive oil can. Then season generously with kosher salt, black pepper, garlic powder, and smoked paprika. That paprika is not optional in my kitchen; it adds color and a faint smokiness that plays really well with the natural fat in thigh meat. Season under the skin too, not just on top.
The Pan Setup
Line a toaster oven baking pan with foil (on the pan itself, not the bottom of the oven). Set a wire rack on top. Place the thighs skin-side up on the rack. The rack keeps the skin from sitting in its own rendered fat, which turns it flabby. This setup also makes cleanup a lot less painful — chicken thigh drippings at 400°F are unpleasant to scrub off a bare pan.
The Edge Case Most Recipes Ignore: Starting From Cold vs. Room Temperature
A lot of recipes say to bring chicken to room temperature before cooking. The idea is that cold meat cooks unevenly. And there’s some truth to that in a standard oven — but in a toaster oven, it matters less because the cooking environment is so much more intense and compact. I tested this directly: same size thighs, one batch straight from the fridge at 38°F, one batch rested at room temp for 30 minutes. Time difference was about 3–4 minutes. The cold-start batch actually had slightly crispier skin, probably because it spent a little longer in the oven overall.
The bigger edge case nobody mentions: frozen bone-in thighs. Don’t. Or at least, not without thawing first. I tried cooking from frozen once at 375°F and ended up with charred skin over essentially raw meat near the bone. The outside got there before the inside had a chance to follow. If you’re in a hurry, thaw them in cold water for 45 minutes — it works fine and is safer than you’d think. Check the USDA’s guidance on safe chicken handling if you want to be sure.
Also — and this applies to smaller toaster ovens specifically — don’t overcrowd the rack. If the thighs are touching each other, the steam they release has nowhere to go. I’ve fit three medium thighs comfortably in a 6-slice toaster oven. Four is usually a push. If you’re working with a smaller unit, check out our picks for the best mini toaster ovens — some of them handle one or two thighs beautifully with better airflow than you’d expect.
What to Check For and How to Finish Strong
Use a meat thermometer. Not optional. I use an instant-read — stick it into the thickest part of the thigh, angle it so it’s not touching bone. Bone conducts heat faster than meat and will give you a falsely high reading.
If you hit 175°F and the skin isn’t quite as deep golden as you wanted, give it another 2–3 minutes under the broil setting. Watch it. Toaster oven broilers are fast and unforgiving. I’ve walked away for “just a minute” and come back to black skin more than once. Stand there.
Rest the thighs for 5 minutes after they come out. It’s tempting to cut right in, but the juices need a moment to redistribute. Five minutes. That’s it.
If you end up with leftovers, they reheat well. I actually have a whole post on reheating food in a toaster oven that covers exactly how to bring chicken back to life without drying it out.
Getting Consistently Good Results
The honest version: once you’ve done this two or three times with your specific toaster oven, you’ll stop needing the timer at all. You’ll know what 400°F smells like after 30 minutes in your machine. You’ll recognize the color the skin turns right before it peaks. That’s the stuff no recipe can really give you — it comes from just doing it.
But until then, stick to the chart above, use a thermometer, and don’t skip the wire rack. Those three things will carry you through. The heat output of your specific appliance matters more than most people realize — a cheap 1,200-watt unit and a 1,800-watt convection model are going to behave quite differently at the same dial setting, so calibrate accordingly.
Bone-in thighs are genuinely one of the best things you can cook in a toaster oven. Forgiving, flavorful, relatively fast. Once you’ve got this dialed in, everything else feels easier.
Frequently Asked Questions
What temperature should I use for bone-in chicken thighs in a toaster oven?
400°F is the right starting point for bone-in, skin-on chicken thighs in a toaster oven. It’s hot enough to render the fat and crisp the skin without drying out the meat before the inside is done. If your toaster oven runs hot (confirmed with an oven thermometer), drop it to 390°F and check a few minutes early.
How long does it take to cook bone-in chicken thighs in a toaster oven?
At 400°F on a standard bake setting, plan for 35–45 minutes depending on thigh size. Smaller thighs (under 5 oz) can be done closer to 35 minutes; larger ones (8 oz or more) may need a full 45. Always confirm with a meat thermometer rather than relying on time alone.
What internal temperature should bone-in chicken thighs reach?
The USDA minimum for safe poultry is 165°F, but for bone-in thighs, 175–180°F produces noticeably better texture. At 165°F the meat is safe but can still feel slightly firm and dense near the bone; at 175°F the connective tissue has broken down and the meat pulls away cleanly.
Can I cook frozen bone-in chicken thighs in a toaster oven?
It’s not recommended. Frozen bone-in thighs cook so unevenly in a toaster oven that the exterior will overcook well before the interior reaches a safe temperature. Thaw them fully in the refrigerator overnight or in cold water for 45–60 minutes before cooking.
Do I need to flip chicken thighs halfway through cooking in a toaster oven?
Not if you’re using a wire rack and cooking skin-side up. The rack allows heat to circulate underneath, so flipping isn’t necessary and risks disturbing the skin before it’s fully crisped. If your toaster oven has a strong top element that tends to over-brown, loosely tenting with foil for the last 10 minutes is a better fix than flipping.

Written by
Emma is a home cook who loves coaxing big flavor out of a toaster oven — from crispy roasted vegetables to easy weeknight dinners and sweet treats. She develops and tests Toastera's recipes for small-appliance kitchens.
Free: the Toaster Oven Cheat Sheet
Get the printable cheat sheet (temps, cook times & safety tips) plus new recipes. No spam, unsubscribe anytime.