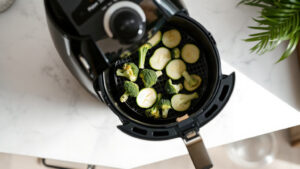
The dehydrate setting on an air fryer toaster oven combo runs at low heat — typically between 95°F and 175°F — with the fan circulating air continuously to pull moisture out of food slowly and evenly. It’s essentially a food dehydrator built into your countertop appliance, no separate machine needed. Use it for jerky, dried fruit, herbs, or vegetable chips, and you’ll get results that are genuinely comparable to a standalone dehydrator, as long as you slice things thin and give it time.
Safety First: The dehydrate setting runs your oven’s heating element and fan for extended periods — sometimes 8 to 12 hours straight. Don’t leave it completely unattended overnight without checking it at least once. Keep the oven clear of flammable materials on all sides, and never line the bottom tray with foil in a way that blocks airflow, as heat buildup from a blocked vent can be a fire risk. If you’re dehydrating meat, always confirm the internal temperature reaches at least 160°F at some point during the process, per USDA food safety guidelines for jerky.
Quick Facts: Dehydrating in an Air Fryer Toaster Oven
- Typical dehydrate temperature range: 95°F to 175°F (most presets default around 130°F–150°F)
- Drying times vary widely — fruit slices take 6–8 hours, beef jerky needs 4–6 hours, fresh herbs can be done in 1.5–2 hours
- Slice thickness matters more than almost any other variable — aim for ⅛ to ¼ inch for most foods
- The air fryer fan is doing most of the work; without it, you’d just be slow-baking, not dehydrating
- Rotating racks partway through drying improves even results in most countertop models
What the Dehydrate Setting Actually Does (It’s Not Just “Low Heat”)
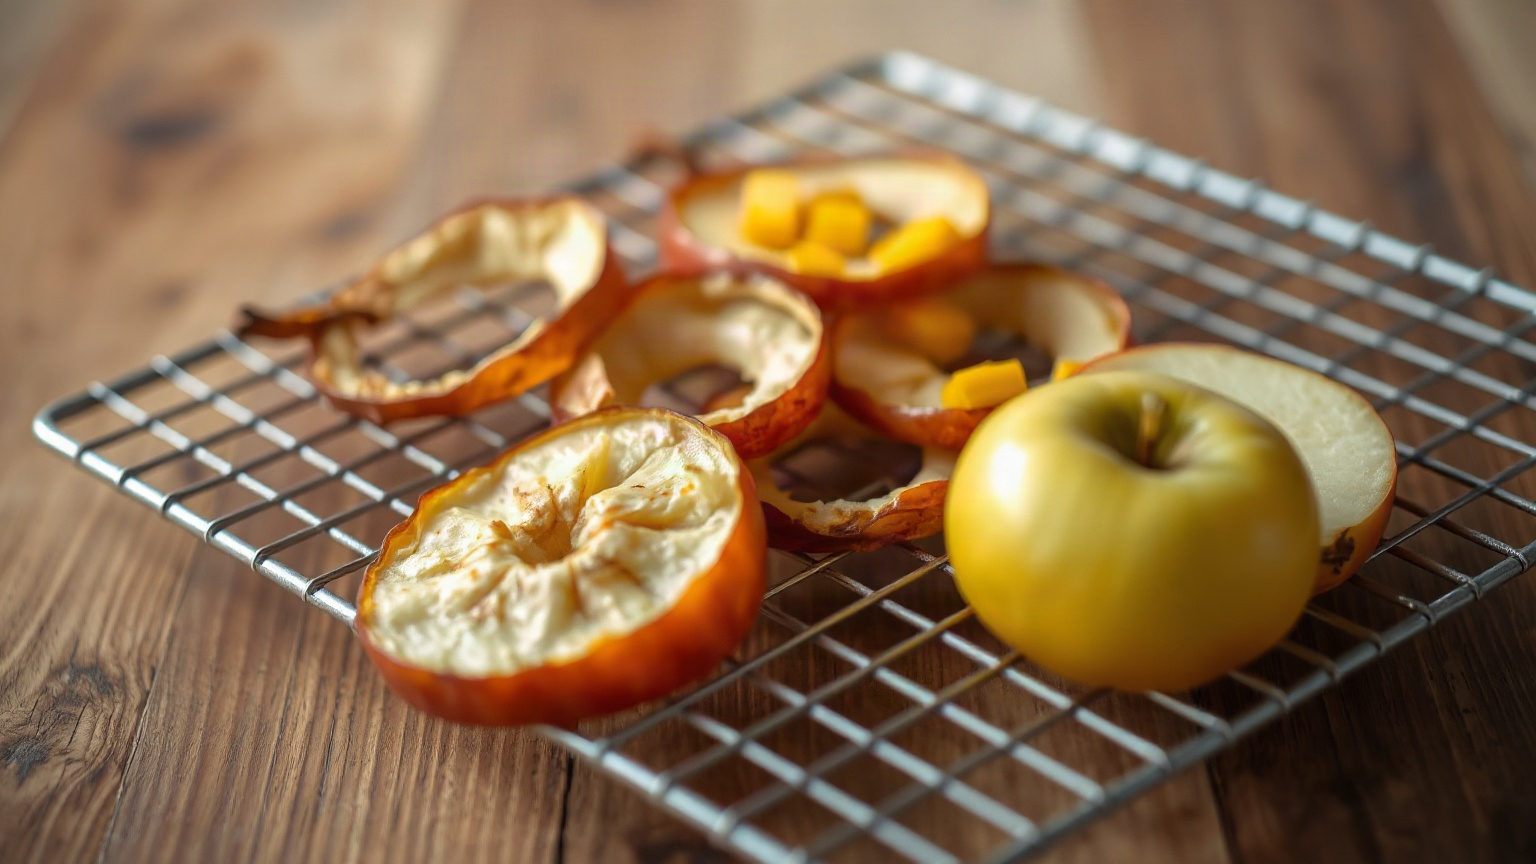
A lot of people assume dehydrate mode is just the oven running at a low temperature. It’s not quite that simple. The defining feature is sustained, consistent airflow at a controlled low temperature. Your air fryer toaster oven combo has a convection fan — and in dehydrate mode, that fan runs continuously to carry moisture away from food surfaces, preventing the humid air from just sitting there and slowing things down.
Think of it like this: low heat alone would cook the outside of food before the inside dries out. The moving air keeps the temperature even and wicks moisture away before it can reabsorb. That’s what separates properly dehydrated apple chips from just… sad, slightly dried apple slices.
Most models I’ve tested default to somewhere between 130°F and 150°F. My Cosori unit defaults to 150°F; Ninja Foodi combos often land at 135°F. The Breville Smart Oven Air Fryer Pro gives you finer control, which I appreciate. Honestly, for most foods you’ll want to dial in the temperature yourself rather than trust whatever the preset lands on.
How to Set Up Your Oven for Dehydrating
Prep the food first — this step actually matters
Uniform slices are non-negotiable. Seriously. I learned this the hard way when I threw a batch of unevenly cut mango pieces in and ended up with half of them chewy-perfect and the other half still wet in the middle. A mandoline slicer is worth it if you’re going to do this regularly. Target ⅛ to ¼ inch for most fruits and vegetables. Meat for jerky should be around ¼ inch, sliced against the grain for a chewier texture or with the grain if you want it to snap.
Pat everything dry before it goes in. Excess surface moisture just adds time. For fruit, a light dip in lemon juice helps with color. For meat jerky, marinate it first — but drain and pat it before loading the racks.
Loading the racks correctly
Don’t overlap pieces. I know it’s tempting to squeeze more in. Don’t. Overlapping kills airflow between pieces, and you’ll get wet patches. Use the wire racks that came with your oven — a multi-tier dehydrator rack set sized for your specific oven can also double your capacity if you’re doing a big batch.
Place a drip tray or a lined baking sheet on the lowest rack position to catch any drips, especially with juicy fruit or marinated meat. Without it, you’ll have a sticky mess on the oven floor. And those are annoying to clean.
Temperature and time settings
Here’s the reference table I actually use. These aren’t guesses — they’re what’s worked for me across several machines:
| Food | Temperature | Estimated Time | Done When… |
|---|---|---|---|
| Apple slices | 135°F | 6–8 hours | Leathery, no wet center |
| Banana chips | 135°F | 6–9 hours | Crisp, slightly tacky is fine |
| Mango slices | 135°F | 7–10 hours | Pliable, not sticky |
| Beef jerky | 160°F | 4–6 hours | Bends without breaking |
| Herb leaves (basil, parsley) | 95°F–105°F | 1.5–3 hours | Crumbles easily |
| Zucchini chips | 125°F | 5–7 hours | Crisp, no soft spots |
| Strawberry slices | 135°F | 7–9 hours | Leathery, chewy |
Beef jerky is the one place where temperature really can’t be fudged. The USDA recommends that meat reaches 160°F at some point. Some people pre-heat their jerky in a regular oven at 275°F for 10 minutes before transferring to dehydrate mode — this gets the internal temperature up safely before the low-and-slow process begins. I do this. It’s worth the extra step.
What I Got Wrong the First Time (And What Fixed It)
My first batch of apple chips came out with a weirdly chewy center even after 8 hours. I’d set the temperature right, I’d sliced them thin. What went wrong? I’d loaded too many slices on one rack, they were overlapping a little, and I hadn’t rotated the racks once during the whole process. The back of the oven gets slightly more airflow than the front in most countertop models. Front-loaded pieces just didn’t dry as fast.
Rotating racks top-to-bottom (and flipping the food itself) at the halfway point fixed it completely on the next batch. Takes about 90 seconds. Worth it every time.
The other thing that tripped me up: checking doneness while the food is still warm. Dehydrated food always feels slightly softer when it’s hot. Let it cool for 10–15 minutes on the rack before you decide it needs more time. It firms up considerably as it cools. I threw away a whole batch of perfectly good jerky because I panicked mid-cooling and ran it another 2 hours. It came out like leather straps.
Edge Cases Nobody Talks About
Dehydrating at altitude
If you’re above 3,500 feet, moisture evaporates differently. Air is drier to begin with, which sounds helpful, but lower air pressure also affects how heat transfers. In practice, foods at altitude tend to dry faster on the surface but can still be moist inside. Reduce your temperature by about 5–10°F and check earlier than the time ranges above suggest. It’s subtle but real, and I’ve seen it catch people off guard when they’re visiting family at elevation.
High-sugar fruits behave differently
Figs, dates, and very ripe pineapple have such high sugar content that they can get sticky or even slightly caramelized at standard dehydrating temperatures. Drop down to 115°F–120°F for these and expect longer drying times — sometimes 12+ hours. They’ll still be tacky when done; that’s normal. Separate them on the rack after drying or they’ll fuse together as they cool. Ask me how I know.
Can you dehydrate and then air fry in the same session?
Technically yes. Some recipes suggest partially dehydrating vegetable chips for 2–3 hours then finishing at air fry temperature (375°F–400°F) for 5–8 minutes to get them crispier. It works, and I’ve had good results with kale chips this way. Just pull the drip tray out before the air fry phase — you want maximum airflow underneath at higher heat. For more on what high heat does in a toaster oven versus low heat functions, that’s worth a read if you’re new to these machines.
Storing What You Dehydrate
This part gets skipped in most guides and it shouldn’t. Improperly stored dehydrated food reabsorbs moisture fast. Store everything in airtight containers — mason jars work great, vacuum-sealed bags are even better. Keep them away from direct light. Dried fruit at room temperature lasts about a month; in the freezer, it can go 6–12 months without much quality loss.
Jerky is the exception: even well-dried jerky at room temperature is really only safe for 1–2 weeks. Refrigerate it if you’re not eating it within a few days. I keep mine in a zip-lock in the fridge and it’s usually gone before that’s a concern anyway.
One more thing: do a “conditioning” step for dried fruit. After cooling, pack it loosely into a jar and seal it for 7 days, shaking once a day. If condensation appears on the inside of the jar, it needs more drying time. This is standard practice from the National Center for Home Food Preservation and it’s a genuinely useful step.
If you want to expand what your oven can do beyond dehydrating, check out this roundup of the best mini toaster ovens — some of the smaller combos actually handle dehydrating surprisingly well despite their size.
For actually loading food onto racks without things falling through, a fine mesh dehydrating sheet is one of those small accessories that makes a disproportionate difference. Especially for herbs and small berries.
Final Thoughts
The dehydrate setting is one of the more genuinely useful functions on an air fryer toaster oven combo — not because it replaces a dedicated dehydrator perfectly (a real Excalibur-style unit is still more consistent across large batches), but because it’s already sitting on your counter and does a solid job for most home use. Jerky, fruit leather, herb drying, vegetable chips. All totally doable.
The two things that separate good results from frustrating ones: slice thickness and not overcrowding the racks. Get those right and the rest mostly takes care of itself. Time and low heat do the work — you just have to set it up properly and check it once or twice. That’s it.
Frequently Asked Questions
What temperature should I use for the dehydrate setting on an air fryer toaster oven?
Most foods dehydrate well between 125°F and 155°F depending on what you’re drying. Fruits and vegetables generally do best at 125°F–135°F, while beef jerky should reach 160°F at some point during the process for food safety. Delicate herbs need lower heat — around 95°F to 105°F — or they’ll cook rather than dry.
How long does it take to dehydrate food in an air fryer toaster oven combo?
It depends on the food and how thin you’ve sliced it, but expect anywhere from 1.5 hours for fresh herbs up to 10–12 hours for thick fruit slices or high-sugar fruits like figs. Beef jerky typically takes 4–6 hours at ¼-inch thickness. Always check doneness after cooling — food firms up as it drops to room temperature.
Can I use the dehydrate setting on an air fryer toaster oven to make beef jerky safely?
Yes, but with one extra step: pre-heat the raw meat strips in a conventional oven at 275°F for about 10 minutes before switching to dehydrate mode. This brings the internal temperature up to 160°F quickly, which the USDA recommends for safe jerky. Dehydrating alone at low temperatures may not achieve that temperature reliably enough in the early stages.
Do I need special racks or accessories to dehydrate in a toaster oven?
The wire racks that came with your oven usually work fine for larger pieces like fruit slices and jerky strips. For small items like herbs or berries, a fine mesh dehydrating sheet placed on top of the rack prevents things from falling through. A drip tray on the bottom rack is also worth using with any juicy or marinated food to keep cleanup manageable.
Is a dehydrate setting on an air fryer toaster oven as good as a real food dehydrator?
For small to medium batches, it’s genuinely comparable. Dedicated dehydrators have more rack space and often more precise temperature control across multiple trays, which matters if you’re doing large-scale batches regularly. But for home use — a few trays of fruit, some jerky, dried herbs — the combo oven does the job well without taking up extra counter or storage space.

Written by
Emma founded Toastera to turn vague appliance advice into clear, researched, safety-first guidance on toasters and toaster ovens.
Free: the Toaster Oven Cheat Sheet
Get the printable cheat sheet (temps, cook times & safety tips) plus new recipes. No spam, unsubscribe anytime.