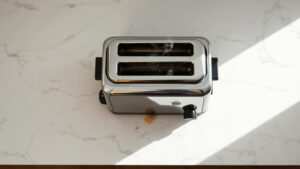
A toaster’s heating elements reach between 650°F and 1,000°F (340°C–540°C) at full power, and even on the lowest setting they still hit temperatures well above 300°F. The “shade dial” doesn’t control heat intensity — it controls how long the cycle runs. So if your bread is burning on setting 1, something else is going wrong: a dirty crumb tray, stale bread, aging heating elements, or a broken thermostat mechanism are the usual culprits.
Safety First: Always unplug your toaster before inspecting or cleaning it — heating elements can retain heat for several minutes after use, and poking around inside a plugged-in toaster risks electric shock or burns. Never use metal tools inside the toaster slots. If you smell burning plastic or see scorch marks on the exterior, stop using the toaster immediately and don’t plug it back in.
Quick Facts: Why Your Toaster Burns on Low
- Toaster heating elements operate at 650°F–1,000°F regardless of shade setting — the dial changes toast time, not temperature.
- A crumb tray with built-up debris can increase radiant heat inside the toasting chamber by a meaningful amount, scorching the bottom of your bread faster.
- Bread that’s 2–3 days old toasts roughly 20–30% faster than fresh bread because it has already lost moisture.
- A faulty bimetallic strip (the part that controls the timer) is the most common mechanical reason a toaster burns even on the lowest setting.
- If cleaning and adjusting for bread freshness doesn’t fix the problem, the toaster likely needs replacing — internal repairs are rarely worth the cost or risk.
What the Shade Dial Actually Does (It’s Not What Most People Think)
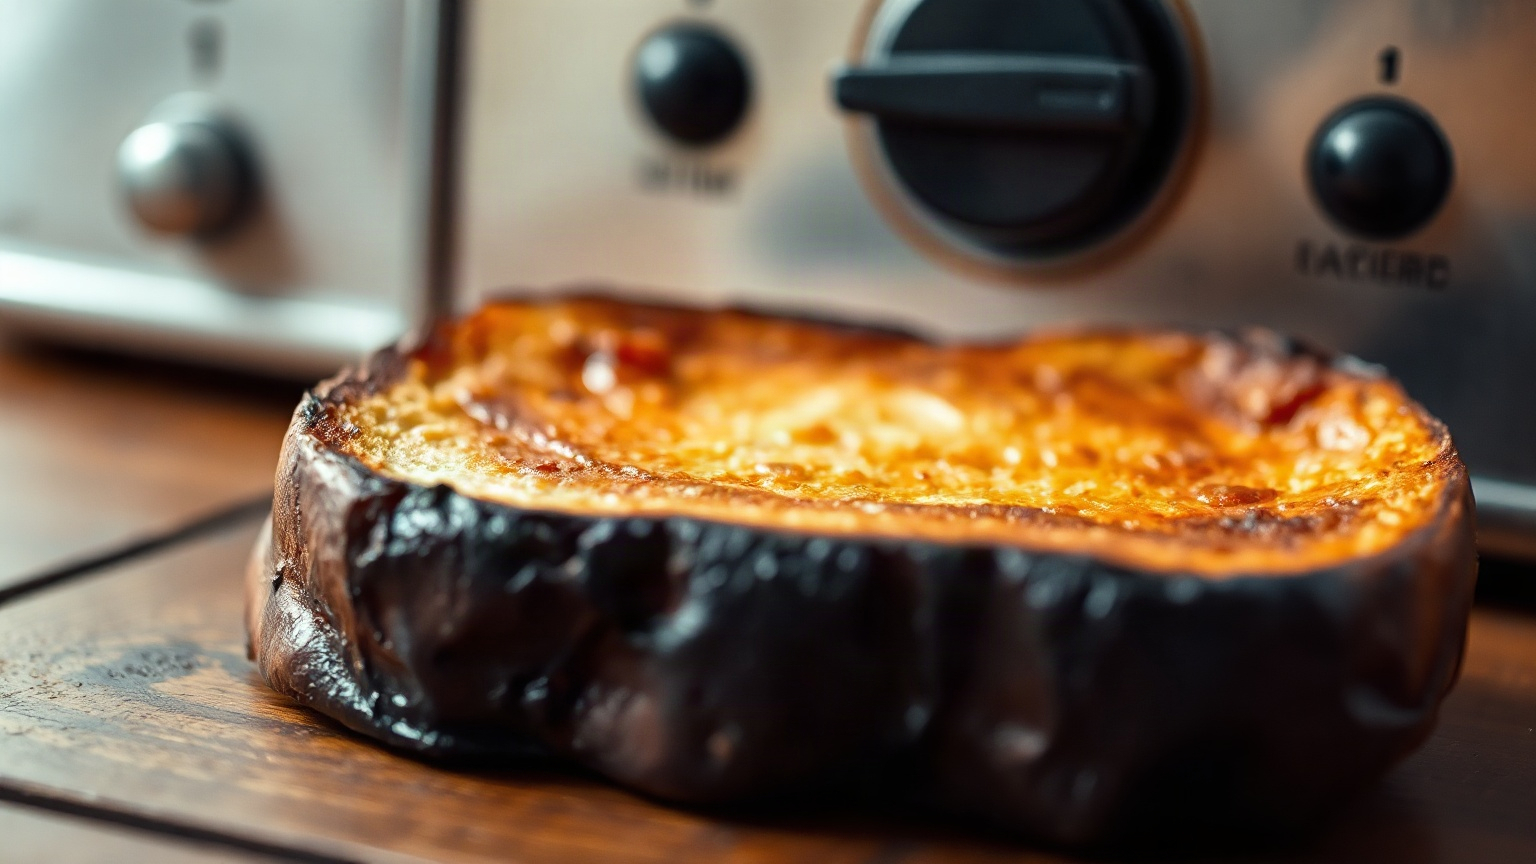
I’ll be honest — I assumed for an embarrassingly long time that turning the dial toward “light” made the heating elements cooler. It doesn’t. The elements blast at the same temperature every single cycle. What changes is the timer. A lower setting means the timer cuts the cycle short; a higher setting keeps it running longer.
Most toasters use one of two timer mechanisms: a bimetallic strip that bends as it heats up and eventually trips a switch, or a simple electronic countdown. The bimetallic strip version is the old-school standard, and it’s also the one most likely to go wrong. If that strip warps slightly from age or grease buildup, it can trip the switch late — or not at all — and your bread sits in there getting torched while you’re pouring your coffee.
You can read more about the physics behind this in our piece on how hot a toaster gets — the numbers are actually pretty wild for such a small appliance.
The Most Common Reasons Toast Burns on the Lowest Setting
1. The Crumb Tray Is Disgusting
This is the first thing to check, and it’s almost always overlooked. A crumb tray caked with old crumbs and grease acts like a little radiator at the bottom of the toasting chamber. Those crumbs get hot, they smoke, and that trapped heat makes the overall internal temperature higher than the elements alone would produce. I pulled out the tray on my old 4-slice toaster once and was genuinely horrified — there was about a quarter-inch of compressed crumbs in there. Once I cleaned it, the burning problem improved noticeably on the same setting.
Pull out the tray, dump it, then wash it with warm soapy water and let it dry fully before reinserting. While you’ve got the toaster unplugged and upside down over the sink, give it a gentle shake to dislodge anything clinging to the inside. Don’t use water on the interior itself.
2. Your Bread Is Stale or Thin
Bread loses moisture fast. A slice that’s been sitting open for two days is already partially dried out, so it needs significantly less time to reach the same level of browning. The same setting that gave you perfect toast Monday morning will burn Thursday’s bread. Thin sandwich bread is also more vulnerable than a thick sourdough slice — more surface area per unit of mass, basically.
My personal rule: if the bread is more than two days old, I drop the setting by one full notch. If it’s pre-sliced white bread (which tends to run thin), I go even lower. It’s a small adjustment that makes a big difference.
3. The Bimetallic Strip or Timer Mechanism Is Faulty
This is the mechanical culprit when cleaning and bread-type adjustments don’t help. The bimetallic strip is a curved piece of metal that gradually bends as the toaster heats up. When it bends enough, it trips the release mechanism and the bread pops up. If it’s corroded, misaligned, or warped from years of use, it doesn’t bend at the right rate anymore. It can run long even on “1.”
There’s no easy home fix for this. You’d need to disassemble the toaster to access it, and given that toasters cost anywhere from $20 to $80, the repair math rarely works out. If your toaster is more than 5–6 years old and cleaning doesn’t help, replacement is probably the call.
4. Heating Elements Are Damaged or Partially Shorted
Sometimes a heating element develops a fault that causes it to run hotter in one spot than it should. You’ll often notice this as uneven browning — one side of the bread much darker than the other, or a band of burnt color across the middle. A damaged element can’t be safely fixed at home. That’s a toaster retirement scenario.
5. Residue on the Heating Elements Themselves
Butter, oils, or sugary spreads that drip off bread and land on the heating elements will carbonize and create hot spots. This is especially common if anyone in your house toasts buttered bread (which, fair, but the butter should go on after toasting). You can sometimes carefully dislodge these deposits by running an empty toast cycle on a low setting, letting the toaster cool completely, then very gently tapping it over a trash can while unplugged. Don’t scrape the elements.
Toaster Heat vs. Setting: What’s Actually Happening Inside
Here’s a rough table of what’s happening at different shade settings in a typical 900W–1,200W pop-up toaster. These aren’t manufacturer specs — they’re based on general testing and thermocouple measurements documented by appliance repair sources — so treat them as ballpark figures.
| Shade Setting | Approximate Cycle Duration | Element Temp (approx.) | Best For |
|---|---|---|---|
| 1 (Lightest) | 30–45 seconds | 650°F–750°F | Fresh soft bread, just warming |
| 2 | 50–70 seconds | 650°F–750°F | Fresh sandwich bread |
| 3 | 75–95 seconds | 650°F–750°F | Standard toast, 1–2 day old bread |
| 4 | 100–120 seconds | 650°F–750°F | Thick-cut bread, English muffins |
| 5–6 (Darkest) | 130–160+ seconds | 650°F–750°F | Bagels, very thick slices, frozen bread |
Notice that the element temperature column doesn’t really change — because it doesn’t. The heat is essentially constant. Every burning-on-low problem is a timing problem, a cleanliness problem, or a bread-type problem. Keep that mental model and troubleshooting becomes a lot less frustrating.
How to Actually Fix It: A Practical Sequence
Go through these in order. Don’t jump to “the toaster is broken” before you’ve done the boring stuff.
Step 1: Clean Everything
Unplug the toaster. Remove and wash the crumb tray. Hold the toaster upside down over a trash can and shake gently. Use a dry pastry brush (or a dedicated toaster cleaning brush) to sweep out debris from the slots — carefully, without pressing on the elements. Let everything dry for 20 minutes before plugging back in.
Step 2: Test With Fresh Bread on Setting 1
Use a fresh slice from a new loaf. Run it on setting 1 and watch it the whole time. If it comes out fine, your original problem was stale bread or residue. If it still burns, move to step 3.
Step 3: Check the Browning Mechanism
With the toaster unplugged, look down the slots with a flashlight. You’re looking for any visible warping, black deposits, or element sections that look different from the rest. You’re also checking that the bread carriage drops and releases smoothly on setting 1. If it feels sticky or resistant, the mechanical parts may be gummed up with grease. A very small amount of food-safe silicone lubricant on the carriage rail (not near the elements) can sometimes help, but honestly — if you’re that deep in a repair on a basic toaster, it’s probably time to shop for a new one.
Step 4: Consider Replacing the Toaster
A toaster that consistently burns on its lowest setting after cleaning is almost certainly a timer or element issue. These aren’t safely fixable at home. A decent 2-slice toaster with wide slots runs $25–$45 and will serve you better than fighting a faulty appliance every morning. I replaced mine after about two years of increasingly unreliable toasting and the difference was immediate.
The Edge Case: Altitude and Humidity
Here’s something none of the basic troubleshooting guides mention. If you live at high altitude (above roughly 5,000 feet), bread loses moisture faster during baking and tends to be slightly drier when you buy it — which means it toasts faster than sea-level bread on the same setting. Similarly, if you live somewhere very dry (low humidity), bread stales faster. People in Denver or Phoenix may genuinely need to run their toasters on lower settings than the same model would need in Seattle. It’s a small but real variable, and if you’ve moved recently and your toast suddenly seems harder to control, this could be part of it.
When to Think About a Toaster Oven Instead
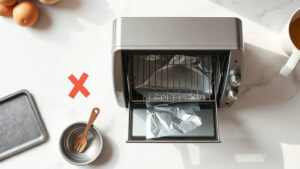
If you’re constantly fighting your toaster, a toaster oven gives you far more control. You set an actual temperature (typically 300°F–450°F for toast) and a real timer, and you can watch the bread through the glass. I use mine for thick sourdough specifically because I can pull it at exactly the color I want. Check out our picks for best mini toaster ovens if you’re considering making the switch — some of them are genuinely compact enough to replace a standard pop-up toaster on a small counter.
Toaster ovens also handle frozen bread better. You can go lower and slower (say, 325°F for 4–5 minutes) and get even browning without the scorched-outside-cold-inside problem that pop-up toasters sometimes produce with frozen slices. We have a separate guide on reheating food in a toaster oven that covers technique for different food types if you want to go further down that path.
For more on toasting science and general tips, the folks at Serious Eats have done some genuinely thorough work on bread browning and the Maillard reaction that’s worth a read if you’re the kind of person who cares about why things happen, not just what to do.
The Fix, Summarized
Most of the time, a toaster burning bread on the lowest setting comes down to one of three things: a dirty crumb tray trapping extra heat, stale or thin bread that toasts faster than you’d expect, or a failing timer mechanism that’s no longer cutting the cycle short when it should. Clean the crumb tray first. Adjust for bread freshness second. If those don’t work, the toaster’s mechanical innards are probably going, and a replacement is genuinely the most practical answer. It’s not a complicated problem — it’s just one that gets ignored until every morning feels like a small domestic crisis.
Frequently Asked Questions
How hot does a toaster get on the lowest setting?
Even on setting 1, toaster heating elements reach between 650°F and 750°F (343°C–399°C) — the temperature doesn’t change based on the shade dial. What changes is how long the cycle runs, which on the lowest setting is typically 30–45 seconds. That’s still more than enough heat to burn bread if something else is wrong, like a dirty crumb tray or stale bread that dries out faster.
Why does my toaster burn toast even on setting 1?
The most common reasons are a crumb-clogged tray that raises the internal heat, stale bread that toasts faster due to lower moisture content, or a faulty bimetallic strip that’s no longer cutting the cycle off at the right time. Start by cleaning the crumb tray and testing with fresh bread. If the problem persists, the timer mechanism is likely worn out and the toaster probably needs replacing.
Is it safe to leave a toaster plugged in all the time?
It’s generally not recommended. Toasters left plugged in can pose a fire risk if crumbs ignite or if an internal fault develops, and they draw a small amount of standby power even when not in use. Unplugging the toaster when it’s not in use is a simple habit that reduces both risk and energy waste.
Can I fix a toaster that burns bread, or do I need to replace it?
Cleaning fixes the problem in a lot of cases — pull the crumb tray, wash it, and shake out the interior. Adjusting for bread freshness and thickness also helps without any tools at all. If neither of those solves it, the internal timer mechanism is faulty, and home repair isn’t really practical or safe for most people; a replacement toaster at $25–$45 is almost always the better option.
Does stale bread really toast faster than fresh bread?
Yes, and by a noticeable margin. Bread loses moisture quickly after slicing — a loaf left open for two days can be significantly drier than a fresh slice, and drier bread reaches the same level of browning in roughly 20–30% less time. If your toast suddenly seems to burn faster even though nothing else has changed, check how old the bread is before blaming the toaster.

Written by
Emma founded Toastera to turn vague appliance advice into clear, researched, safety-first guidance on toasters and toaster ovens.
Free: the Toaster Oven Cheat Sheet
Get the printable cheat sheet (temps, cook times & safety tips) plus new recipes. No spam, unsubscribe anytime.