I’ve made stuffed mushrooms probably a hundred times — at parties, as a weeknight snack, once for a very unenthusiastic dinner party in 2019 — and this version is the one I keep coming back to. The move that makes them actually good instead of just fine is browning the butter before you do anything else. Takes an extra four minutes. Worth every second.
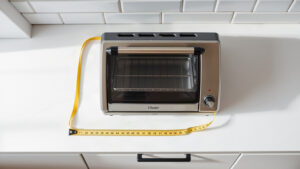
You don’t need a full oven for this. A reliable toaster oven handles these beautifully, and honestly heats up faster and keeps the kitchen cooler. I use a standard 6-slice model and fit 16 cremini caps comfortably on one tray. If yours runs a little hot (many do), check the mushrooms around the 10-minute mark the first time you make these.
The filling is pretty forgiving. Brown butter, garlic, the chopped mushroom stems so nothing goes to waste, a hit of lemon zest, fontina, and panko for crunch. It all comes together in one small pan while the mushrooms roast their first round. I’d recommend using a toaster oven baking pan with a lip so you’re not chasing mushroom juices around.
These work as an appetizer, a side dish, or — honestly — dinner if you eat four of them over the sink like I sometimes do. No judgment.
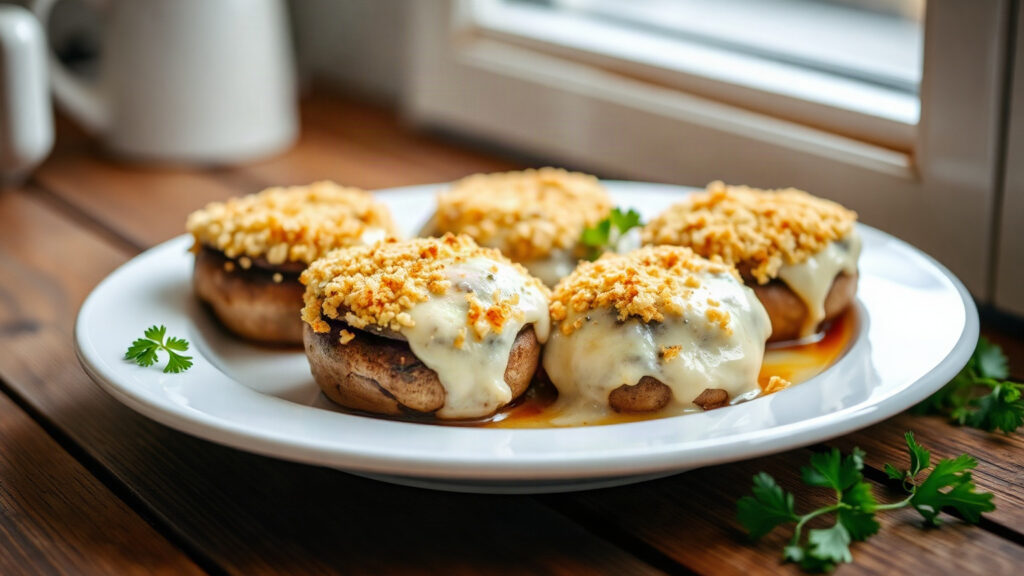
Toaster Oven Crispy Brown Butter Roasted Garlic and Fontina Stuffed Mushrooms with Lemon Panko
Earthy cremini mushrooms stuffed with a savory mix of brown butter garlic, melted fontina, and crispy panko breadcrumbs — ready in about 30 minutes in your toaster oven.
Ingredients
Mushrooms
Filling
Instructions
-
Preheat your toaster oven to 400°F. Line the toaster oven tray with foil or parchment.
-
Wipe the mushroom caps clean with a damp paper towel. Toss them with the olive oil and a pinch of salt, then place them cavity-side down on the prepared tray. Roast for 8 minutes — this drives out a lot of the moisture so you don't end up with soggy filling.
-
While the mushrooms roast, make the filling. In a small skillet over medium heat, melt the butter. Keep cooking it, swirling occasionally, until it smells nutty and turns a light amber color — maybe 3-4 minutes. Don't walk away; it goes from brown to burnt fast.
-
Add the garlic and chopped mushroom stems to the brown butter. Cook, stirring, for about 2 minutes until softened. Remove from heat.
-
Stir in the panko, lemon zest, parsley, red pepper flakes, black pepper, and about half the fontina. Mix it all together — it should look like a damp, fragrant crumble.
-
Flip the mushroom caps over on the tray so they're cavity-side up. Divide the filling evenly among them, pressing it in gently. Top each one with the remaining fontina.
-
Return the tray to the toaster oven and roast for another 12-14 minutes, until the cheese is melted and the panko on top is deep golden brown. If you want a little extra color, hit the broil setting for the last 90 seconds.
-
Let them cool for two or three minutes before eating. The filling is genuinely very hot right out of the oven.
Notes
Fontina melts really well here, but gruyère or a young gouda work too if that's what you have. The pre-roasting step (cavity-side down first) is not optional — skipping it makes the mushrooms watery. You can assemble these a few hours ahead and keep them in the fridge, then roast when ready. They're best eaten the day they're made; leftovers reheat okay at 375°F for about 8 minutes but the panko loses some crunch.
Nutrition
Rate this recipe
Made it? Tap a star to rate.

Written by
Emma is a home cook who loves coaxing big flavor out of a toaster oven — from crispy roasted vegetables to easy weeknight dinners and sweet treats. She develops and tests Toastera's recipes for small-appliance kitchens.
Free: the Toaster Oven Cheat Sheet
Get the printable cheat sheet (temps, cook times & safety tips) plus new recipes. No spam, unsubscribe anytime.