To use the broil setting on a toaster oven without burning food, position your rack about 3–4 inches from the top heating element, keep the broil time under 5 minutes for most foods, and never walk away. Toaster oven broilers typically run between 450°F and 500°F — some compact models even push past that — and because the heating elements are much closer to your food than in a full-size oven, things go from perfectly golden to charred in under a minute. Stay in the kitchen, check every 90 seconds, and you’ll be fine.
Safety First: Broiling in a toaster oven involves exposed, glowing heating elements operating at or above 450°F. Never use plastic containers, wax paper, or paper plates under the broiler — they will melt or catch fire. Keep the crumb tray clean before you start (accumulated grease ignites easily at broil temps). Always use oven mitts rated for high heat, and never leave a broiling toaster oven unattended, even briefly. If your model has a glass door, don’t open it too quickly after broiling — rapid temperature changes can crack the glass.
Quick Facts: Broiling in a Toaster Oven
- Toaster oven broil settings typically reach 450°F–500°F, with heat coming almost entirely from the top element
- The 3-to-4-inch rack distance rule prevents most burning — too close and the surface chars before the interior cooks
- Most foods need only 3–6 minutes under a toaster oven broiler (vs. 8–12 in a full-size oven)
- Thin cuts (under ¾ inch) broil best; anything thicker should be mostly cooked before broiling for finish
- A broiler-safe pan or wire rack is non-negotiable — a flimsy aluminum tray will warp and tip your food
What the Broil Setting Actually Does (And Why Toaster Ovens Are Trickier)
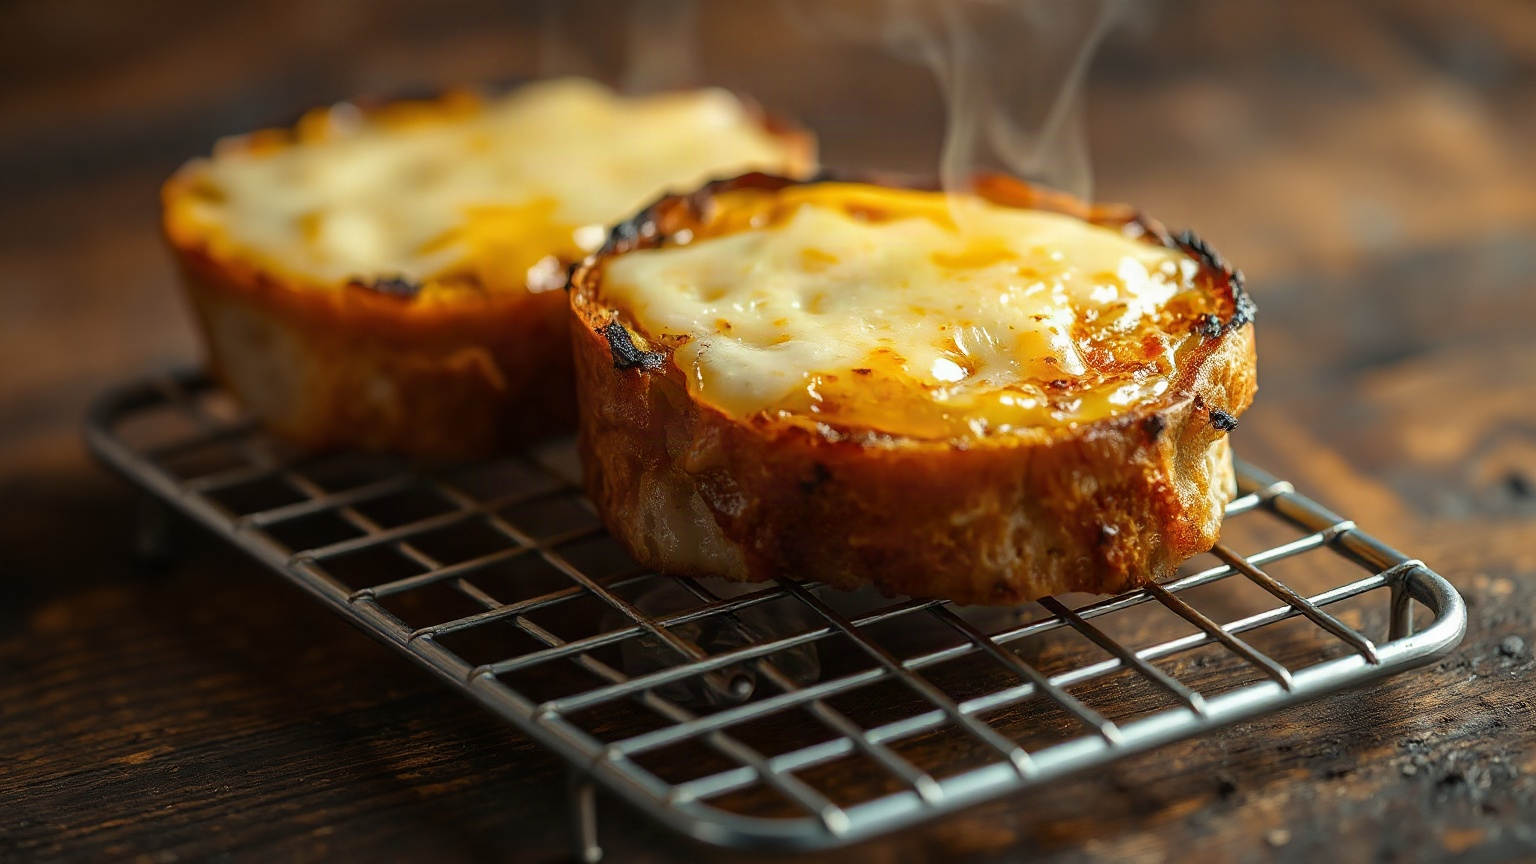
Broiling is radiant heat cooking. The top heating element stays on continuously — it doesn’t cycle off the way it does during baking — and it blasts intense, direct heat downward onto your food. Think of it as an upside-down grill. The bottom element is mostly off, or running at a very low wattage just to maintain ambient temp. That’s the entire mechanism.
Here’s where toaster ovens get you into trouble: the enclosed cavity is tiny. In a standard wall oven, your food might sit 6–8 inches from the broiler element even on the top rack. In a compact toaster oven, the top element can be as close as 2 inches from the top of the rack. That’s not just a small difference — it’s a completely different cooking environment. The temperatures involved at that proximity will brown cheese in about 90 seconds flat. I’ve learned this the scorched way.
The first time I used broil on my countertop oven, I set a piece of salmon under it and went to get a fork. I was gone maybe three minutes. I came back to what I can only describe as a small, salmon-shaped coal. It wasn’t a particularly valuable lesson in cooking technique, but it was a very memorable one.
The Right Rack Position (This Is the One Thing People Get Wrong)
Rack position controls everything under the broiler. Too close and you get char before heat penetrates. Too far and the broiling takes forever, often drying out the food without actually browning it.
My go-to is 3–4 inches from the top element. For most toaster ovens, that’s the second rack slot from the top, not the topmost. If your oven only has two rack positions, use the lower one for anything with some thickness to it — chicken thighs, a stuffed pepper — and the upper one only for thin items like toast finishing, open-face sandwiches, or melting cheese on nachos.
A Simple Way to Measure Your Distance
Don’t eyeball it. With the oven cold and unplugged, slide your rack in and hold a wooden ruler or chopstick vertically from the rack surface up to the heating element above. You want 3 to 4 inches. That’s it. Takes ten seconds and it’ll save you from ruining dinner. If your oven’s minimum distance is under 3 inches — which happens with some very compact models — then you’ll need to lower the rack one slot and accept slightly longer broil times.
Times and Temperatures for Common Foods
Here’s a reference table I’ve actually used and adjusted based on testing in my kitchen. These assume a 450°F broil setting and a rack 3–4 inches from the element. Every oven runs slightly different, so treat the first column as a starting point, not gospel.
| Food | Broil Time (each side) | Notes |
|---|---|---|
| Cheese toast / open-face sandwich | 1–2 minutes | Watch constantly. Goes from melted to burnt in 30 seconds. |
| Thin fish fillet (under ½ inch) | 3–4 minutes (no flip) | Don’t flip thin fish — it’ll fall apart. Cook through on one side. |
| Chicken breast (½–¾ inch thick) | 4–5 minutes per side | Pre-bake to 145°F internal first, broil only for final browning |
| Pork chop (¾ inch) | 4–6 minutes per side | Pat dry before broiling for better browning |
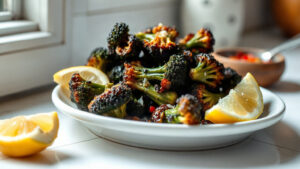
| Vegetables (sliced thin) | 4–5 minutes | Zucchini, peppers, asparagus — toss in oil first |
| Nachos / melting cheese | 2–3 minutes | Use a broiler-safe pan; standard plates can crack |
| Skirt or flank steak (¾ inch) | 3–4 minutes per side | Rest 5 minutes before slicing |
One thing worth saying plainly: thick cuts of meat should never go under the broiler raw and be expected to cook through. Broiling is a finishing technique for toaster ovens specifically, because the small space limits heat circulation and you’ll always get a burnt exterior with a raw interior if you try to cook thick food from scratch this way. Pre-bake your chicken to 155°F internal, then broil for color. Serious Eats has a solid write-up on broiler technique that backs this up if you want more detail.
Pans, Racks, and What Not to Use Under a Broiler
This gets skipped in most guides and it really shouldn’t. The pan you use under a broiler matters a lot.
A toaster oven broiler pan with a rack insert is the right call for meat and fish. The raised rack lets heat circulate under the food and lets fat drip down, which prevents smoking and flare-ups. Standard rimmed baking sheets also work — just make sure they’re heavy gauge so they don’t warp. I’ve had thin disposable foil pans buckle and dump marinade onto the heating element. That’s a small grease fire waiting to happen.
Don’t use glass baking dishes under the broiler. Pyrex and similar borosilicate glass can handle oven temperatures fine, but the intense, direct radiant heat of a broiler creates thermal shock risk. Same goes for ceramic dishes that aren’t explicitly labeled broiler-safe. Stick to metal.
A stainless steel wire rack placed on a baking sheet is honestly my preferred setup for vegetables. More airflow, faster browning, and easy cleanup.
Oil: How Much Is Too Much
A thin coat of oil helps browning. A heavy coat causes smoke and can drip onto the element. Brush or spray lightly — you want the food glistening, not pooling. High smoke-point oils (avocado, refined coconut, or even light olive oil) handle broil temps better than extra-virgin olive oil, which starts smoking around 375°F and will fill your kitchen with blue haze before your food is even brown.
The Technique Step by Step
Here’s exactly how I do it, every time.
- Preheat the broiler for 3–5 minutes. Most toaster ovens don’t need long, but a cold element won’t brown food evenly — it’ll just dry things out.
- Pat meat or fish dry. Moisture steams. You want direct browning, not steaming. Paper towel, 30 seconds, done.
- Set the rack to 3–4 inches from the element. Do this before the oven is hot.
- Place food on a metal pan or rack. Slide it in, close the door.
- Stay nearby. Check at 90 seconds, then every minute after. I set a phone timer — not a mental note, an actual timer.
- Flip if needed, using tongs, and continue checking.
- Pull food 30 seconds before it looks perfect. Carryover heat in the pan will finish it. This single habit has saved more meals than I can count.
The Edge Case Nobody Talks About: Convection Broil
Some toaster ovens — particularly mid-range and premium models — have a “convection broil” setting. This runs the top element at broil intensity while also circulating air with the fan. It browns faster and more evenly, which sounds great, and it is… but it also means food dries out faster at the surface. For a steak or thick chop, convection broil is excellent. For something like a bread crumb crust or melted cheese, I’d skip it. The fan will set the surface too quickly and you’ll end up with a dry, uneven crust rather than a bubbly, golden one. Use standard broil for delicate finishes.
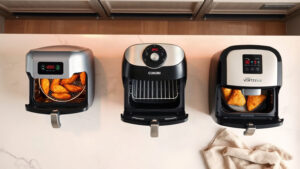
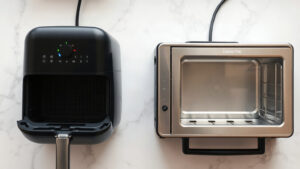
Also worth knowing: if your toaster oven has an air fry setting, it’s not the same as broil. Air fry circulates heat aggressively from multiple directions and doesn’t give you the same direct, top-down intensity. For reheating food, air fry is often better. For actual broiling — getting a crust on a piece of meat or browning a casserole top — use broil specifically.
Getting the Most Out of Broil Without a Dedicated Broil Setting
Some older or budget toaster ovens don’t have a labeled “broil” setting. They’ll have a temperature dial and a function dial with options like “bake” and “toast.” If that’s your situation, set the temperature to max (usually 450°F) and select “bake.” The result won’t be true broil — both elements will stay on — but you’ll still get intense top heat if you position the rack high. It works for finishing gratins and melting cheese. For actual browning on meat, you’ll want a model with a real broil function. Check out our list of the best mini toaster ovens if your current one’s falling short.
The Food Network’s broiling guide is aimed at full-size ovens but the timing principles translate well once you account for the proximity difference in toaster ovens.
Wrapping Up
Broiling in a toaster oven is genuinely useful — faster than baking, better color and texture on proteins, and it works in a fraction of the footprint of a full kitchen oven. The technique isn’t complicated. Rack position, metal pans, short times, and staying in the room. That’s most of it. The burning happens when people treat broil like bake and walk away, or when they start with a thick cut of raw meat and expect the broiler to handle it alone. It won’t. Use it as a finishing tool, keep your crumb tray clean, and you’ll wonder why you ever avoided that setting.
Frequently Asked Questions
How hot does a toaster oven get on the broil setting?
Most toaster oven broil settings operate between 450°F and 500°F, with the top heating element running continuously rather than cycling on and off like it does during bake mode. Some models cap at 450°F while others — particularly convection models — can reach or slightly exceed 500°F. The actual temperature at the food surface depends heavily on rack position; closer to the element means significantly more radiant heat, not just a few degrees’ difference.
Can I use aluminum foil on the broiler pan in a toaster oven?
You can line a broiler pan with foil for easier cleanup, but don’t cover the pan’s drip slots or lay foil flat on the oven bottom — this blocks airflow and can cause heat buildup that damages the oven or creates a fire hazard with accumulated grease. Heavy-duty foil works better than regular foil under broil temps, since standard foil can tear when you’re removing hot food. Leave the drip holes open.
Why does my toaster oven smoke when I use broil?
Smoking under broil almost always comes from one of two sources: a dirty crumb tray with accumulated grease that ignites at high heat, or too much oil on the food dripping onto the heating element. Clean your crumb tray before broiling, use only a light coat of oil on food, and use a pan with a rack so drippings stay below the food and away from the element. If smoke persists after cleaning, check whether any food residue is stuck to the element itself — let the oven cool completely before wiping it carefully with a damp cloth.
How long should I broil chicken in a toaster oven?
For chicken pieces under ¾ inch thick, broil 4–5 minutes per side at 450°F with the rack set 3–4 inches from the top element. For thicker pieces, bake first at 375°F until the internal temperature reaches 155°F (the USDA safe minimum for poultry is 165°F, and carryover will take it there), then broil for 3–4 minutes to brown the skin. Starting thick chicken under a broiler raw will char the outside before the inside is safe to eat.
What’s the difference between broil and bake on a toaster oven?
Bake mode uses both the top and bottom heating elements, which cycle on and off to maintain a set temperature — typically between 300°F and 450°F — producing even, ambient heat throughout the cavity. Broil mode runs only the top element continuously at maximum heat, creating intense, direct radiant heat aimed downward at the food. The practical difference is that baking cooks food through gradually from all sides, while broiling rapidly browns and chars the exposed top surface, making it ideal for finishing dishes rather than cooking them from raw.

Written by
Emma founded Toastera to turn vague appliance advice into clear, researched, safety-first guidance on toasters and toaster ovens.
Free: the Toaster Oven Cheat Sheet
Get the printable cheat sheet (temps, cook times & safety tips) plus new recipes. No spam, unsubscribe anytime.