The dehydrate setting on an air fryer toaster oven runs the heating element at a low temperature — typically between 95°F and 165°F — while the fan circulates air continuously to pull moisture out of food slowly. It’s basically the same principle as a standalone food dehydrator, just without the dedicated stacking trays. If your machine has this setting, you can make beef jerky, dried fruit, herb powders, and even dog treats without buying any extra appliance.
Safety First: Dehydrating runs your oven for 4–12 hours at a stretch. Don’t leave it completely unattended overnight — check every couple of hours to catch any drips that could burn onto the heating element or cause smoke. Keep the oven on a heat-safe surface with at least 4 inches of clearance on all sides, and never cover the vents.
Quick Facts: Dehydrate Setting at a Glance
- Typical dehydrate temperature range: 95°F–165°F (varies by model)
- Most foods take 4–12 hours depending on thickness and moisture content
- The fan does most of the work — low heat + airflow = moisture removal
- Slice food thin and evenly (1/8 to 1/4 inch) for best results
- The USDA recommends heating meat to 160°F internal temp before or after dehydrating for food safety
I’ll be honest — the first time I used the dehydrate setting on my Cuisinart air fryer toaster oven, I expected it to be a novelty feature I’d use once and forget. That was two years ago. Now it’s one of the settings I actually reach for regularly, especially for making jerky and drying fresh herbs from the garden. Let me walk you through exactly how it works, what to watch out for, and some things the basic guides skip entirely.
What the Dehydrate Setting Actually Does
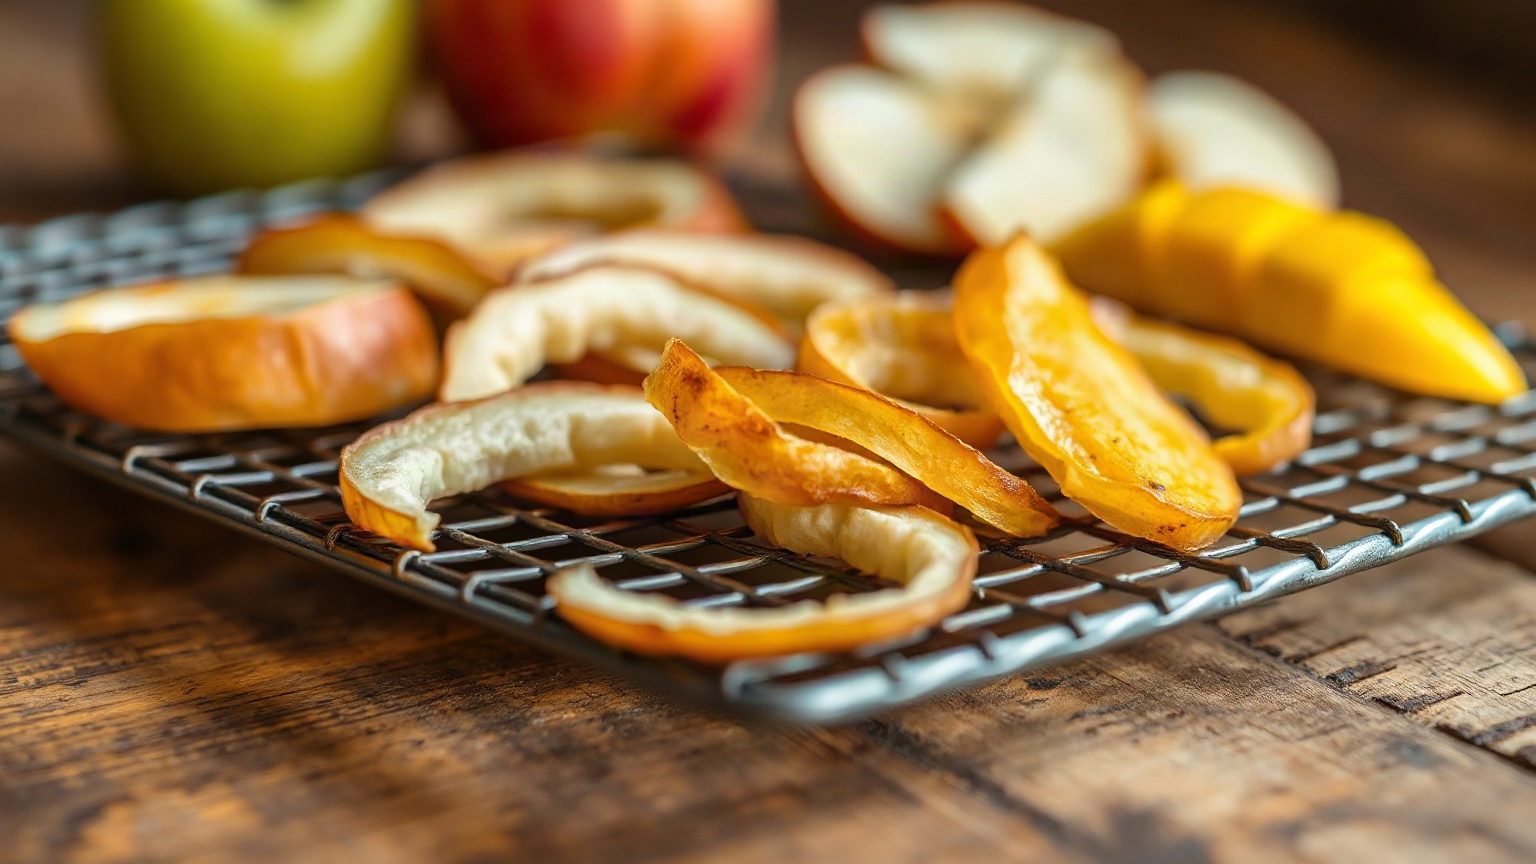
Most air fryer toaster ovens with a dehydrate function set the fan to run at full speed while keeping the temperature low — way lower than you’d use for baking or air frying. We’re talking 95°F to 165°F, sometimes shown in Celsius as roughly 35°C to 74°C. The point isn’t to cook the food. It’s to evaporate water out of it slowly and evenly.
A regular air fry or bake cycle runs hot and fast. That seals the outside of food, which is exactly what you want for crispy fries but exactly wrong for dehydrating — seal the outside and you trap moisture inside, causing spoilage. Low and slow keeps the surface permeable so water can keep escaping.
The fan is the real workhorse here. It sweeps humid air out and keeps dry air moving over the food surface. That’s why even a basic air fryer without a dedicated dehydrate label can do a decent job at dehydrating — set it to 150°F or lower and let it run. The dedicated setting just handles the temperature preset for you automatically.
How to Use the Dehydrate Setting Step by Step
Step 1: Prep your food properly
Thickness matters more than almost anything else. Slice meat and fruit between 1/8 and 1/4 inch thick. Much thicker than that and you’ll be running the oven for 14+ hours and still end up with a chewy center. A mandoline slicer makes this much easier — trying to slice beef evenly by hand is an exercise in frustration.
For meat specifically: partially freeze it first (about 45 minutes in the freezer) and it slices cleanly. I learned this the hard way after mangling a decent piece of London broil with a regular chef’s knife.
Fruit and vegetables often benefit from a quick blanch or a dip in lemon juice to slow oxidation — apples and bananas especially. Some people skip this. I usually skip it for apples and they turn out fine, just a little brown, which doesn’t bother me.
Step 2: Arrange on the rack — don’t stack
Single layer. Always. Overlapping pieces will stick together and dry unevenly. Most air fryer toaster ovens come with a wire rack, and that’s what you want to use — it lets air circulate under the food too. A solid baking pan traps moisture underneath. If you’re doing a large batch, a toaster oven wire rack with a drip tray underneath works well and catches any drips.
Step 3: Set the temperature
Here’s a practical temperature guide based on what I actually use:
| Food Type | Temperature | Approximate Time | Doneness Check |
|---|---|---|---|
| Beef jerky | 160°F | 4–6 hours | Bends without snapping, no moist spots |
| Chicken jerky | 165°F | 5–7 hours | Firm, no pink, fully dried through |
| Apple slices | 130°F | 6–8 hours | Leathery, pliable, not sticky |
| Banana chips | 135°F | 6–10 hours | Crisp, snaps when bent |
| Tomatoes | 135°F | 6–12 hours | Leathery, slightly tacky |
| Fresh herbs | 95°F–105°F | 1–3 hours | Crumbles easily between fingers |
| Mushrooms | 125°F | 4–8 hours | Crisp, fully shrunken |
If your machine’s dehydrate setting only lets you choose one preset temperature (some budget models do this), check your manual. Often it defaults to around 130°F or 135°F, which works for most fruit but is borderline for meat. If you can’t get your machine above 150°F for meat, see the food safety note below — it matters.
Step 4: Check and rotate partway through
At the halfway point, flip the pieces over. The side facing the heating element dries faster. Some ovens have hotspots — mine runs a little hotter in the back right corner, so I rotate the rack 180° around the 3-hour mark for a 6-hour batch. Takes 30 seconds. Makes a real difference.
Food Safety: The Part Most Guides Gloss Over
This is where I’d push back on some of the more casual guides floating around online. The USDA’s guidance on jerky is pretty clear: meat needs to reach an internal temperature of 160°F (165°F for poultry) to kill pathogens like Salmonella and E. coli. The problem is that dehydrating at low temps for hours doesn’t guarantee the internal temperature ever hits that threshold — the outside dries out while the inside might only reach 130°F or 140°F.
There are two ways to handle this. You can briefly heat the finished jerky in a 275°F oven for 10 minutes after dehydrating — this kills any remaining bacteria without noticeably changing the texture. Or you can marinate the meat first and then heat it to 160°F internal before dehydrating (some people do this in a skillet or briefly in the oven). Either method works. The first is easier for most home setups.
For fruit and vegetables, this isn’t really a concern at the same level. Low acid vegetables are a bit riskier than high acid fruit, but nothing like the pathogen risk with raw meat.
Air Fryer Toaster Oven vs. Standalone Dehydrator: Honest Comparison
People ask me this a lot. The honest answer is: a dedicated dehydrator is better for high-volume dehydrating, and your air fryer toaster oven is perfectly fine for occasional batches.
Dedicated dehydrators like the Cosori or Excalibur have 5–10 stacking trays, which means you can process a lot of food in one run. Your toaster oven has one or maybe two racks, so you’re limited to maybe half a pound of jerky at a time — which is fine if you’re making snacks for yourself, annoying if you’re prepping for a long trip or trying to preserve a harvest.
The air fryer toaster oven wins on versatility, obviously. It’s already on your counter doing ten other things. If you’re thinking about whether to add a dehydrator to your kitchen, check out our roundup of the best mini toaster ovens — some of them have surprisingly capable dehydrate functions built in and take up very little space.
One edge case I haven’t seen other guides mention: if you’re dehydrating anything with high fat content — fatty cuts of meat, salmon, foods with added oil — be extra careful. Fat doesn’t dehydrate well. It goes rancid faster and can leave residue on the heating element. Stick to lean cuts for jerky (eye of round, flank steak, top sirloin) and pat everything dry before loading it in.
Specific Models and What to Expect From Their Dehydrate Settings
Not all machines handle this equally well. A few observations from firsthand use and research:
The Cuisinart TOA-70 and similar Cuisinart air fryer toaster ovens have a dedicated dehydrate button that defaults to 100°F and runs the fan continuously. It’s a solid setup. I’ve made jerky in one and the results were consistent. Cuisinart’s temperature range for dehydrating goes up to 160°F, which is exactly what you need for meat safety. You can find Cuisinart air fryer toaster ovens in a range of capacities depending on your counter space situation.
The Breville Smart Oven Air Fryer is arguably the most capable machine for this. It has a true Super Convection mode and a dedicated dehydrate function with fine temperature control starting at 95°F. Honestly overkill for most people but impressive if you actually use it.
Budget air fryers without a labeled dehydrate setting can still work — just set the temperature manually to 130–150°F and run the fan (if your model has a fan-only or convection mode without the heating element cranked up). Reddit is full of people who’ve done this successfully with Emeril Lagasse and similar mid-range countertop ovens. The result might not be quite as precise, but for dried herbs and fruit it’s perfectly adequate.
One thing that really helps regardless of model: leave the oven door slightly ajar if your machine allows it. This lets humid air escape instead of recirculating. Not every model supports this safely — check your manual before propping it open. Some are designed to run closed and have internal venting built in.
Storing What You Make
Dehydrating is only half the job. Proper storage determines whether your jerky lasts a week or two months. Let everything cool completely before sealing — trapping even a little steam creates moisture, which defeats the whole point. Airtight glass jars work well. Vacuum-sealed bags are better for long storage. Jerky at room temperature keeps for 1–2 months; in the fridge, up to 6 months; frozen, much longer.
If you see any condensation forming on the inside of your storage container within the first 24 hours, the food wasn’t dry enough. Put it back in the oven for another hour or two rather than letting it sit and mold. Better to over-dehydrate slightly than under-dehydrate. You can also pop dehydrated food on a vacuum seal setup for much longer shelf life.
Bottom Line
The dehydrate setting on your air fryer toaster oven is a genuinely useful feature, not just a spec sheet bullet point. Low heat plus continuous airflow equals real dehydration — it works. The limitations are batch size and, for some budget models, limited temperature control. For meat, take the safety step seriously and either pre-heat or post-heat the jerky to 160°F internal. For everything else — fruit, herbs, mushrooms, tomatoes — set the temp, set a timer, and check it halfway through.
If you’re using your toaster oven for other long-cook tasks too, take a look at our guide to reheating food in a toaster oven for more on getting consistent results from these machines. They’re more capable than most people give them credit for.
Frequently Asked Questions
What temperature should I use to dehydrate food in an air fryer toaster oven?
Most foods dehydrate well between 95°F and 165°F. Fruit and vegetables typically fall in the 125°F–135°F range, while meat requires at least 160°F (165°F for poultry) to be safe. Check your machine’s manual — some have preset temperatures that you can adjust, and others lock you into one setting.
How long does it take to dehydrate food in an air fryer toaster oven?
Expect 4–12 hours for most foods, depending on thickness and moisture content. Thin herb leaves can be done in 1–2 hours, while thick fruit slices or meat might need 8–10 hours. Slice everything to 1/8–1/4 inch for predictable timing.
Can I dehydrate food in an air fryer toaster oven that doesn’t have a dehydrate setting?
Yes. Set the temperature manually to 130°F–150°F and run the convection fan if your model has one. The dedicated dehydrate button is just a convenience preset — the underlying process is the same. For meat safety, make sure you can reach at least 160°F.
Is it safe to make beef jerky in an air fryer toaster oven?
Yes, but food safety requires that the meat reaches 160°F internal temperature at some point in the process. The USDA recommends either pre-heating strips in the oven before dehydrating or finishing the dried jerky in a 275°F oven for 10 minutes. Skipping this step is a real risk, not a theoretical one.
Should I leave the door open when using the dehydrate setting on my toaster oven?
It depends on the model. Some toaster ovens are designed with internal venting and should run with the door closed. Others benefit from being slightly ajar to let humid air escape. Check your manual before propping the door open — running it incorrectly can affect temperature accuracy or, in rare cases, create a safety hazard.

Written by
Emma founded Toastera to turn vague appliance advice into clear, researched, safety-first guidance on toasters and toaster ovens.
Free: the Toaster Oven Cheat Sheet
Get the printable cheat sheet (temps, cook times & safety tips) plus new recipes. No spam, unsubscribe anytime.