The proof setting on an air fryer toaster oven holds the interior at a low, steady temperature — typically between 85°F and 100°F (most commonly 90°F) — to create ideal conditions for yeast to activate and dough to rise. It mimics a warm, draft-free proofing environment without you needing to do anything fussy like setting a bowl near a radiator or inside a barely-warm conventional oven. The result is a consistently faster, more predictable rise than leaving dough on the counter, especially in a cool kitchen.
Safety First: The proof setting runs at low heat, but the toaster oven’s interior and baking surfaces can still get warm enough to cause burns — always use oven mitts when removing bowls or pans from the cavity. Never proof dough in plastic wrap that isn’t heat-safe, and don’t leave parchment or tea towels draped inside in a way that could contact a heating element. Keep the oven on a stable, heat-resistant surface and away from cabinet overhangs during any heating cycle.
Quick Facts: Air Fryer Toaster Oven Proof Setting
- Most models default to 90°F on the proof setting — that’s the sweet spot for active dry and instant yeast.
- First proof (bulk fermentation) typically takes 45–90 minutes at 90°F; second proof (shaped loaves) takes 30–60 minutes.
- You don’t need the air fryer fan. Keep it off during proofing — moving air dries out dough surfaces fast.
- A small cup of hot water placed in the cavity adds humidity, which prevents skin formation on the dough.
- Not all toaster ovens have this setting — if yours doesn’t, the low-temp bake or “warm” function (if it goes down to 100°F) can work as a substitute.
What the Proof Setting Actually Does Inside the Oven
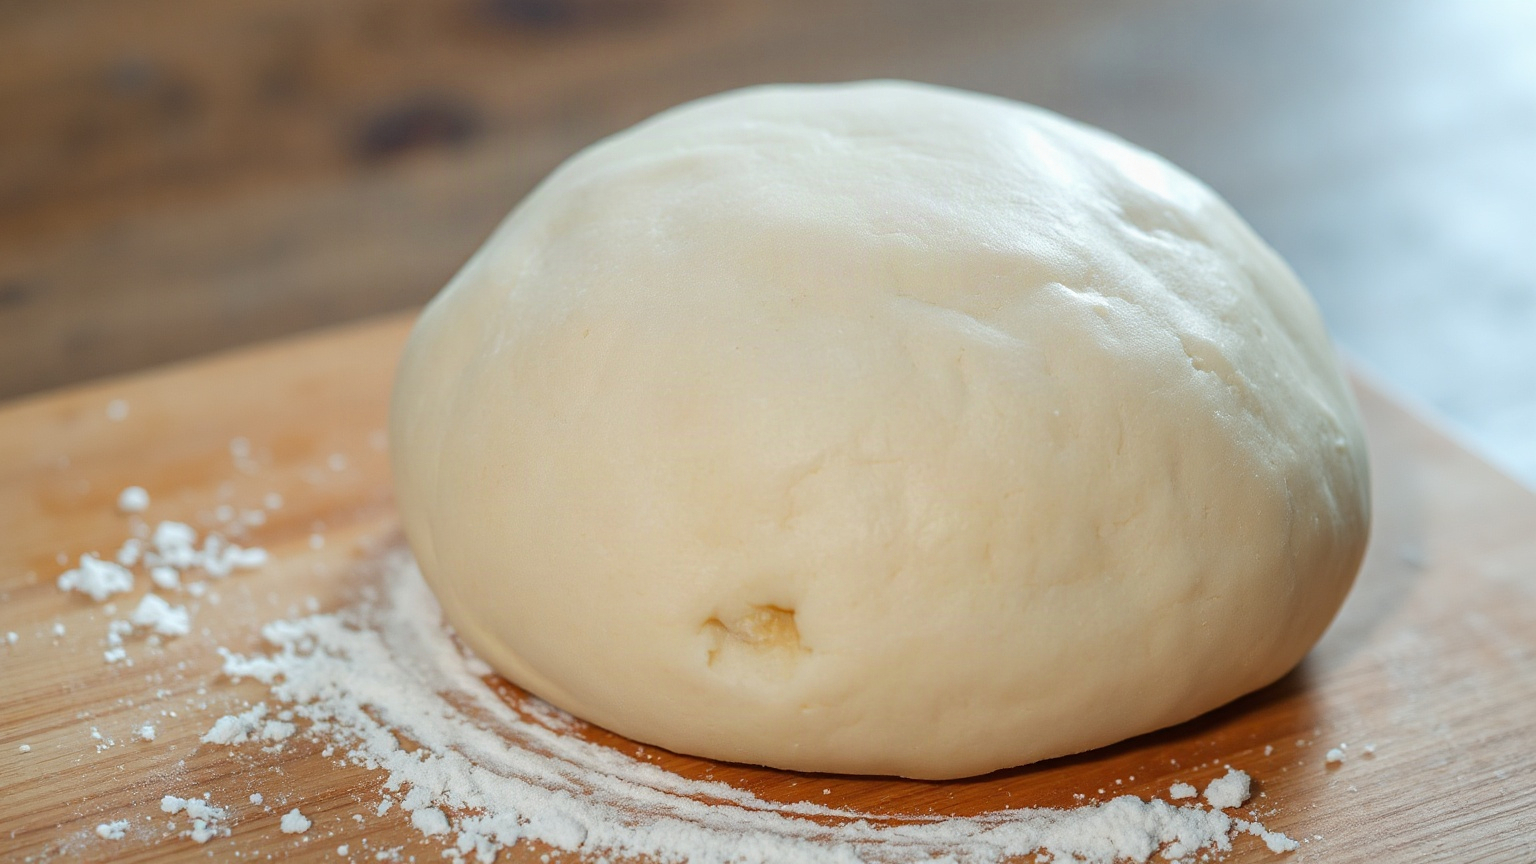
It’s not magic. The proof function just cycles the heating elements very gently to hold a constant low temperature. At 90°F, yeast is active but not so hot that it starts dying (that happens closer to 140°F). The oven cavity stays closed and still, so there’s no draft to mess with the dough’s surface, and the heat is even on all sides.
What tripped me up the first time was assuming the fan would stay on. I’d been using the air fryer function all week and forgot to double-check — ended up with a dry, cracked skin on a focaccia dough that took forever to smooth back out. Most models automatically disable the convection fan on the proof setting, but worth verifying yours does the same. Check the display or the manual. Annoying, I know, but worth five seconds.
The other thing to understand: the proof setting doesn’t heat up fast. It’s designed to creep up slowly and hold steady. So don’t put your dough in immediately after switching to proof mode and expect 90°F right away — give it three to five minutes to stabilize first.
How to Use the Proof Setting Step by Step
Setting Up the Oven
Turn the function dial or press the proof button — depending on your model it’ll either display “PROOF” or just show a temperature around 90°F. Some machines let you adjust this slightly. Personally, I leave it at 90°F for most yeasted breads. For slower, more flavorful ferments (like a cold-ish retard), you’d skip the proof setting entirely and use the fridge. But for same-day baking, 90°F is exactly right.
Let the oven preheat for about 3–5 minutes before the dough goes in. Meanwhile, place a small oven-safe mug or ramekin filled with just-boiled water on the bottom rack. This keeps humidity up. Without it, the surface of the dough can form a skin that restricts rise — especially with leaner doughs like sandwich bread or dinner rolls.
Placing and Covering the Dough
Use a lightly oiled bowl covered with plastic wrap or a damp kitchen towel. I prefer plastic wrap — it seals more reliably and you can actually see the dough rising through it, which I find oddly satisfying. Place it on the center rack. If you’re doing a second proof on a shaped loaf in a loaf pan, same deal: lightly oiled pan, light cover, center rack.
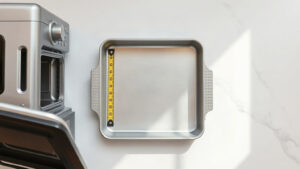
Don’t jam the bowl too close to the back or the top. The heating elements are there, and even at low temperatures they can create hot spots directly adjacent to them. Center is safest. For toaster oven-sized loaf pans, an 8.5 x 4.5 inch pan typically fits in most large air fryer toaster ovens without issue.
Timing the Proof
At 90°F, here’s what to expect:
| Dough Type | First Proof (Bulk) | Second Proof (Shaped) | What “Done” Looks Like |
|---|---|---|---|
| Basic white sandwich bread | 45–60 min | 30–45 min | Doubled in size, springs back slowly when poked |
| Whole wheat bread | 60–75 min | 45–60 min | Roughly doubled, denser rise than white |
| Pizza dough | 45–60 min | N/A (rest 20 min pre-stretch) | Puffy, relaxed, doesn’t snap back when stretched |
| Dinner rolls | 50–65 min | 25–35 min | Rolls touching each other, visibly puffed |
| Sourdough (active starter) | 2–3 hours at 90°F | 45–75 min | Domed top, bubbles visible through container |
| Cinnamon roll dough | 50–70 min | 30–40 min after shaping | Rolls crowding the pan, jiggly when moved |
These are real times from my own bakes, not estimates lifted from packaging. Your kitchen temperature and your specific yeast brand will shift things slightly, but these are solid baselines to work from.
Tips That Actually Make a Difference
The Poke Test Still Rules
Time is a guideline. The poke test tells you the truth. For the first proof, dough is ready when it’s doubled and a floured finger poked about an inch into the surface leaves an indent that slowly springs back — not all the way, but most of the way. If it springs back immediately, it needs more time. If it barely springs back at all, you’ve over-proofed it and you’ll want to reshape gently and do a quick second proof. Serious Eats has a good breakdown of the visual and tactile signs of proper fermentation if you want to go deeper on this.
Sourdough Is a Special Case
Sourdough moves slower. Even at 90°F, it’ll take longer than commercial yeast doughs — that’s normal. I’d also argue that proofing sourdough at 90°F the entire time gives you a less complex flavor than a longer, cooler ferment. So my approach is: use the proof setting to get bulk fermentation going (maybe 1.5–2 hours), then shape and do the second proof in the fridge overnight. Best of both. You get the speed where you need it and the flavor development where it counts.
Smaller Ovens Run Hotter — Watch for This
This is the edge case a lot of write-ups skip. If you have a compact or mini air fryer toaster oven — and I’m not talking about the full-size Cuisinart or Breville, but one of the smaller 4-slice-capacity models — the interior volume is so small that the cavity can run a bit warmer than the display shows, especially at the back. I’ve seen 90°F display while an oven thermometer sitting at the back read 98°F. That’s not fatal for proofing, but if it spikes above 105–110°F consistently, your yeast is at risk. An inexpensive oven thermometer is genuinely useful here — do one test run before you commit a batch of dough to it.
If you’re shopping for a toaster oven with a proof setting, check out our picks in the best mini toaster ovens guide — not all of them include this function, so it’s worth confirming before you buy.
What to Do If Your Toaster Oven Doesn’t Have a Proof Setting
Not the end of the world. If your oven has a “Warm” setting and it goes down to 100°F or lower, you can use that — just crack the door slightly to keep the temperature from climbing. I’ll use a folded dish towel to hold the door open about half an inch. Not elegant, but it works.
Alternatively, the oven light trick: turn on the oven light only (no heat), place the dough inside with the mug of hot water. The bulb generates a gentle warmth — usually lands around 75–80°F in the cavity. Slower proof, but totally functional. The temperature control features on most toaster ovens vary more than manufacturers like to admit, so it’s always worth verifying with that thermometer.
And honestly? For pizza dough or same-day focaccia, I’ll sometimes just leave it on the counter covered with plastic wrap if the kitchen is 72°F or warmer. The proof setting is convenient, but it’s not mandatory. It mostly earns its keep in winter when the kitchen drops to 65°F and a counter rise would take three hours.
After Proofing: Going Straight to Bake
One thing that’s actually nice about the toaster oven proof setting is the transition. When the dough’s ready, you switch the function to Bake (or Convection Bake), crank the temperature to whatever your recipe calls for — typically 375°F to 425°F for most breads — and you can often just leave the dough right where it is. No disturbing it, no moving it to another oven. The oven preheats around it.
That said: shaped loaves usually benefit from being baked in a preheated environment for better oven spring. So for a proper sandwich loaf or sourdough, I’ll take the shaped dough out while the oven preheats, then slide it back in once it’s up to temperature. For rolls and cinnamon buns, baking straight from the proof setting with a temperature ramp is totally fine — the extra 10–15 minutes to come to temperature gives them one last little push.
Use a proper toaster oven wire rack or baking pan rated for high temps — not all bakeware fits in a compact toaster oven, and you don’t want to discover that mid-bake. For more context on how hot these ovens get during full baking cycles, see our breakdown of how hot a toaster gets.
Final Thoughts
The proof setting is one of those features that sounds minor until you actually use it regularly. I ignored it for weeks after getting my current toaster oven, convinced it was a gimmick. It’s not. For anyone baking yeasted bread more than a couple times a month — especially in a cold house or apartment — it’s a genuinely useful function that takes a real variable (ambient temperature) off the table. Set it to 90°F, add a bit of steam, and let the oven do the babysitting while you do something else.
Just don’t forget the poke test. The timer is a suggestion. The dough tells you when it’s ready.
Frequently Asked Questions
What temperature is the proof setting on an air fryer toaster oven?
Most air fryer toaster ovens default the proof setting to 90°F (32°C), which is the ideal range for active dry and instant yeast to work efficiently. Some models let you adjust this up or down slightly — if yours goes to 95°F, that’s still fine for most recipes. Avoid anything above 110°F, as yeast begins to die off at those temperatures.
How long does it take to proof bread dough using the toaster oven proof setting?
At 90°F, most standard yeasted doughs complete their first (bulk) proof in 45–90 minutes and their second (shaped) proof in 30–60 minutes. Sourdough takes longer — typically 2–3 hours for bulk fermentation even at 90°F. Always rely on visual cues and the poke test rather than setting a timer and walking away.
Should the air fryer fan be on during proofing?
No — the convection fan should be off during proofing. Moving air dries out the dough’s surface quickly and creates a skin that restricts rising. Most air fryer toaster ovens automatically disable the fan when you select the proof setting, but it’s worth double-checking on your specific model, since not all of them do this automatically.
Can I proof sourdough in an air fryer toaster oven?
Yes, the proof setting works for sourdough, but expect longer times than with commercial yeast — often 2–3 hours for bulk fermentation at 90°F. For better flavor development, consider using the proof setting for the initial bulk rise and then doing a cold second proof in the refrigerator overnight. Add a small cup of hot water to the cavity to maintain humidity throughout.
What if my toaster oven doesn’t have a proof setting?
Use the “Warm” setting if it goes down to 100°F or lower, and crack the oven door slightly to prevent overheating. Alternatively, the oven light trick — turning on only the interior light with a cup of hot water inside — typically creates a 75–80°F environment that works well for a slower proof. Both methods are effective; they just require a bit more monitoring than a dedicated proof setting.

Written by
Emma founded Toastera to turn vague appliance advice into clear, researched, safety-first guidance on toasters and toaster ovens.
Free: the Toaster Oven Cheat Sheet
Get the printable cheat sheet (temps, cook times & safety tips) plus new recipes. No spam, unsubscribe anytime.