Air fry frozen cauliflower florets at 400°F for 14–16 minutes, shaking the basket halfway through — no thawing needed. The high heat drives off the excess moisture fast enough that the edges actually brown instead of steam. Skip this temp and you’ll end up with the sad, soggy version that gives frozen vegetables a bad reputation.
Safety First: Air fryers run extremely hot — the basket and tray reach temperatures that cause serious burns almost instantly. Always use silicone-tipped tongs or oven mitts when shaking the basket or removing florets. Never reach bare-handed into a running air fryer, and keep kids away from the exhaust vent during cooking. Place your unit on a heat-safe surface with at least 5 inches of clearance on all sides.
Quick Facts: Frozen Cauliflower in the Air Fryer
- Temperature: 400°F (204°C) — don’t go lower
- Time: 14–16 minutes from frozen, shake at the 8-minute mark
- Do not thaw first — it makes things worse, not better
- Single layer only — overcrowding is the #1 reason cauliflower turns mushy
- A light coat of oil (about ½ tsp per cup of florets) makes a noticeable difference on browning
I’ve made this more times than I can count, and I still messed it up the first few tries. The frozen bag I grabbed said “microwave or oven” on the back — air fryer instructions, nowhere. So I guessed, got it wrong, and ate limp cauliflower for dinner like it was a punishment. Let me save you from that.
Why Frozen Cauliflower Goes Mushy (And What’s Actually Going Wrong)
Frozen vegetables are loaded with water. Not just surface water — the freezing process breaks down cell walls, which means when heat hits them, they release moisture from the inside out. That moisture has to go somewhere. If your air fryer isn’t hot enough, or the basket is too crowded, it just sits there and steams the cauliflower from underneath. You don’t get roasted florets. You get boiled ones.
The fix isn’t complicated. You need three things: high heat, airflow, and space. That’s basically it. Get those right and you’ll have genuinely crispy edges with a tender middle, which is exactly what you want.
One thing I got wrong early on: I kept setting my air fryer to 375°F because it felt “safer” and less likely to burn things. That was my mistake. 375°F isn’t hot enough to evaporate the moisture fast. The cauliflower just stews. Go to 400°F. Commit to it.
The Exact Method I Use Every Time
Step 1: Don’t Thaw, Don’t Rinse
Pull the florets straight from the freezer. Thawing them first turns them into a wet, floppy mess before they even hit the basket. I know it feels counterintuitive — like you should prep them somehow — but frozen and dry is genuinely the better starting point here.
Step 2: Add a Little Oil
Toss the frozen florets in a bowl with about ½ teaspoon of neutral oil per cup of cauliflower. Avocado oil is my preference because it handles high heat without smoking up my kitchen. Olive oil works fine too, though it’ll smoke a bit more at 400°F. Just enough oil to barely coat them — you’re not deep frying.
Then season. Salt, pepper, garlic powder. Or smoked paprika. Or everything bagel seasoning, which sounds odd but is actually really good on cauliflower. Season now, before cooking, not after.
Step 3: Single Layer, 400°F, 14–16 Minutes
Set your air fryer to 400°F and let it preheat for about 3 minutes if yours has that function. Spread the florets in a single layer. They shouldn’t be touching much — if they are, cook in two batches. I know that’s annoying. But a crowded basket is a mushy basket, full stop.
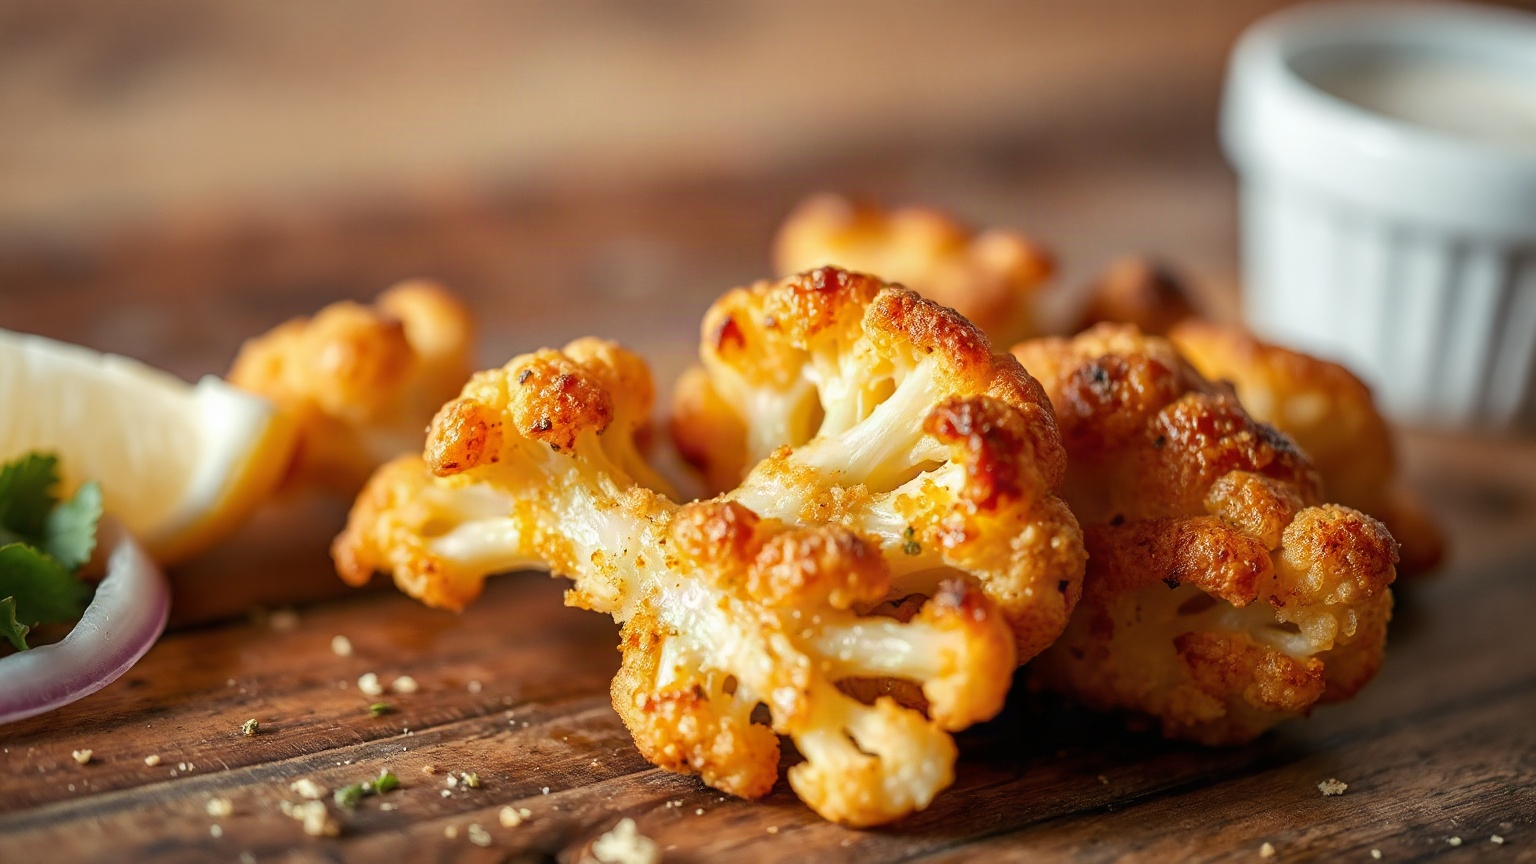
Cook for 8 minutes. Shake or flip. Cook another 6–8 minutes. You’re looking for golden-brown edges and spots that look almost charred — that’s actually good. That’s where the flavor is. Serious Eats has written about this with regular oven-roasted cauliflower — the same principle applies here. Don’t pull it out too early because it looks “done enough.”
Temperature and Time Comparison: What Actually Happens at Each Setting
I tested this at several temperatures so you don’t have to. Here’s what I found:
| Temperature | Time | Result | Worth It? |
|---|---|---|---|
| 350°F | 18–20 min | Soft, barely any browning, almost steamed texture | No |
| 375°F | 16–18 min | Slightly better, still more pale than golden | Marginal |
| 400°F | 14–16 min | Golden edges, crispy bits, tender inside | Yes — this is the one |
| 425°F | 11–13 min | Good browning but watch closely, can burn fast | Only if your air fryer runs cool |
400°F is the sweet spot for almost every air fryer I’ve tested. If yours tends to run hot (some basket-style models do), check at the 12-minute mark. If it runs cool, 425°F might actually be what “400°F” feels like on your unit. You’ll figure out your machine after one or two rounds.
Seasoning Ideas That Actually Work Well
Plain salt and pepper is genuinely fine. But here are a few variations I’ve come back to more than once:
- Parmesan + garlic powder: Add the parmesan in the last 3 minutes of cooking so it gets crispy rather than burnt
- Buffalo style: Toss in buffalo sauce right after cooking, then pop back in for 2 minutes — skip adding sauce before, it just makes things wet
- Cumin + smoked paprika: My personal go-to. Tastes almost smoky, goes great with a yogurt dipping sauce
- Lemon pepper: Simple, works every time
One thing I’d avoid: adding sauces or anything liquid before cooking. Wet coatings trap steam against the cauliflower surface and you lose all the crispness you worked for. Dry seasonings only going in, wet sauces only going out.
Does Your Air Fryer Model Matter?
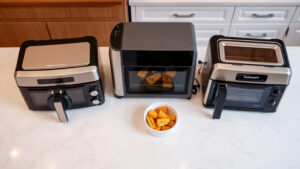
Honestly, yes — a little. Basket-style air fryers (like the Cosori basket air fryer) tend to circulate heat very efficiently around individual pieces, which is great for getting crispy florets. Toaster oven-style air fryers (like the Breville Smart Oven or Cuisinart TOA-70) work well too, but you’ll want to use a perforated crisper tray or air fryer basket insert rather than a solid pan — solid pans trap moisture underneath and you’re back to steaming again.
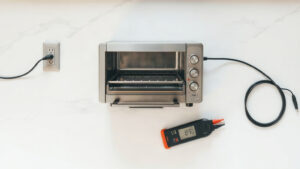
If you’re using a toaster oven in air fryer mode, check out our roundup of the best mini toaster ovens — some handle air frying much better than others, and it genuinely affects results like this. Also, if you’re wondering whether your toaster oven’s actual temperature matches what the dial says, our piece on reheating food in a toaster oven touches on this — oven thermometers are cheap and worth using at least once to calibrate your expectations.
The Food Network’s guide to cooking frozen vegetables mentions that high, dry heat is the consistent recommendation across cooking methods — the air fryer just happens to be the most efficient way to deliver that at home.
One quick note on capacity: if you’re cooking more than about 2 cups of frozen cauliflower at once, almost any basket air fryer under 5.8 quarts is going to struggle. You’ll need two batches. It’s annoying but it’s the honest answer. A larger air fryer oven solves this if you cook for more than one or two people regularly.
Wrapping Up
There’s no magic trick here. 400°F, single layer, don’t thaw, shake halfway — that’s genuinely all of it. The reason most people get soggy cauliflower is either the temperature is too low or the basket’s too crowded, and usually it’s both at once. Fix those two things and frozen cauliflower goes from a sad weeknight side dish to something you’ll actually want to eat.
I’ve served this alongside grilled chicken, eaten it as a snack with hot sauce, and — this is slightly embarrassing — had it for lunch three days in a row one week. It holds up. And it takes 20 minutes start to finish from a frozen bag. That’s hard to beat.
Frequently Asked Questions
Can you air fry frozen cauliflower without oil?
You can, but the results are noticeably worse. Without oil, the florets tend to dry out and shrivel rather than brown, and you lose most of the crispy texture. Even a very light spray of cooking oil — less than a teaspoon total — makes a real difference in both color and bite.
How do you make frozen cauliflower crispy instead of soggy?
Cook it at 400°F in a single layer with space between pieces, and do not thaw it first. The two biggest culprits for soggy cauliflower are too-low temperature (which lets moisture pool instead of evaporate) and overcrowding (which traps steam). Fix those and crispy results follow consistently.
Do you need to thaw frozen cauliflower before air frying?
No — cook it straight from frozen. Thawing releases a lot of water that then steams the florets instead of letting them roast. Frozen-to-fryer is actually the better approach, and it doesn’t add meaningful cooking time.
How long does frozen cauliflower take in an air fryer?
At 400°F, frozen cauliflower florets take about 14–16 minutes total, with a shake or flip at the 8-minute mark. Smaller florets may be done closer to 13 minutes; larger or denser ones might need the full 16. Check for golden-brown edges as your visual cue rather than relying purely on the timer.
Can you air fry frozen riced cauliflower?
Riced cauliflower is trickier — the tiny pieces tend to fall through basket gaps and don’t crisp the same way florets do. If you want to try it, use a solid-bottom perforated tray, spread it very thin, and stir every 4–5 minutes at 390°F. Results are more “toasted” than crispy, but it’s workable for certain recipes.

Written by
Emma is a home cook who loves coaxing big flavor out of a toaster oven — from crispy roasted vegetables to easy weeknight dinners and sweet treats. She develops and tests Toastera's recipes for small-appliance kitchens.
Free: the Toaster Oven Cheat Sheet
Get the printable cheat sheet (temps, cook times & safety tips) plus new recipes. No spam, unsubscribe anytime.