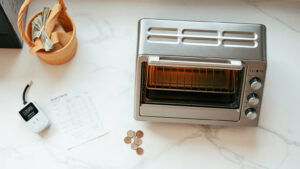
A toaster not heating up on one side is almost always caused by a broken or burned-out nichrome heating element on that side, a loose internal wire connection, or a faulty thermostat that’s cutting power unevenly. The nichrome wire — that thin, coiled element you can see glowing orange when everything’s working — can snap or corrode at a single point, which kills the heat on that entire side. Left unfixed, you’ll keep pulling out bread that’s toast on one face and practically raw on the other.
Safety First: Before inspecting, cleaning, or attempting any repair on your toaster, unplug it from the wall — not just switch it off, actually pull the plug. Capacitors inside some toasters can hold a charge briefly after power is cut, so wait 60 seconds before touching anything internal. Never open a toaster while it’s warm, and never stick metal tools into a plugged-in toaster. If you smell burning plastic or see scorched wiring, stop and replace the unit rather than repair it.
Quick Facts: One-Sided Toaster Heating
- Nichrome heating elements operate at between 1,700°F and 1,800°F at the wire surface — a single break in the circuit and that side goes completely cold.
- The most common culprit in 4-slice toasters is a broken element or a loose wire on one set of slots, not a toaster-wide failure.
- Crumb buildup is a contributing cause, not just a cleanliness issue — packed crumbs can insulate elements or cause uneven heat distribution.
- Most one-sided heating problems in budget toasters aren’t worth the repair cost; mid-range and above are generally worth opening up.
- A simple multimeter test (resistance across the element) takes under two minutes and tells you exactly whether the element is dead or the problem is elsewhere.
Why Only One Side? The Real Cause
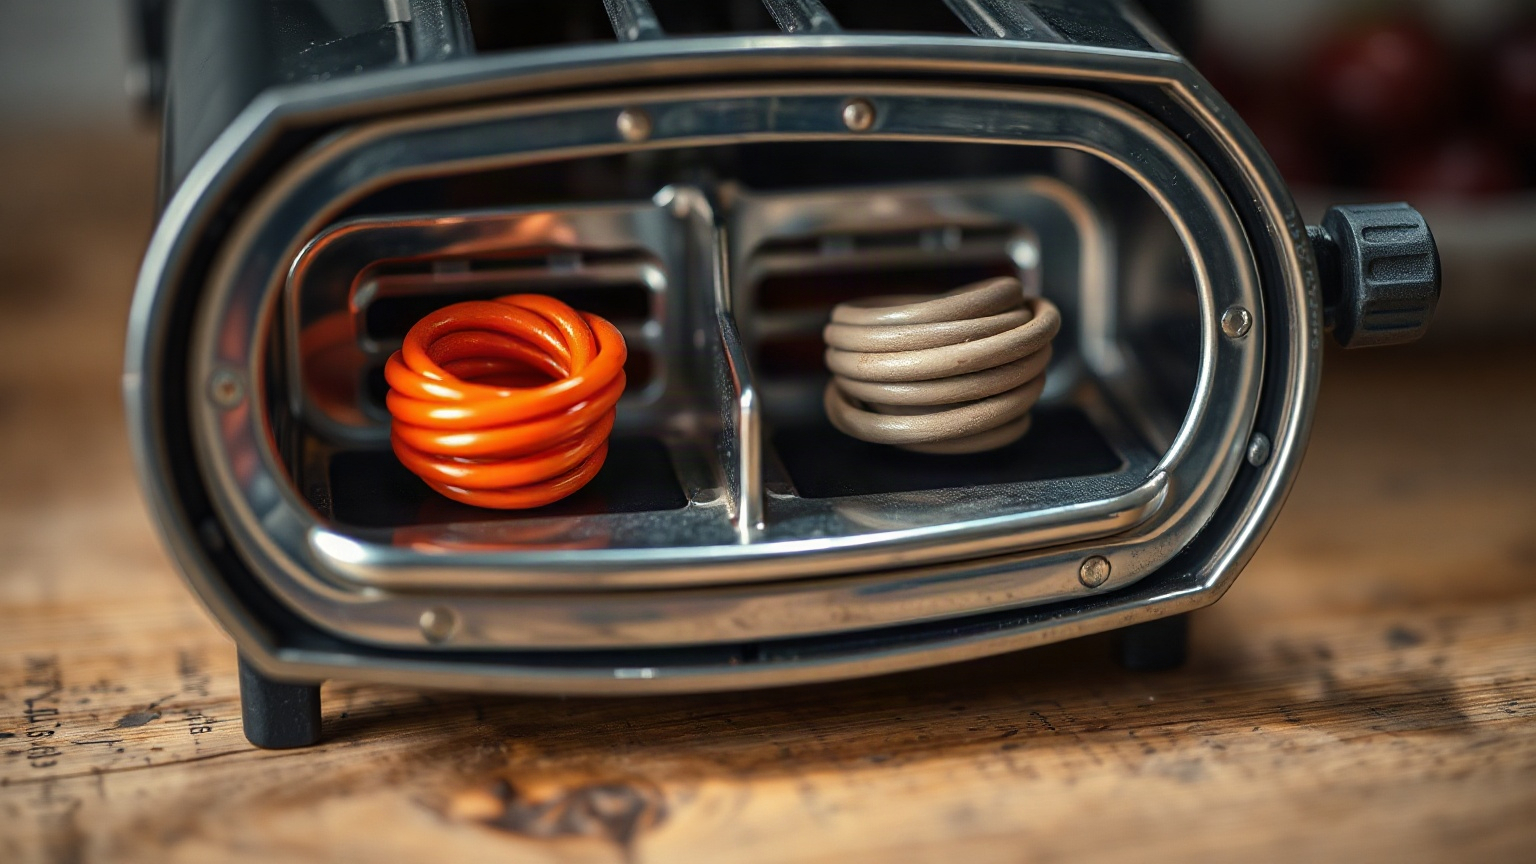
Here’s the thing people miss: your toaster doesn’t have one heating element. It has multiple — usually one per slot face, sometimes shared between adjacent slots depending on the design. So when one side of your toast stays pale and limp while the other side could start a small fire, you’re likely dealing with a localized problem, not a total electrical failure.
The nichrome wire (nickel-chromium alloy, for what it’s worth) is strung back and forth across a mica board in a zigzag pattern. How hot a toaster gets depends on how much current runs through that wire — and if there’s even one break in the circuit, that entire section stops producing heat. The rest of the toaster can work fine. Your bread just toasts on one side like it’s doing yoga in front of a campfire.
Broken Nichrome Wire
This is the number one cause. Nichrome wire is durable but not immortal. It expands and contracts thousands of times over its life — each toast cycle is a thermal stress event — and eventually it cracks. You can sometimes see a break with the naked eye if you hold the toaster up to a light and look down the slot carefully (toaster unplugged, obviously). The element on the dead side won’t glow at all when you run a cycle.
Loose or Corroded Wire Connections
The heating elements connect to the toaster’s electrical system via small terminal clips or solder points. On cheaper toasters especially, these can loosen from vibration over time or corrode if moisture ever got into the unit. A connection that’s 90% intact might still pass enough current to look fine from outside — until it doesn’t. I’ve opened up toasters where the wire looked connected but pulled free with almost no force at all.
A Stuck or Faulty Thermostat
Toasters use a bimetallic thermostat or a simple timer mechanism to control the browning cycle. If that component fails or sticks, it can cut power to one heating circuit before the other. The result? One side browns, one side barely warms. This is less common than a broken element, but it’s the cause people overlook because it mimics an element failure so closely.
Crumb Buildup Causing Uneven Heat
I’ll be honest: I underestimated this one for years. A thick layer of crumbs packed under and around one side of the element can act as insulation, blocking radiant heat from reaching the bread. It won’t completely kill that side’s element — the wire still glows — but it changes how heat distributes inside the slot. If one side is consistently lighter but the element looks intact, clean the crumb tray and gently brush out the slot interior before doing anything more drastic.
How to Diagnose Which Problem You Have
Don’t skip this step and go straight to buying a new toaster. Takes maybe five minutes and it tells you whether you can fix it yourself, need a professional, or should just replace the thing.
The Visual Check (30 seconds)
Plug the toaster in. Start a toast cycle. Watch which elements glow orange and which don’t. The dead side won’t glow at all if the element is broken. Both sides glowing but one side consistently producing less heat is a different problem — probably crumb buildup or a mild element degradation, not a full break. Take a photo through the slot if you need to compare sides. Then unplug it.
The Multimeter Test (2 minutes)
Unplug the toaster. Remove the bottom panel (usually two or four Phillips screws). Set your multimeter to resistance (ohms). Touch the probes to the terminals of the suspected dead element. A working nichrome element in a standard toaster will show somewhere between 10 and 30 ohms of resistance — the exact number varies by toaster wattage and element length, but you should get a reading. An open circuit reading (OL or “1” on most meters) means the element wire is broken. No reading, element’s dead. That simple.
If the element reads fine, test the wire connections leading to it — look for any that pull loose easily or show green/white corrosion.
Can You Fix It Yourself?
Depends on the problem and the toaster. Here’s my honest take after pulling apart more toasters than I’d like to admit.
Loose Wire Connection: Yes, Usually Fixable
If you find a terminal that’s pulled loose, you can often push it back onto its contact or re-crimp it. Some connections are soldered — if that solder joint has cracked, you can reflow it with a basic soldering iron if you’re comfortable doing that. Takes ten minutes, costs nothing if you already have the iron. I’d say this is the most satisfying fix because it’s quick, cheap, and you can see exactly what was wrong.
Broken Nichrome Element: Harder, Sometimes Not Worth It
Replacement nichrome heating elements do exist, and you can find compatible mica-board element assemblies for many common toaster models. The problem is that sourcing the right part for a budget $20 toaster often costs more than the toaster. For a decent mid-range model — say something that originally ran $50–$80 — it’s genuinely worth looking up the model number and searching for a replacement element. The install is tedious but not complex: remove the old element panel, slide the new one in, reconnect the terminals.
For a cheap toaster under $30, I’d just replace it. Some things aren’t worth the time.
Faulty Thermostat: Probably Replace the Toaster
Thermostat replacements are available for some models but getting them properly calibrated is genuinely tricky without the right equipment. Unless you’re working on a high-end toaster or you really enjoy this kind of project, a faulty thermostat is usually the moment to start looking at best mini toaster ovens or a new toaster instead.
Repair vs. Replace: A Quick Comparison
| Problem | Difficulty | Approx. Repair Cost | Worth Fixing? |
|---|---|---|---|
| Loose wire connection | Easy | $0–$5 | Yes, almost always |
| Crumb buildup | Very easy | $0 | Absolutely |
| Broken nichrome element (mid-range toaster) | Moderate | $10–$25 for part | Often yes |
| Broken nichrome element (budget toaster) | Moderate | $10–$25 for part | Rarely — replace the toaster |
| Faulty thermostat | Hard | $15–$40+ for part | Usually not |
| Scorched/damaged wiring | Very hard | Variable | No — safety risk |
The Edge Case Most Articles Don’t Mention: Slot Position Matters
Here’s something I’ve never seen covered elsewhere. On 4-slice toasters with two pairs of slots, the middle heating elements — the ones between the two pairs — are often shared. Meaning one element serves the right side of the left slot pair and the left side of the right slot pair simultaneously. If that center element goes, you’ll get two inner faces not toasting properly across two different slots. It looks like two separate problems. It’s actually one element failure.
This trips people up because they think there’s something wrong with the left slot on pair A and the right slot on pair B, when really it’s one dead center element. If you’re diagnosing a 4-slice toaster, always map which specific faces are dead before assuming how many elements are affected. One visual inspection cycle with the toaster running will make this obvious — look at which glowing sections are missing, not just which slots seem “off.”
Also worth knowing: some toasters have a “defrost” or “bagel” mode that intentionally heats only one side. I’ve seen people bring toasters in for “repair” when they’d accidentally hit the bagel button. Check your settings first. Seriously.
Keeping It From Happening Again
Empty the crumb tray every two weeks if you use the toaster daily. Once a month, tip the toaster upside down over the sink and give it a gentle shake — you’ll be horrified by what comes out. A dedicated toaster cleaning brush gets into the slots without damaging the elements. Don’t use water inside the slots, ever.
Avoid putting things in that are too thick for the slot. Forcing oversized bread in can physically bend or stress the element panels — I learned this the hard way with a particularly ambitious sourdough loaf. And if your toaster has bagel mode, make sure you actually know which button that is so you don’t accidentally blame the appliance for doing exactly what you told it to.
For more background on how heat actually moves inside these machines, the Serious Eats team has done some genuinely interesting work on browning science that explains why even heat distribution matters more than maximum temperature.
If your toaster is beyond saving and you want something more versatile, it might be time to look at a proper countertop model — see our roundup of reheating food in a toaster oven for why the upgrade is often worth it. A toaster oven handles uneven heat far better by design, since the elements are more spread out and often fan-assisted.
If you do stick with a toaster-style unit, a wide-slot 2-slice toaster with stainless elements tends to hold up better over time than the super-cheap 4-slice units. More slots doesn’t always mean better build quality — often the opposite.
Final Thoughts
One-sided toasting is annoying but rarely mysterious once you know where to look. Start with the free stuff: check your settings, clean the crumbs, do the visual element check. If an element is dead, the multimeter confirms it in two minutes. From there, whether you repair or replace comes down to what the toaster cost originally and how much you actually like it.
My personal threshold is this: if the toaster cost more than $40 new and the fix is a loose wire or a $15 element, fix it. If it’s a $20 grocery store special, thank it for its service and move on. Life’s too short for half-toasted bread.
Frequently Asked Questions
Why is my toaster only heating on one side?
The most likely cause is a broken nichrome heating element on the cold side — a single break in the wire stops all heat on that circuit. Loose wire connections and crumb buildup are the next most common causes, both of which are easier to fix.
Can I fix a toaster that’s not heating on one side?
Yes, in many cases. Loose connections are easy to reattach or re-solder. Replacement heating elements are available for many models and aren’t hard to install. Whether it’s worth the effort depends on the toaster’s original cost — budget toasters under $30 rarely make financial sense to repair.
How do I test if my toaster heating element is broken?
Use a multimeter set to resistance (ohms) and touch the probes to the element’s terminals with the toaster unplugged. A working element reads roughly 10–30 ohms; an open circuit reading (OL) means the element wire has snapped and needs replacement. You can also do a visual check — a dead element won’t glow during a toast cycle.
Is my toaster broken or is it set to bagel mode?
Bagel mode on most toasters intentionally heats only one side — usually the inner element — to toast the cut face while warming the outside. Before assuming a fault, check whether you’ve accidentally activated this setting. It’s more common than people admit.
How long do toaster heating elements last?
Most toaster heating elements are rated for around 20,000 to 30,000 cycles under normal use. For someone toasting twice a day, that’s roughly 27–40 years — but real-world lifespans are shorter because of power surges, moisture exposure, and physical stress from oversized bread. Budget toasters often fail much sooner due to lower-quality nichrome wire and thinner mica boards.

Written by
Emma founded Toastera to turn vague appliance advice into clear, researched, safety-first guidance on toasters and toaster ovens.
Free: the Toaster Oven Cheat Sheet
Get the printable cheat sheet (temps, cook times & safety tips) plus new recipes. No spam, unsubscribe anytime.