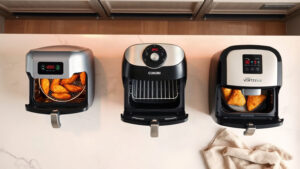
I didn’t think tofu katsu was going to be my thing. But after making it a few times, I’ve stopped bothering with the stovetop version — the toaster oven does something I really like, which is toast the panko evenly on all sides without requiring a half-inch of oil in a skillet. It’s genuinely less messy and the crust is more consistent.
The trick — and I mean the only trick — is pressing the tofu hard and long enough that it’s actually dry before it hits the breadcrumbs. I’ve used a tofu press for this, but a stack of books on top of a towel-wrapped block works just as well. Skip this step and you’ll get soft, damp breading. Nobody wants that.
For the crunch, I oil the panko directly rather than spraying the outside of the coated tofu. Something about getting the oil into the crumbs before baking makes them brown more evenly. You want them to go into the oven looking slightly damp, not bone dry. If you’ve got a small wire rack that fits your toaster oven tray, use it — airflow under the tofu helps the bottom crust up instead of going soft.
The sesame slaw is fast and a little tangy, which cuts through the richness of the breaded tofu nicely. Serve the whole thing over rice and drizzle with tonkatsu sauce. Hoisin works too if that’s what you’ve got in the fridge.
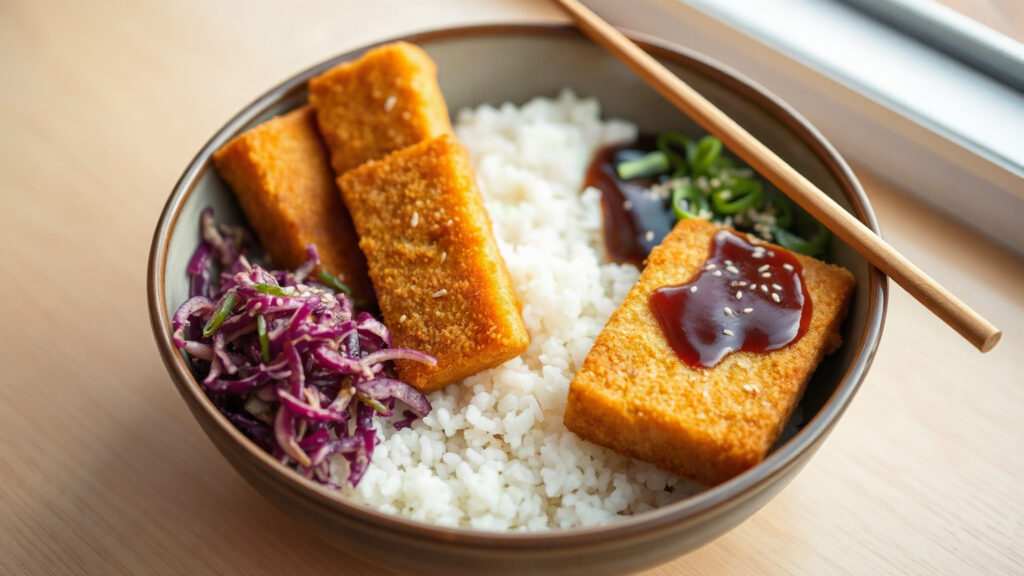
Toaster Oven Crispy Panko-Crusted Tofu Katsu with Sesame Slaw
Thick slabs of firm tofu get coated in panko, toasted until genuinely crispy in the toaster oven, and served over a quick sesame slaw. It's faster than you'd think and honestly better than most versions I've had at restaurants.
Ingredients
Tofu Katsu
Sesame Slaw
For Serving
Instructions
Press and Slice the Tofu
-
If you haven't already pressed your tofu, wrap it in a clean kitchen towel, set a heavy pan on top, and let it sit for at least 20 minutes. This step really matters — wet tofu will steam instead of crisp.
-
Once pressed, cut the block into 4 even slabs, each about 3/4-inch thick. Pat them dry one more time with paper towels.
Set Up Your Breading Station
-
Preheat your toaster oven to 425°F on the bake or convection bake setting. Line the toaster oven tray with foil and set a wire rack on top if you have one that fits — it helps air circulate under the tofu.
-
In a shallow bowl, combine the panko, garlic powder, smoked paprika, salt, and pepper. Drizzle the oil over the panko and toss well with a fork until the crumbs look slightly damp and clumped. This is what gives you that deep golden color without deep frying.
-
Put the flour in a second shallow bowl and the beaten eggs in a third.
Bread the Tofu
-
Working one piece at a time: dredge in flour (shake off the excess), dip in egg, then press firmly into the panko on both sides. Really press it in. Set each piece on the rack or foil-lined tray.
Toast Until Crispy
-
Slide the tray into the toaster oven and bake for 18 to 22 minutes, flipping once at the 10-minute mark. You're looking for deep golden brown on both sides. If your toaster oven runs cool, give it another 3 minutes — pale panko is sad panko.
Make the Slaw
-
While the tofu cooks, toss both cabbages and the carrot together in a bowl. Whisk the rice vinegar, sesame oil, soy sauce, and honey in a small bowl, then pour it over the vegetables. Add the sesame seeds and scallions and toss everything together. Let it sit for at least 5 minutes — it softens a bit and gets better.
Serve
-
Slice each tofu katsu piece in half on the diagonal if you want it to look nice (you don't have to). Serve over rice with the slaw on the side and a generous drizzle of tonkatsu or hoisin sauce over the top.
Notes
Pressing the tofu is non-negotiable if you want real crunch. Twenty minutes is the minimum; an hour is better. If you don't have a wire rack that fits your toaster oven tray, just flip the tofu halfway through and it'll still come out pretty crispy. Leftovers reheat surprisingly well — put them back in the toaster oven at 400°F for about 6 minutes instead of microwaving, which just makes them rubbery. The slaw keeps in the fridge for a day, though it gets softer the longer it sits.
Nutrition
Rate this recipe
Made it? Tap a star to rate.

Written by
Emma is a home cook who loves coaxing big flavor out of a toaster oven — from crispy roasted vegetables to easy weeknight dinners and sweet treats. She develops and tests Toastera's recipes for small-appliance kitchens.
Free: the Toaster Oven Cheat Sheet
Get the printable cheat sheet (temps, cook times & safety tips) plus new recipes. No spam, unsubscribe anytime.