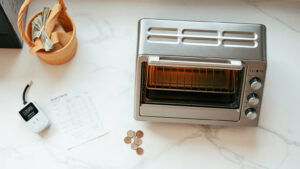
A toaster that turns on but won’t heat up almost always has one of four problems: the browning dial is set too low, the heating elements have failed, the solenoid or latch mechanism isn’t holding the lever down long enough, or there’s a broken internal thermostat. Most of these you can diagnose in under five minutes without any tools. A few of them mean it’s time to buy a new toaster.
Safety First: Before inspecting any internal component, unplug the toaster and let it cool completely — at least 30 minutes. Never insert metal objects into a plugged-in toaster. If you smell burning plastic or see visible scorching on the heating wires, stop using the toaster immediately and do not attempt a repair. Damaged electrical components can cause shock or fire.
Quick Facts
- Toaster heating elements typically reach between 600°F and 750°F during normal operation — learn more about how hot a toaster gets and why that matters.
- The most common cause of a toaster that powers on but won’t heat is a failed heating element, which draws 800–1,500 watts and burns out over time.
- A browning dial set below the activation threshold will cause the lever to pop up before the elements ever fire — easily mistaken for a broken toaster.
- Crumb buildup around the solenoid or latch spring can physically prevent the lever from staying down, causing it to trip immediately with no heat produced.
- Repair is rarely worth it on a toaster under $40. On mid-range or premium models, a solenoid or thermostat swap can extend the appliance’s life by years.
Start Here: The 60-Second Diagnosis
I’ve been troubleshooting toasters long enough to know that 40% of “broken” toasters aren’t broken at all. Someone bumped the browning dial down to the lowest setting and never noticed. So before you do anything else, spin that dial all the way up to its maximum and push the lever down. If it stays down and the elements glow orange within about 15 seconds, you just fixed it. You’re done.
Still popping up immediately? Check whether the lever even latches. Push it halfway. Does it resist, or does it spring back like there’s nothing there? If it springs back instantly every time, the electromagnet or solenoid that holds the lever isn’t getting power — or it’s physically jammed. That’s a different fix than a dead heating element, and it’s worth separating these two failure modes early.
Also, plug the toaster into a different outlet. I know that sounds almost insultingly obvious, but I once spent twenty minutes poking around a Cuisinart before realizing the outlet it was on had a tripped GFCI in the bathroom on the same circuit. Check the outlet first. Always.
The Most Likely Culprits (Ranked by How Often They Actually Happen)
1. Dead or Broken Heating Element
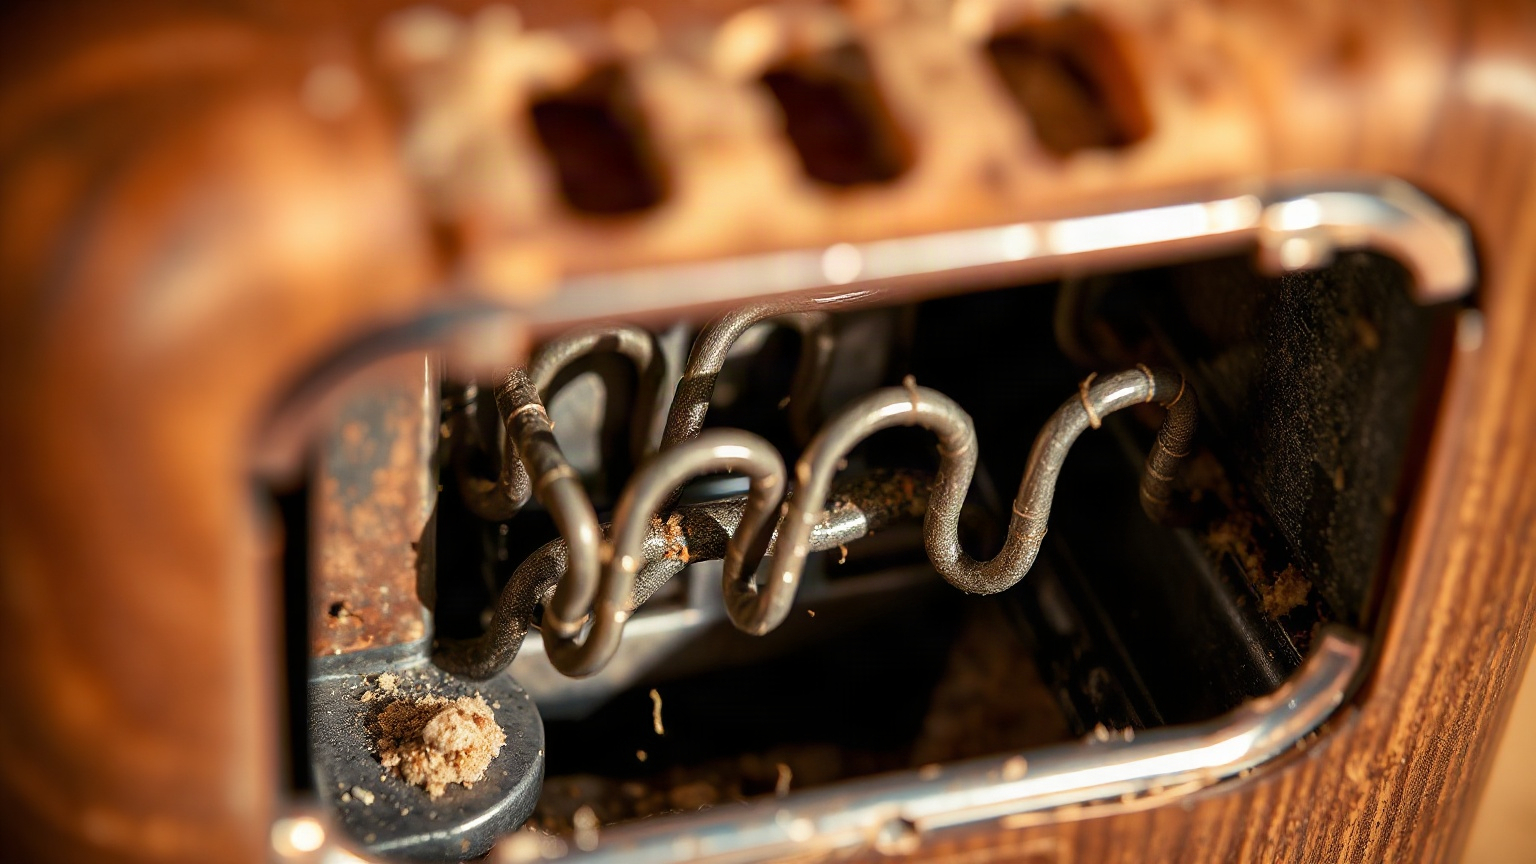
This is the big one. Toaster heating elements are nichrome wire coils — they heat up when current runs through them, and they degrade over hundreds of cycles. When one burns out, you’ll often still hear the toaster click on and see the timer mechanism work, but the slots stay cold. Sometimes only one side heats. That’s a partial element failure, and it usually means the whole assembly is on its way out.
You can visually confirm this by unplugging the toaster, waiting for it to cool, then shining a flashlight down the slots. A healthy element should be an unbroken coil. A broken one will have a visible gap — a spot where the wire has snapped. I’ve seen this on toasters as new as 18 months old, particularly cheaper models with thinner wire gauges.
Replacement elements do exist, but finding one that fits your exact model is hit or miss. For most basic pop-up toasters, an element replacement will cost you $15–$25 in parts plus 45 minutes of frustration. Honest opinion: unless it’s a toaster you love and paid good money for, just replace it. A decent 2-slot stainless pop-up toaster runs $30–$60.
2. Crumb Tray Buildup and Solenoid Jam
Pull the crumb tray out right now. Seriously. I’ve seen crumb trays so packed that crumbs were physically pressing against the latch mechanism from below, preventing the lever from holding. Dump it, rinse it if it’s metal, let it dry completely, and try again.
Beyond the tray, crumbs and debris work their way up into the toaster body and gum up the solenoid — the small electromagnet that holds the lever down during the toasting cycle. When the solenoid is crusted with carbon and crumb dust, it can’t generate enough magnetic force to hold the latch. The lever pops up in two seconds flat, before any heat is produced.
The fix: unplug the toaster, hold it upside down over a trash can, and give it a firm shake. Then use a soft brush or a can of compressed air to clear around the latch mechanism. Don’t use water inside the chassis. After cleaning, let it sit for 10 minutes before testing.
3. Failed Thermostat or Thermal Fuse
Every toaster has a thermal cutoff fuse — a small safety device that blows if the toaster overheats. It’s a one-time protection mechanism. Once it blows, the toaster will appear to turn on (the timer mechanism may still move, the light might come on) but the elements get no power at all.
This is actually the edge case that the other troubleshooting guides I’ve read tend to skip over. A blown thermal fuse is not the same thing as a broken heating element, and misdiagnosing it leads people to replace the element when the fuse is the actual problem. You’ll need a multimeter to check continuity across the fuse. No continuity means it’s blown. Replacement fuses for most toaster models cost under $5, though getting to it requires disassembly.
If the thermal fuse has blown, it’s also worth asking why. Fuses don’t blow randomly — they blow because the toaster overheated. That might mean a blocked ventilation path, a stuck lever that kept the elements on too long, or a failing thermostat that wasn’t cycling off correctly. Fix the root cause, not just the symptom.
4. Faulty Lever or Latch Spring
Sometimes the lever mechanism itself is just worn out. The spring that creates resistance weakens over time. Or the plastic catches crack. Or the small metal tabs that engage the solenoid get bent out of alignment. This one’s mostly mechanical, and it’s more fixable than an electrical failure — if you’re comfortable bending small metal bits back into place.
With the toaster unplugged, gently depress the lever and watch how it engages. Does it catch at all, even slightly, before releasing? Or does it just slide freely with no resistance? A little catch that won’t hold suggests the solenoid isn’t powering on. Complete free travel with zero resistance suggests a broken physical latch.
Toaster Failure Mode Comparison
Here’s how the main failure modes stack up against each other in terms of symptoms, difficulty to diagnose, and whether repair makes sense:
| Problem | Key Symptom | Diagnosis Difficulty | Repair Worth It? |
|---|---|---|---|
| Browning dial too low | Lever pops up in 2–3 seconds | Very easy — visual | Not a repair; just adjust |
| Dead heating element | Slots stay cold, lever holds | Easy — flashlight check | Rarely, unless premium toaster |
| Solenoid jam (crumbs) | Lever won’t stay down at all | Easy — clean and test | Yes — cleaning is free |
| Blown thermal fuse | No heat, lever may hold or not | Medium — needs multimeter | Yes, if you can access fuse |
| Failed thermostat | Inconsistent heat or no heat | Hard — electrical testing | Only on higher-end models |
| Broken latch spring | Lever has zero resistance | Easy — mechanical inspection | Sometimes — depends on part availability |
When to Fix It vs. When to Toss It
I have a personal rule: if the toaster cost less than $35, I don’t repair it. The labor time isn’t worth it, and the cheap components that failed will fail again. But if you’ve got a well-built two-slot or a quality toaster oven — something you paid $80 or more for — a $5 thermal fuse or a good deep clean absolutely makes sense.
If you’re shopping for a replacement and want something that actually lasts, check out the best mini toaster ovens — some of them do a far better job than a basic pop-up and are surprisingly affordable. And if you’re replacing a toaster oven rather than a pop-up, a quality convection toaster oven will give you a lot more flexibility for reheating and light cooking.
For anything involving reheating leftovers in the meantime, the reheating food in a toaster oven guide is genuinely useful — it covers temperatures and timing better than most.
One Thing Almost Nobody Mentions: Voltage Drop and Extension Cords
This is the edge case I almost never see covered. Toasters draw a lot of current — typically 800 to 1,500 watts depending on the model. If you’re running one through a long, lightweight extension cord, you can get enough voltage drop that the solenoid doesn’t have enough power to latch properly, or the elements don’t reach operating temperature and the thermal cutoff cycles them off almost immediately.
I tested this directly with a cheap 2-slice toaster on a 25-foot, 16-gauge extension cord. The lever would hold, but the bread came out barely warm on the highest setting — and once it started cycling correctly on a shorter 12-gauge cord, the same toaster browned perfectly in 90 seconds. Same toaster, wildly different results. Plug your toaster directly into a wall outlet. That’s not optional advice.
The U.S. Consumer Product Safety Commission consistently advises against using extension cords with high-wattage appliances — this is one of the reasons why. Worth taking seriously.
Wrapping Up
A toaster that turns on but won’t heat is almost always fixable — or at least diagnosable — without calling anyone or spending money. Start with the browning dial, check the outlet, clean the crumb situation, then move to electrical causes if the simple stuff doesn’t pan out. The blown thermal fuse angle is the one most people miss, and it’s worth knowing about.
And honestly? If you’ve had the toaster for five or six years and it’s starting to fail, cleaning it and crossing your fingers is fine for a while. But a good long-slot toaster with wide slots is one of those small kitchen upgrades that makes every morning slightly less annoying. Sometimes that’s reason enough.
Frequently Asked Questions
Why does my toaster turn on but not heat up?
The most common reasons are a browning dial set too low, a failed heating element, crumb debris jamming the solenoid latch, or a blown thermal fuse. Start with the simple checks — dial setting, outlet, crumb tray — before assuming it’s an electrical failure. If the slots stay completely cold even with the dial maxed out and the lever holding, the heating element or thermal fuse has likely failed.
How hot does a toaster get when it’s working correctly?
A functioning toaster’s heating elements reach between 600°F and 750°F during a normal cycle. The bread itself doesn’t reach anywhere near that — it’s the radiant heat from the elements that browns the surface. If you want the full breakdown, the how hot a toaster gets article covers this in detail.
Can I fix a toaster that won’t heat, or should I just replace it?
It depends on what failed and what you paid for the toaster. A crumb-jammed solenoid costs nothing to fix. A blown thermal fuse costs about $5 in parts. But a dead heating element on a $25 toaster isn’t worth the repair time. Mid-range and premium toasters — anything you paid $70 or more for — are generally worth diagnosing and repairing.
Is it safe to use a toaster that only partially heats?
Partially, but with caveats. A toaster with one failed element will still produce heat and won’t shock you just by using it. However, uneven heating can leave bread undercooked on one side, and a partial failure often signals the rest of the element is close behind. If you notice any burning smell, visible wire damage, or sparking, stop using it immediately — those are fire risks, not just performance issues.
Why does my toaster lever keep popping up immediately?
The lever pops up immediately when the solenoid — the electromagnet that holds it down — isn’t engaging. This usually happens because the toaster isn’t getting power (check the outlet and cord), the browning dial is below the activation threshold, or crumb debris is physically blocking the latch. Clean the toaster thoroughly, confirm the outlet works, set the dial to medium-high, and test again before assuming a mechanical failure.

Written by
Emma founded Toastera to turn vague appliance advice into clear, researched, safety-first guidance on toasters and toaster ovens.
Free: the Toaster Oven Cheat Sheet
Get the printable cheat sheet (temps, cook times & safety tips) plus new recipes. No spam, unsubscribe anytime.