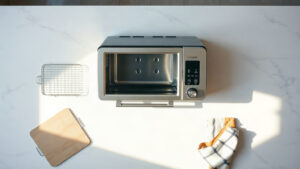
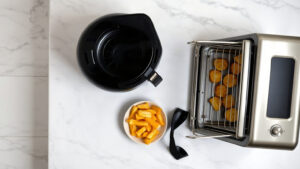
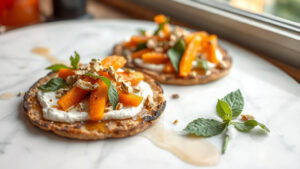
The broil setting on a toaster oven dial activates only the top heating element at maximum heat — typically between 450°F and 500°F — to cook food fast with direct, intense radiant heat from above. This is fundamentally different from baking or toasting, which use gentler, more even heat. The practical upshot: broiling is what you reach for when you want a seared crust, melted cheese, or caramelized surface in minutes, not in an oven cycle.
Safety First: Broiling runs your toaster oven’s top element at or near its maximum temperature — surfaces get extremely hot, grease can ignite if food is too close to the element, and steam or smoke can build up fast in a small cabinet. Never broil with foil covering the crumb tray (it traps heat dangerously), keep the oven door cracked if your model’s manual says to, and stay nearby the whole time. A broiling cycle left unattended for even two or three extra minutes can char food badly or cause a grease fire.
Quick Facts: Broiling in a Toaster Oven
- Broil uses only the top heating element, usually running at 450°F–500°F regardless of any temperature dial setting.
- Most toaster ovens have a “Hi” and “Lo” broil — Hi is roughly 500°F, Lo drops to around 400°F–425°F for thicker cuts.
- Rack position matters enormously: 2–3 inches from the top element for a quick sear, 4–6 inches for thicker food that needs to cook through.
- Always preheat on broil for at least 5 minutes before the food goes in — the element needs to get fully hot to work properly.
- Broiling times are short — most foods finish in 4 to 10 minutes total, flipping once halfway.
What “Broil” Actually Means on That Dial
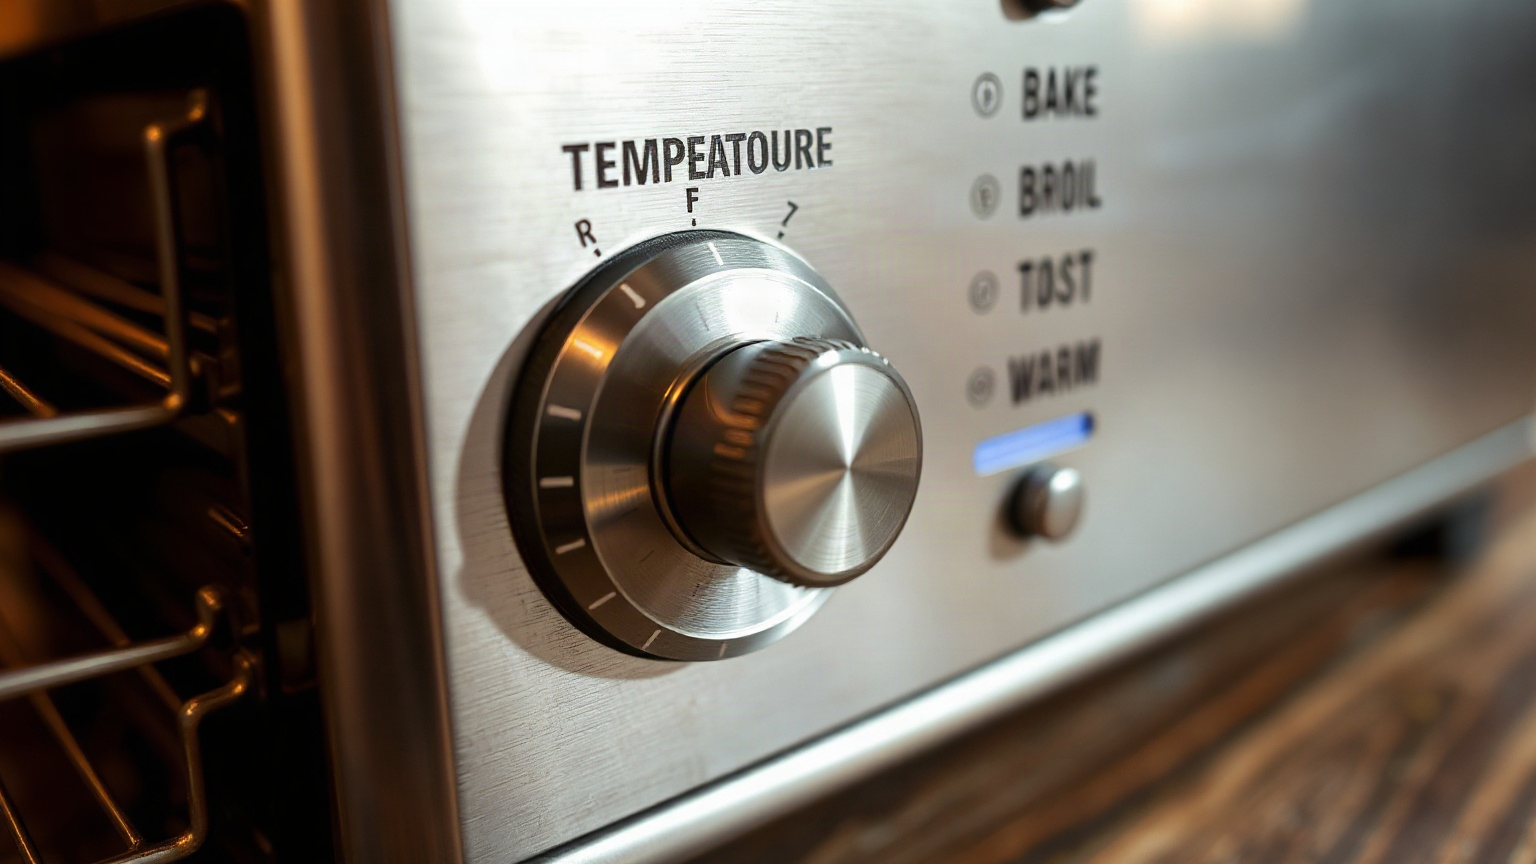
A lot of people look at that dial and assume broil is just another word for “very high heat baking.” It’s not. Broiling is a completely different cooking mechanism. When you turn to bake, your toaster oven cycles both the top and bottom elements on and off to maintain an ambient temperature around the food. Broiling kills the bottom element entirely and locks the top one on, full blast, creating a focused beam of radiant heat — almost like cooking under a grill.
The squiggly lines symbol you sometimes see on a dial? That’s the visual shorthand for a glowing heating element. If the squiggles are drawn at the top of the dial symbol, that’s broil. Bottom squiggles usually mean bake. Some older models don’t label it at all, which is genuinely annoying — I spent a week with one Oster unit before I figured out the unmarked “Max” position was actually its broil mode.
The science is simple: radiant heat browns the surface of food through direct energy transfer, the same way the sun warms your skin. It’s fast, it’s direct, and it only works on the exposed top surface — which is why you have to flip things, or position food thoughtfully.
Hi Broil vs. Lo Broil — and Which One to Use
Not every toaster oven has both settings, but if yours does, here’s how to think about them.
Hi Broil (around 500°F)
This is the full-power setting. Use it for thin items that cook fast: a slice of bread with cheese, fish fillets under half an inch thick, jalapeño poppers, thin chicken cutlets. The surface gets color before the inside overcooks. Quick, aggressive, satisfying results.
Lo Broil (around 400°F–425°F)
Lo broil gives you more time before the surface burns — which matters a lot with something like a 1-inch pork chop or a chicken thigh. The lower heat lets the interior temperature climb while the top still browns. I’d argue Lo broil is actually the more useful setting for most real cooking situations, but it’s the one people ignore because “maximum” feels more capable. It’s not. It’s just faster.
How Broiling in a Toaster Oven Compares to a Full-Size Oven Broiler
Honestly, a toaster oven broiler performs surprisingly well against a standard oven broiler — sometimes better, because the smaller space means the element is physically closer to your food, and the heat concentrates faster. Here’s a rough comparison of the modes across both appliance types:
| Feature | Toaster Oven Broil | Full-Size Oven Broil |
|---|---|---|
| Top element temp | 450°F–500°F | 500°F–550°F |
| Preheat time | 3–5 minutes | 8–12 minutes |
| Distance from element (typical) | 2–4 inches | 4–8 inches |
| Even heat coverage | Smaller footprint, can get hot spots | More even across larger pan |
| Energy use | Lower (1,200–1,800W) | Higher (2,500–5,000W) |
| Best for | 1–2 servings, quick jobs | Larger batches, thick cuts |
The main limitation I’ve run into with toaster oven broiling is hot spots. Because the element is a fixed coil or quartz rod rather than a wide burner, the area directly under the element gets more heat than the edges. For something like melting cheese on toast, that’s fine. For four chicken thighs lined up in a row, you’ll want to rotate the pan halfway through — the two end pieces almost always need a bit more time. Using a good toaster oven broil pan with a rack helps by keeping drippings away from the element.
When You Should Actually Use the Broil Setting
Not everything benefits from broiling. Here’s where it genuinely earns its place.
Finishing a Dish That’s Already Cooked Through
This is my favorite application. Chicken thighs cooked at 375°F for 25 minutes are done inside but pale on top. Two minutes under Hi broil and they look like they came off a backyard grill. Same goes for casseroles and pasta bakes — broil for 2–3 minutes at the end for a golden, slightly crispy top that baking alone never delivers.
Melting and Browning Cheese
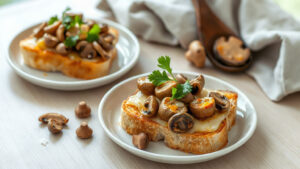
French onion soup croutons. Open-faced sandwiches. Nachos. Anything where cheese needs to bubble and spot-brown in under 3 minutes. Broil does this better than any other setting. Watch it like a hawk — the difference between perfect bubbly cheese and sad black char is about 60 seconds.
Thin Fish Fillets and Shrimp
Thin white fish — tilapia, flounder, sole — overcooks almost immediately in a hot oven. Under a broiler, 4–6 minutes depending on thickness, and it’s done: lightly browned, flaky, not rubbery. The USDA recommends an internal temperature of 145°F for fish, and broiling gets you there before the texture has time to go wrong. Season simply, drizzle with oil, place on a toaster oven wire rack set over a foil-lined pan, and broil 3–4 inches from the top element.
Vegetables With a Char
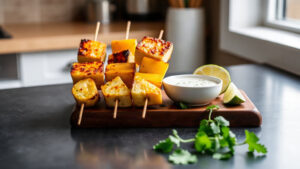
Asparagus, bell peppers, cherry tomatoes, zucchini slices — toss in olive oil, spread in a single layer, broil 5–7 minutes. You’ll get real caramelization and slight char at the edges that roasting at 400°F takes 20 minutes to achieve. This is the edge case that most articles skip: broiling vegetables is fast, specific, and genuinely good if the pieces are small and the layer is thin.
When NOT to Use Broil
Thick steaks (over 1 inch) are tricky in a toaster oven broiler because the cavity is so small — by the time the center is done, the outside can overdo it. Better to use bake or convection to bring the steak to 10–15 degrees below target, then hit it with broil at the end for crust. Also: anything with a high-sugar glaze or marinade. Sugar burns at around 375°F, and broiling at 500°F will torch a teriyaki glaze into bitter carbon before the protein is done. Apply the glaze after, or use Lo broil from farther away.
For reheating food in a toaster oven, broil is usually the wrong call unless you’re specifically trying to re-crisp a surface — a pizza slice, for example, benefits from 2 minutes under Lo broil to bring back some of that original crunch. For everything else, standard bake is safer for reheating.
Step-by-Step: How to Broil in a Toaster Oven Correctly
I’ve seen people skip step one almost every time and then wonder why their food didn’t brown right. Don’t do that.
- Step 1 — Preheat first. Turn the dial to Broil (Hi or Lo depending on what you’re cooking) and let the toaster oven run empty for at least 5 minutes. The element needs to glow fully hot before food goes near it. This isn’t optional.
- Step 2 — Set rack position. For thin items or melting cheese: top rack position, 2–3 inches from element. For anything over ¾ inch thick: middle rack, 4–5 inches down.
- Step 3 — Use the right pan. A broiler-safe metal pan or a wire rack over a foil-lined tray. Never use glass dishes under the broiler — they can shatter from the direct radiant heat. I learned that one the hard way with a Pyrex dish and a very memorable cleanup.
- Step 4 — Stay present. Set a timer for 3–4 minutes and physically check the food. Browning goes from perfect to burnt faster than you think in a small toaster oven cavity. Don’t walk away.
- Step 5 — Flip if needed. For proteins that need browning on both sides, flip at the halfway mark. Fish is an exception — it’s usually too delicate, so just cook it on one side unless it’s very thick.
If your toaster oven has a convection fan, turn it off for broiling. Convection circulates air horizontally, which disrupts the vertical heat column you want from the top element and can slow browning. Check out the best mini toaster ovens if you’re shopping for one that handles broiling well — not all of them have a true dedicated broil mode, and it’s worth checking before you buy.
Also worth knowing: toaster ovens vary significantly in how hot they actually get versus what the dial says. An inexpensive model might claim 500°F broil but only hit 440°F in practice. If your food consistently browns slower than recipes suggest, that’s likely why.
For further reading on broiling technique more broadly, the Food Network’s broiling guide covers the fundamentals well, though it focuses on full-size ovens.
The Bottom Line on Broiling
The broil setting on your toaster oven dial isn’t a mystery function you need to figure out someday. It’s a specific, fast, top-heat tool for browning surfaces — and once you understand that, it becomes one of the more useful settings on the machine. Preheat it. Get the rack position right. Use it for thin cuts, cheese, vegetables, and finishing. And pay attention while it’s running, because it doesn’t forgive wandering off.
It took me longer than I’d like to admit to stop ignoring that setting. Now I’d genuinely miss it.
Frequently Asked Questions
What temperature is broil on a toaster oven?
Broil on a toaster oven typically runs between 450°F and 500°F, with Hi broil at the upper end and Lo broil (where available) sitting around 400°F–425°F. The actual temperature your model reaches can vary — cheaper units sometimes fall 30–50 degrees short of their stated maximum. If browning is taking much longer than recipes suggest, your element may not be reaching full temperature.
Should I leave the toaster oven door open when broiling?
It depends entirely on the model — check your manual first. Some toaster ovens are designed to broil with the door slightly ajar to prevent the thermostat from cycling the element off when it senses peak temperature; others are sealed-cavity designs that broil with the door closed. Using the wrong method for your specific model means the element may cut out before food is properly browned.
Can I use aluminum foil when broiling in a toaster oven?
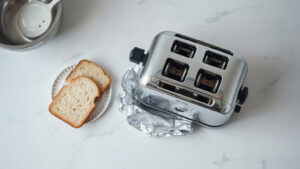
You can line the pan under your food with foil for easier cleanup, but never cover or line the crumb tray on the bottom of the oven. Foil on the crumb tray blocks airflow and traps heat, which can damage the oven and is a fire risk. Keep foil only on the broiling pan itself, and make sure it doesn’t touch the heating element.
How long does it take to broil chicken in a toaster oven?
Thin chicken cutlets (under ½ inch) take about 4–6 minutes per side under Hi broil. Bone-in thighs or thicker breasts need Lo broil and 8–12 minutes per side — or better yet, bake them through first and broil for the final 3–4 minutes just to crisp the skin. Always verify an internal temperature of 165°F with a meat thermometer regardless of timing.
What’s the difference between broil and bake on a toaster oven?
Bake uses both the top and bottom heating elements cycling on and off to maintain an even ambient temperature around the food. Broil locks only the top element on at maximum heat for direct, intense surface cooking. Baking is for cooking food all the way through evenly; broiling is for browning, crisping, or charring the surface fast.
—
Written by
Emma founded Toastera to turn vague appliance advice into clear, researched, safety-first guidance on toasters and toaster ovens.
Free: the Toaster Oven Cheat Sheet
Get the printable cheat sheet (temps, cook times & safety tips) plus new recipes. No spam, unsubscribe anytime.