A toaster’s heating elements typically reach between 300°F and 500°F during a normal toast cycle, depending on the browning setting. When one side toasts darker than the other, it’s almost always caused by one of three things: a partially failed heating element, crumb buildup blocking radiant heat, or the bread sitting off-center in the slot. The fix is usually faster than you’d expect — but most people skip the one step that actually matters.
Safety First: Before inspecting or cleaning your toaster’s interior or heating elements, always unplug it completely and let it cool for at least 15 minutes. Never insert metal objects near the heating wires — even when the toaster is off, residual heat and thin wire insulation can cause burns. If you notice sparking, a burning smell from the wires (not crumbs), or visible damage to the elements, stop using the toaster immediately and replace it.
Key Takeaways
- Uneven toasting is most often caused by crumb buildup, a failing heating element, or off-center bread placement — not a fundamental design defect.
- Heating elements on one side can degrade independently, especially in toasters used daily for 2–3+ years.
- Emptying the crumb tray every 1–2 weeks meaningfully reduces uneven heat and lowers fire risk.
- Some toaster models are simply worse at even heat distribution by design — wide-slot toasters tend to perform more consistently than narrow ones.
- If cleaning doesn’t fix the problem, a failing element is the likely culprit and the toaster probably needs to be replaced.
The Most Common Reason (and the Fix Nobody Bothers With)
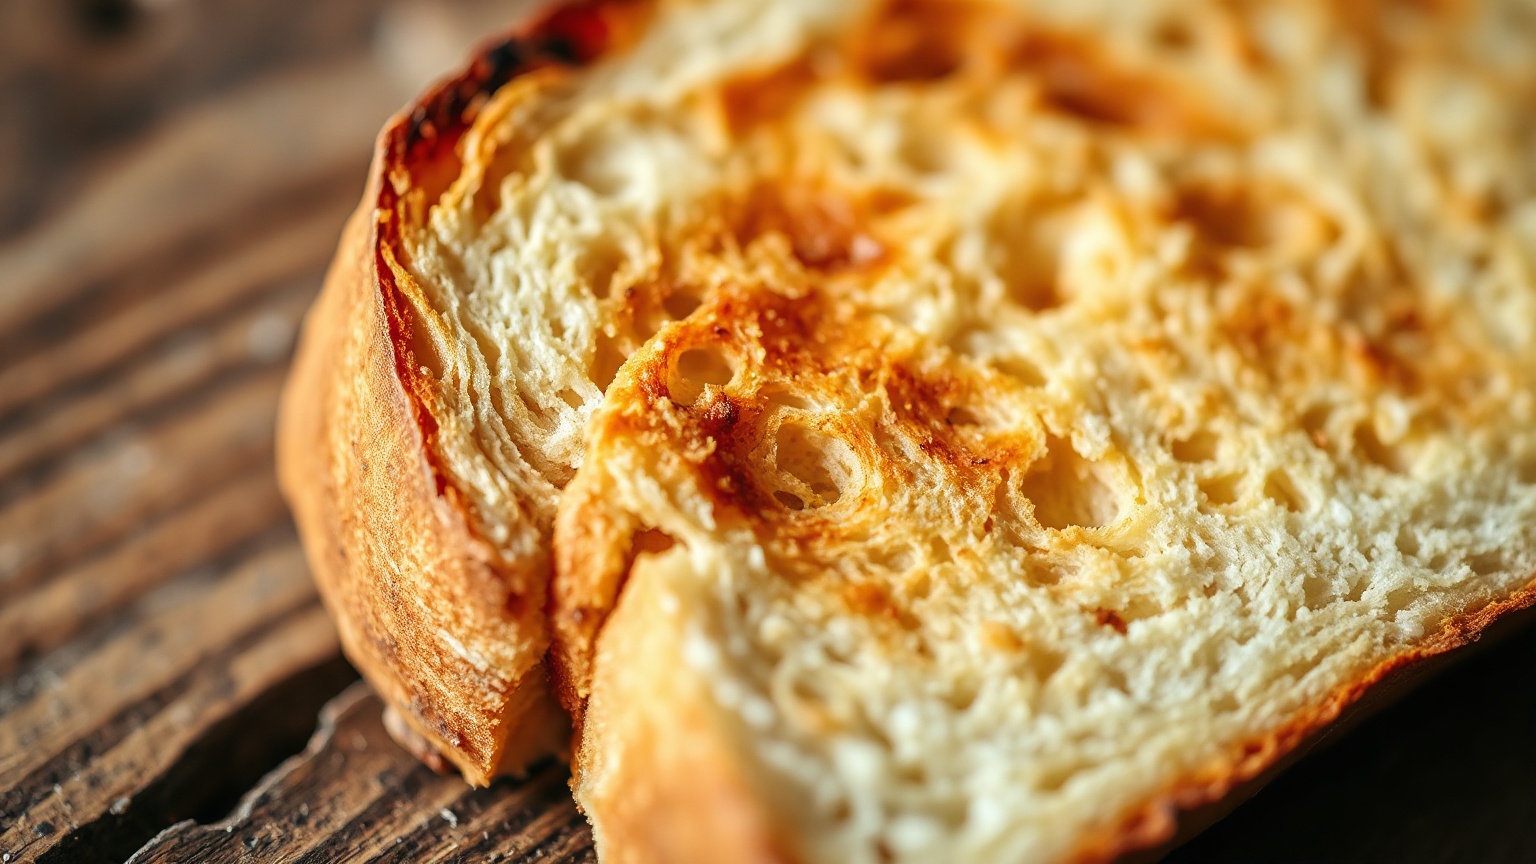
I’ll be honest — the first time I had this problem, I assumed the toaster was dying. Bought a new one, same issue two weeks later. Turns out I’d never once cleaned the crumb tray on either of them.
Here’s what happens. Crumbs accumulate at the bottom of the toaster and, more critically, along the sides of the slot walls. When crumbs pack against one side’s heating element, they absorb and scatter radiant heat before it reaches the bread. The other side — the cleaner side — delivers heat normally. Result: one side pale, one side dark, every single time.
The fix: pull out the crumb tray, shake out the debris, and use a dry pastry brush to gently sweep the slot walls. Do this with the toaster unplugged and cool. Takes about 90 seconds. I do mine every Sunday morning before I use it — slightly obsessive, maybe, but it’s a genuine habit now.
If your toaster doesn’t have a removable crumb tray (some budget models don’t), tip it upside down over the sink and give it a gentle shake. Not a vigorous one — you don’t want to dislodge anything internal.
Heating Element Failure: The Harder Problem
If cleaning doesn’t help, you’re probably dealing with a partially failed heating element. Toasters have thin nichrome wire coils running down both sides of each slot. Over time — and “over time” can mean 18 months with heavy daily use — individual coils can burn out or develop high-resistance spots. When that happens on just one side, that side simply produces less heat.
You can usually see this. Unplug the toaster, wait for it to cool, then hold a flashlight at an angle and look down the slot. Healthy elements glow orange-red uniformly when active. A failing element will have dark patches or gaps in the coil. If you can see a break in the wire, that section isn’t heating at all.
Repair is technically possible — replacement nichrome wire is cheap — but realistically, reassembling a toaster’s element array isn’t worth the time. Most standard pop-up toasters cost $20–$60. If the element is the culprit, replace the toaster. This is one of those situations where the economics just don’t make sense the other way.
For more context on the temperatures involved and why element integrity matters so much, see how hot a toaster gets.
Bread Position, Slot Width, and the Things You Can Actually Control
Slot Width and Bread Thickness
Standard toaster slots are around 1–1.25 inches wide. If your bread is thinner than that — say, a thin-sliced sandwich loaf — it’ll lean slightly to one side in the slot. That side gets more direct radiant heat. The other side gets less, because it’s a bit further from the element. Simple geometry.
Wide-slot toasters (typically 1.5 inches or more) actually tend to make this worse with thin bread, not better. I’ve tested a couple of wide-slot models specifically for thick artisan bread and bagels, and they’re great for that purpose — but for standard sandwich bread, a standard-width slot keeps things more centered and more even.
Bread Moisture and Freshness
This one surprises people. Bread that’s slightly stale toasts more evenly than fresh bread. Fresh bread has higher moisture content, and steam escaping unevenly from different parts of the slice can create hot and cool patches. Stale bread dries more uniformly. Not a reason to let your bread go stale on purpose, obviously, but it explains why your toast seems inconsistent when you’re using a fresh loaf versus one that’s been open for a couple of days.
Frozen bread is its own thing. Toasting from frozen almost always produces uneven results on the first pass because the outer surface crisps while the center is still thawing. Use the defrost setting if your toaster has one — it runs at lower wattage for longer, which gives the interior time to come up to temperature before the crust over-browns.
The Slot Wall Contact Issue
If your bread is touching one of the slot walls — which happens more often than you’d think with thick-cut bread or slightly warped slices — that side will toast faster. Direct contact with the hot metal wall adds conductive heat on top of radiant heat. The opposite side only gets radiant. Try centering the bread before lowering the lever. Sounds obvious. Most people don’t do it.
The Edge Case Most Articles Ignore: Voltage Fluctuations
Here’s something I haven’t seen mentioned elsewhere: household voltage fluctuations can contribute to inconsistent toasting, particularly in older homes with aging wiring. Toasters draw a lot of current — typically 800–1,500 watts — and if other high-draw appliances are running on the same circuit (a microwave, a coffee maker), the available voltage drops momentarily. That can cause the elements to run cooler than expected, sometimes unevenly if one element’s circuit is marginally more affected.
This is an edge case. But if your toasting inconsistency seems to happen mainly in the mornings when everything in your kitchen is running at once, try toasting with nothing else on the same circuit and see if it improves. If it does, you’ve got an electrical load issue, not a toaster issue.
Also worth knowing: toasters that are plugged into a power strip rather than a direct wall outlet can sometimes see enough resistance in the strip to reduce element performance slightly. Plug your toaster directly into the wall. Always.
Toaster Wattage and Heat Distribution: A Quick Comparison
Not all toasters are built equal when it comes to heat distribution. Lower-wattage models tend to produce less even results — they take longer to toast, giving heat more time to distribute unevenly based on element condition and crumb buildup. Here’s a rough breakdown:
| Wattage Range | Typical Toast Time (Medium Setting) | Heat Evenness | Best For |
|---|---|---|---|
| 700–900W | 3–4 minutes | Fair — longer cycle amplifies element differences | Light/occasional use |
| 900–1,100W | 2–3 minutes | Good — faster cycle, less time for variance | Daily home use |
| 1,200–1,500W | 1.5–2.5 minutes | Very good — rapid, consistent heat delivery | High-volume, thick bread |
If you’re in the market for a replacement, I’d suggest not going below 900W. The budget models under $20 are almost all in the 700–850W range, and in my experience, they’re more prone to uneven toasting right out of the box — not just after element wear. A mid-range toaster in the $35–$55 range with 1,100W or more is worth the extra spend. Check out some of the options in our best mini toaster ovens roundup if you’re considering stepping up to a toaster oven instead — they tend to have far more consistent heat distribution by design.
When to Clean vs. When to Replace
Run through this in order before you decide:
- Clean the crumb tray and slot walls first. This fixes the problem roughly 40–50% of the time based on what I’ve seen across various toasters I’ve used and tested.
- Check bread placement and thickness. Try a fresh slice centered in the slot, mid-thickness. See if the issue persists.
- Inspect the elements visually. Unplug, cool down, flashlight check. Look for dark patches or broken wire segments.
- Test on a different outlet. Rule out the voltage fluctuation angle.
- If all that fails, replace it. A toaster that toasts unevenly after cleaning is almost certainly past its useful life on that element array.
One more thing — if you’re getting uneven results and you’ve had the toaster for less than a year, it’s probably a manufacturing defect. Contact the brand. Most reputable manufacturers (Cuisinart, Breville, Hamilton Beach) will replace it without much fuss if you’re within warranty. I’ve had Cuisinart replace a two-slice toaster for exactly this reason, no receipt required, just the model number.
And if you’re using a toaster oven rather than a pop-up toaster, the diagnosis is slightly different — element placement, rack position, and convection fan issues all come into play. We cover some of that in the context of reheating food in a toaster oven, which touches on heat distribution in more detail.
For a good reference on how heating elements are supposed to work in kitchen appliances, the Serious Eats equipment team has done solid testing on toaster consistency that’s worth reading if you want the deep technical side.
The Simple Maintenance Habit That Prevents All of This
I’ll keep this short: clean the crumb tray every one to two weeks. That’s it. That single habit prevents the most common cause of uneven toasting, and it also meaningfully reduces fire risk from accumulated crumbs near hot elements. A small appliance cleaning brush makes the slot-wall part much easier — the bristles get into the ridges around the element coils without damaging the wire. Costs about $8 and lasts years.
Also, don’t store your toaster pushed back against the wall with the cord kinked. I know everyone does this. But a kinked cord near the heating vent can degrade over time. Small thing, but worth mentioning.
Final Thoughts
Uneven toasting on one side is almost never a mystery. It’s crumbs, a degraded element, or a bread placement issue — in that order of likelihood. Start with the obvious fix (clean it), check the elements if that doesn’t work, and if your toaster is more than two or three years old and cleaning doesn’t help, just replace it. Toasters are one of those appliances where repair rarely makes financial sense.
The voltage fluctuation angle is worth keeping in mind if you’re in an older home and the problem seems tied to busy morning kitchen use. And if you’re shopping for a new one, stick with 1,000W or above and consider a stainless toaster with wide, adjustable slots — the adjustable centering guides some models have are genuinely useful and more common in mid-range options. Good toast shouldn’t require this much troubleshooting. But at least now you know exactly where to look.
Frequently Asked Questions
Why does my toaster brown bread on one side but not the other?
The most likely cause is crumb buildup along one side of the slot blocking radiant heat from that element, or a partially failed heating element on one side. Clean the crumb tray and slot walls first — this resolves the problem about half the time. If it persists, inspect the elements visually with a flashlight for any dark or broken sections.
How hot does a toaster get during normal use?
Toaster heating elements typically reach between 300°F and 500°F depending on the browning setting and the toaster’s wattage. Higher wattage models hit temperature faster and tend to toast more evenly as a result. The bread surface itself reaches around 310°F–350°F at medium browning, which is the Maillard reaction range where flavor develops.
Can I fix uneven toasting without buying a new toaster?
Yes, in many cases — if crumb buildup is the cause, a thorough cleaning of the crumb tray and slot walls fixes it completely. Adjusting bread placement so the slice is centered in the slot also helps. If the heating element itself has failed, repair isn’t practical for most people and replacement makes more sense.
How often should I clean my toaster to prevent uneven toasting?
Every one to two weeks for regular daily users, or after every 10–15 uses. Pull out the crumb tray, empty it, and use a dry brush to sweep the slot walls. This prevents crumb buildup from interfering with heat distribution and also reduces the fire risk from debris near hot elements.
Is uneven toasting a sign my toaster is a fire hazard?
Not automatically, but crumb buildup — which is a leading cause of uneven toasting — is also a leading cause of toaster fires. If you see scorching, smell burning plastic or wire (distinct from burning crumbs), or notice sparking, stop using the toaster immediately. The USDA and fire safety agencies consistently flag toasters as one of the most common sources of kitchen fires, almost always linked to accumulated debris.

Written by
Emma founded Toastera to turn vague appliance advice into clear, researched, safety-first guidance on toasters and toaster ovens.
Free: the Toaster Oven Cheat Sheet
Get the printable cheat sheet (temps, cook times & safety tips) plus new recipes. No spam, unsubscribe anytime.