At 400°F, a boneless, skinless chicken breast takes 18 to 23 minutes in a toaster oven, depending on thickness. Smaller 5–6 oz pieces are usually done around the 18-minute mark; larger 8–9 oz breasts need closer to 22–23 minutes. Pull it at an internal temp of 165°F and you’ll have juicy, properly cooked chicken every time.
Safety First: Toaster ovens reach high temperatures quickly and stay hot long after you turn them off. Always use oven mitts rated for high heat when removing pans, never line the bottom tray with foil (it can trap heat and cause a fire), and keep the appliance at least 4 inches from walls or cabinets while in use. Use a meat thermometer to confirm chicken reaches 165°F internally — color alone is not a reliable safety check.
Quick Facts: Chicken Breast at 400°F in a Toaster Oven
- 5–6 oz breast: 17–19 minutes at 400°F
- 7–8 oz breast: 20–22 minutes at 400°F
- 8–9 oz breast: 22–24 minutes at 400°F
- Target internal temp: 165°F (USDA minimum), but pulling at 160–162°F and resting 5 minutes works perfectly
- Always rest the chicken 5 minutes before cutting — skipping this is the #1 reason it turns out dry
Why Toaster Oven Timing Is Different From a Full-Sized Oven
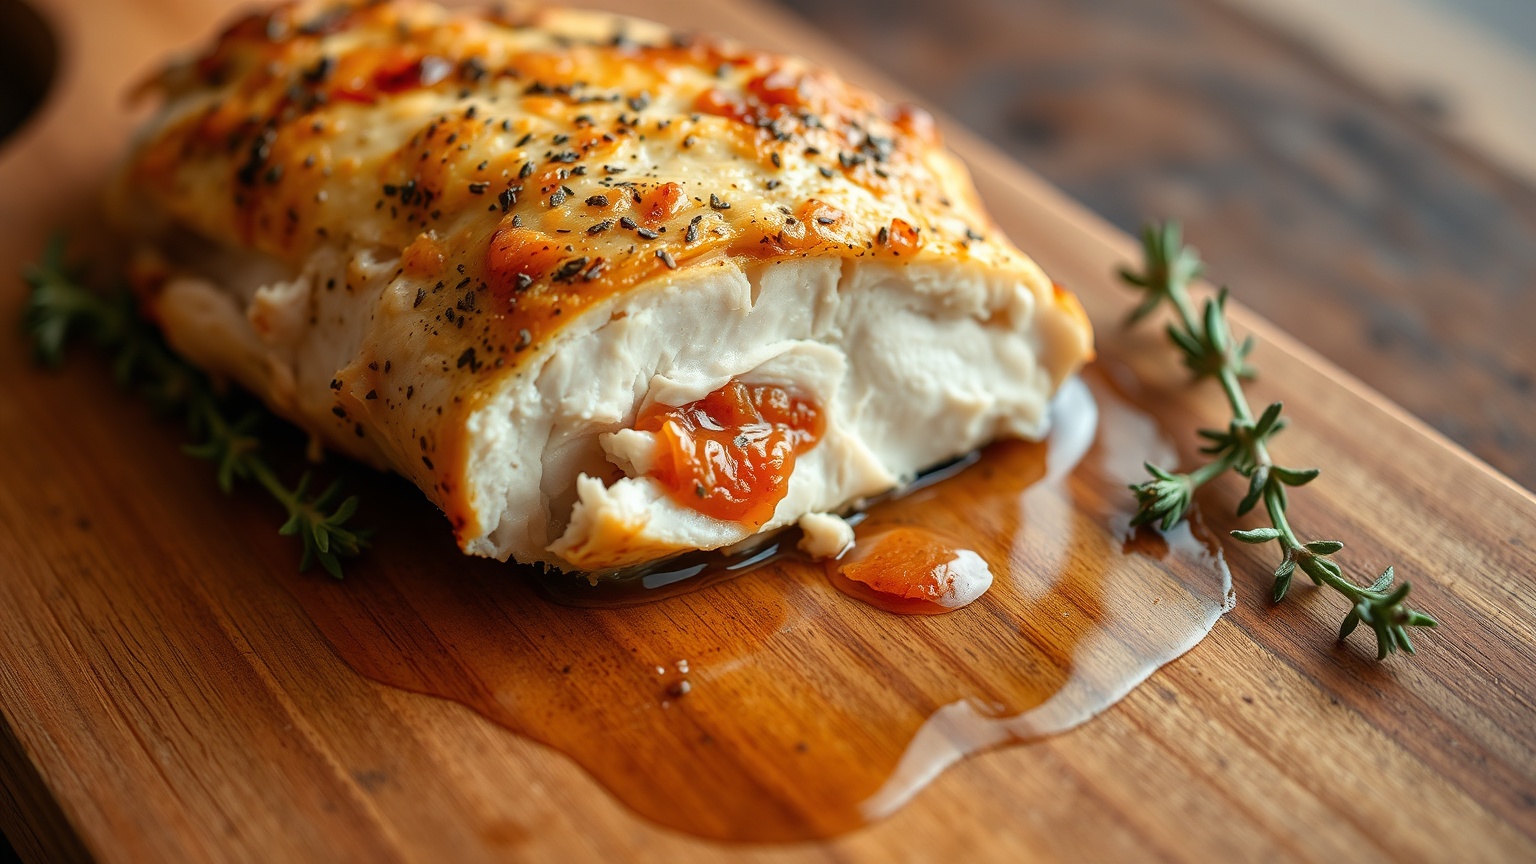
This trips people up constantly. A toaster oven’s small cavity heats up faster and holds heat more intensely around the food. The heating elements are physically closer to whatever you’re cooking — sometimes only 3 or 4 inches away. That means the outside of a chicken breast can brown and firm up before the inside is fully cooked, which leads to a confusingly overcooked exterior with a raw center if you’re not paying attention.
I made this mistake my first time cooking chicken in my Breville Mini Smart Oven. I went by the timing I’d always used in my full-sized oven, didn’t check temp, and ended up with a very pale, slightly rubbery breast that was barely at 155°F inside. The fix was simple — rack placement. Mid-rack keeps the breast far enough from the top element that it cooks through more evenly instead of just browning on top.
Also worth knowing: toaster ovens vary more than full-sized ovens. A cheap 6-slice model can run 15–25°F hot. If you’ve got an older or budget unit, drop the temp to 375°F and add 3–4 minutes rather than fighting it. You can read more about how these appliances handle heat in our piece on how hot a toaster gets.
Exact Cook Times by Breast Size at 400°F
Here’s the table I actually use. These times assume a boneless, skinless breast straight from the fridge (not frozen, not room temp), placed on a toaster oven baking pan on the middle rack, with no foil tent.
| Breast Weight | Approximate Thickness | Cook Time at 400°F | Check Temp At |
|---|---|---|---|
| 5–6 oz | ~¾ inch | 17–19 minutes | 15 minutes |
| 7–8 oz | ~1 inch | 20–22 minutes | 18 minutes |
| 8–9 oz | ~1¼ inch | 22–24 minutes | 20 minutes |
| 9–10 oz (thick) | ~1½ inch | 24–27 minutes | 22 minutes |
That last row — the 9–10 oz thick breast — is the one competitors miss. These are common in grocery stores now, and they genuinely need extra time. I’ve seen multiple recipes suggest 21 minutes as a maximum and that’s just not accurate for a thick breast from a superstore. Check at 22 minutes and don’t be surprised if it needs another 4–5.
The One Tool You Actually Need
A meat thermometer. Not optional. Chicken is one of those proteins where visual cues genuinely lie — clear juices and white flesh don’t guarantee 165°F, especially in a toaster oven where the outside browns quickly. I use an instant-read thermometer inserted into the thickest part of the breast, angled slightly to avoid touching the pan. Takes two seconds. Saves dinner.
How to Get Juicy Results (Not Dry, Rubbery Chicken)
The honest answer: most dry toaster oven chicken comes from two things. Overcooking. And not resting. That’s mostly it.
Pound It Even (Or Don’t, But Accept the Consequence)
Chicken breasts taper — thick in the middle, thin at the ends. If you cook them as-is, the thin end will be overcooked by the time the thick center hits temp. The easy fix is pounding the breast to an even ¾-inch thickness with a mallet or the heel of your hand. Takes 30 seconds. I don’t always do it, honestly, but when I skip it I cover the thin end loosely with a small piece of foil for the first half of cooking time.
A Quick Brine Makes a Real Difference
Even 20–30 minutes in a simple saltwater brine (1 tablespoon kosher salt dissolved in 1 cup of water) noticeably changes the texture. The meat holds onto more moisture during cooking. I don’t always plan ahead, so my lazy version is just sprinkling kosher salt on both sides and leaving it uncovered in the fridge for 30 minutes before cooking. Not a formal brine, but it helps.
Seasoning and Fat
Coat the breast lightly in olive oil before seasoning. This helps with browning and keeps the surface from drying out. Don’t drown it — a thin layer is all you need. Season with salt, pepper, garlic powder, paprika if you want color. That’s my baseline. Lemon zest and dried thyme if I’m feeling more ambitious.
For a slightly more structured version, the food scientists at Serious Eats have written extensively about moisture retention in chicken breast — worth a read if you want the actual chemistry behind why brining works.
Rest Time Isn’t Negotiable
Five minutes. Loosely tented with foil, off the heat. The juices redistribute. If you cut into it immediately after pulling it from the oven, those juices run straight onto your cutting board and you’re left with dry chicken. This is the thing people skip most often and then wonder why their result wasn’t great.
Settings, Rack Position, and Pan Choice
Most toaster ovens have a “Bake” setting and sometimes a “Convection Bake” option. Use Bake for standard timing. If you’ve got convection, reduce cook time by about 2–3 minutes and check temp early — convection circulates hot air more aggressively and you can overshoot faster than you’d expect.
Rack position: middle every time. Not the top rack (too close to the broil element), not the bottom (chicken steams instead of roasts). Middle.
For the pan, use a light-colored metal baking pan with low sides, or better yet, a toaster oven wire rack with a drip tray underneath. The rack lets hot air circulate under the breast, which promotes even cooking and slightly crispier texture. A dark pan absorbs more heat and can cause the bottom to overcook before the center catches up. Small detail but it matters.
And if you’re thinking about using your toaster oven for other meals beyond chicken, our guide to reheating food in a toaster oven covers a lot of the same logic around heat settings and placement.
The Edge Case Nobody Talks About: Bone-In Breasts
Every recipe I found while researching this covers boneless, skinless chicken breast. Fine. But bone-in, skin-on breasts are actually better for toaster oven cooking in a lot of ways — the bone acts as insulation so the meat near it stays juicier, and the skin browns beautifully in a small oven’s intense heat.
Cook time at 400°F for bone-in, skin-on breast: 30–38 minutes, depending on size. Start checking at 28 minutes. The skin should be deep golden brown. Internal temp still needs to hit 165°F at the thickest point, not touching bone. The USDA’s guidance on poultry temperatures is clear that the bone-adjacent meat needs to reach the same safe temperature as the rest.
One more edge case: frozen chicken breast. Don’t cook from frozen in a toaster oven at 400°F. The exterior will overcook dramatically before the inside thaws. Thaw it fully first — overnight in the fridge is the safest method — and then cook as normal.
Wrapping Up
Cooking chicken breast in a toaster oven at 400°F isn’t complicated, but a few things make or break the result: knowing your breast size, using a thermometer, pulling it a few degrees early and resting it, and getting your rack position right. The timing table above covers the full range you’re likely to encounter, including the bigger breasts that most recipes ignore.
If you’re in the market for a toaster oven that handles chicken and a lot more, our roundup of the best mini toaster ovens is a good place to start. Some of those compact models are surprisingly capable — genuinely better than a full oven for small batches like this.
Frequently Asked Questions
How long to cook chicken breast in toaster oven at 400°F?
A 5–6 oz boneless chicken breast takes 17–19 minutes at 400°F; a larger 8–9 oz breast needs 22–24 minutes. Always verify with a meat thermometer — the internal temperature needs to reach 165°F at the thickest part. Rest the chicken for 5 minutes before slicing.
Should I cover chicken breast in the toaster oven?
Covering chicken with foil traps steam and results in softer, paler skin — useful if your toaster oven runs very hot. For most cooking at 400°F, leaving it uncovered gives better browning. If the top is browning too fast before the center is cooked through, lay a small piece of foil loosely over it for the last few minutes.
Can I cook frozen chicken breast in a toaster oven?
Cooking frozen chicken breast directly in a toaster oven at 400°F isn’t recommended. The exterior overcooks before the inside thaws and reaches safe temperature. Thaw the breast fully in the refrigerator first, then cook using the standard time and temperature guidelines.
What temperature should chicken breast be when it’s done?
The USDA minimum safe internal temperature for chicken is 165°F. Many cooks pull boneless chicken breast at 160–162°F and rest it tented with foil for 5 minutes — carryover heat brings it up to 165°F and the texture stays noticeably more moist than if you cooked it all the way to 165°F in the oven.
Why does my toaster oven chicken breast always turn out dry?
Dry chicken breast from a toaster oven almost always comes from one of three things: overcooking past 165°F, not resting the meat before cutting, or uneven thickness causing the thin end to dry out. Pound the breast to an even thickness, use a thermometer to pull it at the right temp, and let it rest 5 minutes — those three steps fix the problem most of the time.

Written by
Emma is a home cook who loves coaxing big flavor out of a toaster oven — from crispy roasted vegetables to easy weeknight dinners and sweet treats. She develops and tests Toastera's recipes for small-appliance kitchens.
Free: the Toaster Oven Cheat Sheet
Get the printable cheat sheet (temps, cook times & safety tips) plus new recipes. No spam, unsubscribe anytime.