When your toaster won’t heat on one slot, the most likely culprit is a burned-out or disconnected heating element on that side. Each slot has its own set of nichrome wire coils, and when one fails — or its connection to the circuit board corrodes or snaps — that whole slot goes cold. In most cases you’re looking at either a dead element you can’t practically replace, or a fixable issue like crumb buildup or a tripped thermostat.
Safety First: Before touching any internal part of your toaster, unplug it completely and let it cool for at least 20 minutes. Never probe inside with metal tools while it’s plugged in — even a “broken” element can carry live voltage. If you see scorch marks, melted plastic, or smell burning, stop and replace the appliance rather than attempting a repair.
Quick Facts: One-Slot Toaster Problems
- A toaster’s heating elements run at roughly 800°F–1,200°F (430°C–650°C) internally — learn more about how hot a toaster gets under normal use.
- Each slot in a two-slot toaster has its own independent heating element circuit, so one side failing doesn’t necessarily mean the other is next.
- Crumb buildup is the #1 overlooked cause — a thick crumb mat can insulate one element and trip a thermal fuse on that side only.
- Most heating elements cannot be bought and swapped at home. Repair is only realistic if the problem is a loose wire, dirty contact, or thermostat issue.
- Toasters under $40 are almost never worth repairing. Budget a replacement if the element itself is fried.
I’ve had this happen twice in my own kitchen. Once with a cheap four-slot Cuisinart-style toaster where the back-right slot just quietly stopped working one morning — no drama, no burning smell, just cold bread. And once with a slightly better Breville where a crumb fire had partially melted a wire connector. Very different fixes. So let me walk you through how to actually figure out which situation you’re in.
Why Does One Slot Stop Working? The Real Causes
There are four main reasons a single toaster slot goes dead, and they range from “five-second fix” to “buy a new toaster.” Worth knowing which before you start unscrewing anything.
1. Burned-Out Heating Element
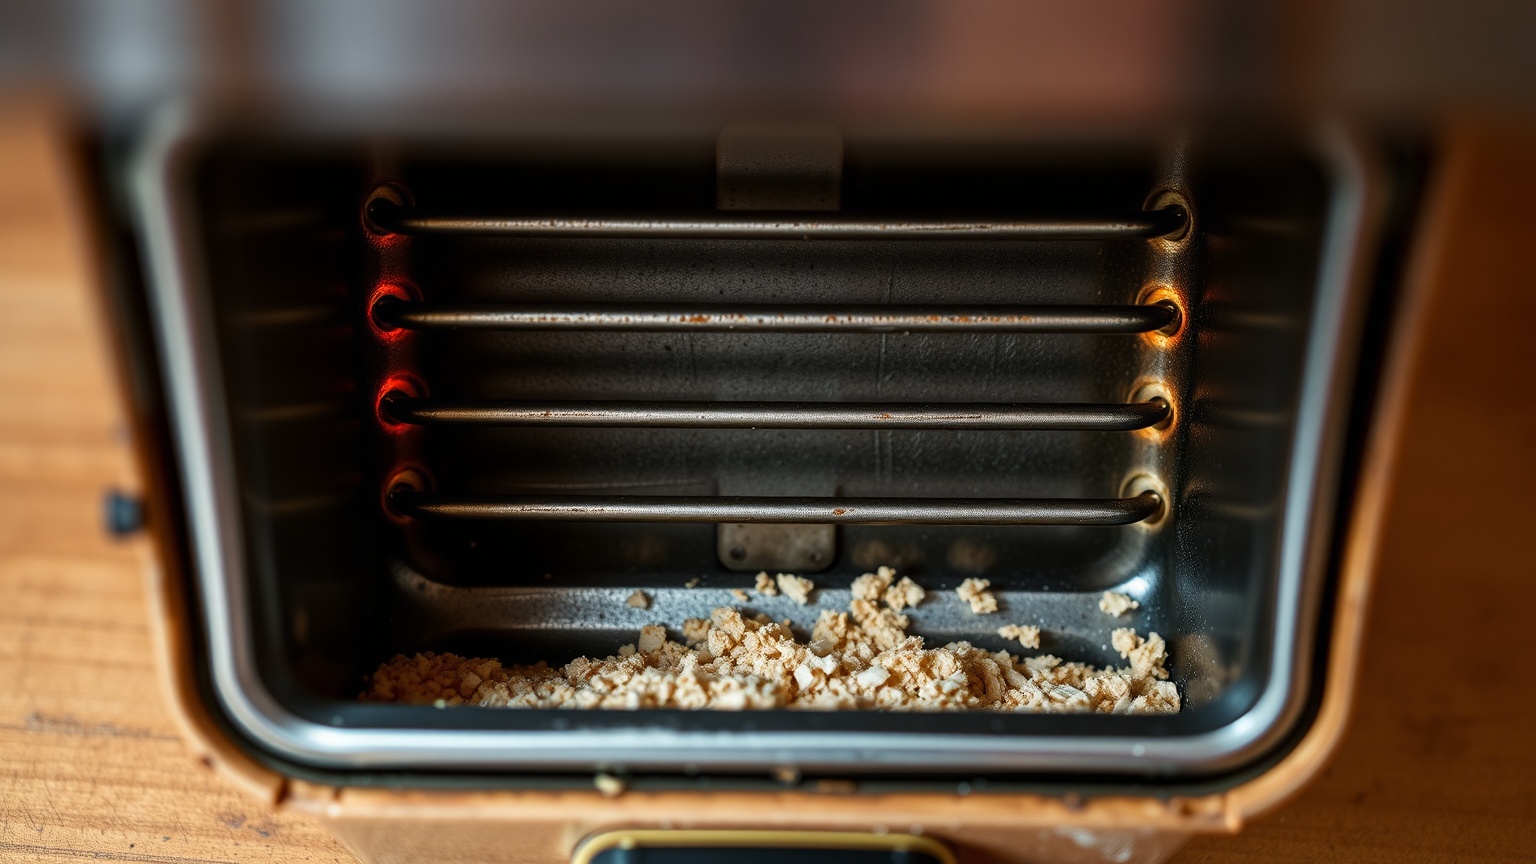
This is the most common cause, and honestly the least fixable. The nichrome wire that glows orange when you toast can develop a break — usually from metal fatigue after thousands of heat-and-cool cycles, or from a bread crumb that charred against it at high temp. When the wire snaps, the circuit for that element is open. No current flows. No heat.
You can sometimes see this if you hold the toaster up to a bright light and peer into the cold slot. Look for a gap in the coil or a segment that looks darker and duller than the rest. It’s subtle, but it’s there if you know what you’re looking for.
2. Blown Thermal Fuse on One Side
Many toasters have thermal fuses — tiny one-time safety devices designed to blow if a specific area overheats. Some manufacturers wire each slot’s element through its own fuse, so a single slot overheating (say, from a crumb jam) trips that fuse and kills only that side. The other slot keeps working fine.
This is actually a safety feature doing its job. The fuse blew because something got too hot. Don’t just bypass it.
3. Crumb Buildup and Poor Contact
I know it sounds too simple, but a truly packed crumb tray — or crumbs packed into the element contact points at the base of the slot — can cause intermittent heating on one side. Not a complete failure usually, but uneven toasting that looks like one slot “isn’t working” when it’s actually just starved of airflow or making poor contact.
Empty the crumb tray. Then tip the toaster upside down over a trash can and give it a few firm taps. You’d be amazed what falls out.
4. Loose or Corroded Wire Connection
This one’s actually fixable, if you’re comfortable opening the appliance. The wire connecting the heating element to the internal circuit board can vibrate loose over time, or the spade connector can corrode. When I opened that Breville with the crumb fire issue, the connection hadn’t melted through — it had just pulled about 2mm loose from its terminal. Pushed it back on, done.
This is the edge case most troubleshooting guides skip entirely. If your toaster is relatively new (under two years old) and the failure was sudden rather than gradual, a loose connection is worth checking before you write the appliance off.
How to Diagnose Which Problem You Have
Don’t start yanking the toaster apart. Run through these checks in order — you might solve it in two minutes.
Step 1: Check the Obvious Stuff First
This is embarrassing to admit, but the first time my slot stopped working, I’d accidentally turned the browning dial all the way down to the lowest setting. At the very bottom, some toasters don’t send enough current to fully activate one of the two element circuits — especially at the 1 or 1.5 setting on cheaper models. Try setting the dial to 4 or 5 and testing again. Yep.
Also check that the lever is latching properly. A lever that releases before the toast cycle finishes will make one slot look dead when it isn’t.
Step 2: Clean the Crumb Tray and Slot Interior
Unplug the toaster. Remove the crumb tray and wash it. Then turn the toaster upside down and shake it over the sink. Use a soft pastry brush or a toaster cleaning brush to sweep debris from the slot. Do this until nothing new falls out. Plug it back in and test. If the slot now heats, crumbs were your problem.
Step 3: Look Into the Cold Slot
With the toaster unplugged and cool, shine a flashlight into the non-working slot. You’re looking for: a visible break in the coil, a section of coil that looks physically different from the others, or any scorch marks on the mica board (the flat white panel the coils are wrapped around). A scorched mica panel usually means the element itself failed.
Step 4: Open It Up (If You’re Comfortable)
If the above steps don’t solve it, and the toaster is worth the effort, you can open the housing. Most toasters use Phillips screws under the crumb tray or on the bottom plate — a few use Torx. Once open, look for the wiring leading to the non-heating slot’s element. Check that all connectors are fully seated. A digital multimeter set to continuity mode will tell you if the element has a complete circuit: good element reads a low resistance (around 10–30 ohms), a broken one reads infinite/open.
If it reads open, the element is dead and you probably can’t source a replacement coil. Time to think about a new toaster.
Can You Actually Fix a Dead Toaster Slot?
Honest answer: sometimes. Here’s a breakdown of what’s realistic.
| Problem | DIY Fixable? | Difficulty | Estimated Cost |
|---|---|---|---|
| Browning dial too low | Yes | Trivial | Free |
| Crumb buildup / contact | Yes | Easy | Free |
| Loose wire connector | Yes (with care) | Moderate | Free–$5 |
| Blown thermal fuse | Possible | Hard | $2–$8 per fuse |
| Broken heating element | Rarely | Very Hard / Impractical | Often exceeds toaster value |
Thermal fuses can technically be replaced — they’re cheap parts, a 10A 240°C thermal fuse costs about $2–$3 from an electronics supplier. But you need to identify the exact spec (usually printed on the fuse body), and you need to solder. If you’ve never soldered before, this isn’t the project to learn on inside a live appliance. And remember, the fuse blew for a reason. If you replace it without fixing whatever caused the overheat, it’ll blow again.
For most people, if the heating element itself is broken, just replace the toaster. A decent two-slot stainless toaster with wide slots runs $30–$60. That’s worth more than an hour of your time wrestling with nichrome wire replacements that probably don’t exist for your model.
When It’s Time to Stop Repairing and Just Replace
There’s a point where persistence becomes stubbornness. If your toaster is more than four or five years old, the element is broken, and you paid under $35 for it — let it go. Toaster repair parts are not a well-served market. Manufacturers don’t sell replacement elements. Third-party coils exist for maybe a dozen models, and yours probably isn’t one of them.
And look, a toaster that only works on one side isn’t just annoying. It’s heating unevenly, which usually means the working element is now overworking to compensate. That puts more thermal stress on the good side’s fuse and element. You’re accelerating the death of the one thing that still functions.
If you’re curious what to look for in a replacement, our roundup of the best mini toaster ovens might actually change how you think about the whole category — a small toaster oven gives you slot-toasting plus everything else, and they’re not much more expensive than a quality pop-up toaster. I switched one of my countertop setups to a mini toaster oven about two years ago and I don’t miss the pop-up much, honestly.
Consumer Reports and appliance repair forums both suggest the same general rule: if repair cost (time + parts) exceeds 50% of replacement cost, replace. For most toaster slot problems, you hit that threshold fast. The Serious Eats toaster guide does a solid job breaking down what actually matters in a new model if you’re shopping.
Preventing the Problem Next Time
You can’t prevent element failure forever — they wear out. But you can significantly extend your toaster’s life with a few habits that most people don’t bother with.
- Empty the crumb tray every week, not every year. Crumbs that sit against heating elements are a slow-burn fire hazard and accelerate element corrosion.
- Never toast anything with a high sugar coating directly — things like cinnamon-sugar bread or frosted pastries. The sugar drips onto the element and chars, creating hot spots that can snap the wire.
- Don’t use the highest browning setting for every single toast. Running at maximum heat constantly shortens element lifespan. A setting of 4 out of 7 gets me great toast and isn’t hammering the coils.
- Unplug when not in use. Not just for fire safety — it prevents phantom heating cycles from moisture in the element wiring.
Also worth knowing: if you’re using your toaster to reheat leftovers and it’s struggling, that’s probably not the right tool for that job anyway. Check out our guide on reheating food in a toaster oven for a better approach. Pop-up toasters are built for bread, not for reheating pizza or yesterday’s chicken strips — using them that way adds a lot of thermal stress. And yes, I’ve done it, and yes, one of my toasters probably died partly because of it.
The Bottom Line
A toaster slot that won’t heat almost always means a dead heating element or blown thermal fuse on that side. Start with the free stuff: check your browning dial, clean the crumb tray, look for obvious debris. If that doesn’t fix it, open the housing and check wire connections before assuming the element is gone. A multimeter will tell you the truth in about 30 seconds.
But if the element reads open, don’t spend the afternoon trying to source a replacement coil. A new toaster — or a small toaster oven — is almost certainly the better answer. Your time is worth something, and cold bread on one side isn’t a problem worth fighting forever.
Frequently Asked Questions
Why does my toaster only work on one side?
Each toaster slot has its own independent heating element circuit, so when one side fails it doesn’t affect the other. The most likely cause is a broken nichrome heating coil, a blown thermal fuse on that slot’s circuit, or a loose wire connection inside the toaster. Crumb buildup near the element contacts can also cause one-sided heating issues, so clean the tray first before assuming the element is dead.
Can a toaster be repaired if one slot stops working?
It depends on the cause. Loose wire connections can be reseated, and blown thermal fuses can technically be replaced if you can solder and identify the correct fuse spec. A broken heating element, however, is almost impossible to fix at home because replacement coils aren’t sold for most consumer models. If the element is confirmed dead, replacing the toaster is the practical choice.
Is a toaster with one working slot dangerous to use?
Using it isn’t immediately dangerous in most cases, but it’s not ideal. The working element will run harder to compensate, shortening its lifespan faster. More importantly, if the dead slot failed due to a thermal fuse blowing from overheating, continuing to use the appliance without addressing the root cause could eventually cause problems with the remaining element too. If you see scorch marks, smell burning plastic, or the toaster trips your circuit breaker, stop using it immediately.
How do I test a toaster heating element with a multimeter?
Unplug the toaster completely, open the housing, and locate the wire terminals for the non-working slot’s element. Set your multimeter to the resistance (ohms) setting and touch the probes to each terminal. A working element reads roughly 10–30 ohms; a broken element reads infinite resistance (OL or “open” on the display). This test takes about 30 seconds and gives you a definitive answer on whether the element is functional.
How long should a toaster last before elements start failing?
A decent quality toaster should last 6–10 years under normal use, with heating elements typically rated for around 20,000–30,000 toasting cycles. Budget toasters under $30 often fail within 2–4 years, especially if used daily at high settings or not kept clean. Regular crumb tray cleaning and avoiding maximum heat settings for every use can meaningfully extend element life.

Written by
Emma founded Toastera to turn vague appliance advice into clear, researched, safety-first guidance on toasters and toaster ovens.
Free: the Toaster Oven Cheat Sheet
Get the printable cheat sheet (temps, cook times & safety tips) plus new recipes. No spam, unsubscribe anytime.