To make garlic bread in a toaster oven, spread a generous butter-garlic mixture on sliced bread and bake at 375°F for 8–10 minutes open-face, then broil for 1–2 minutes to crisp the top. The combination of a moderate bake followed by a short broil is what gets you that contrast — soft, buttery middle with a genuinely crispy crust. Skip the broil step and you’ll get warm bread, not garlic bread.
Safety First: Toaster ovens run extremely hot and the broil setting can scorch bread in under 60 seconds. Never walk away during the broil phase — stay at the oven and check every 30 seconds. Keep the crumb tray clean before you start, since butter drips can ignite on a dirty heating element. Use oven mitts every time you pull the rack out, and let the pan cool on a heat-safe surface, not directly on a countertop or cutting board.
Quick Takeaways
- Bake at 375°F for 8–10 minutes open-face, then broil 1–2 minutes for crispiness
- Real butter outperforms margarine — use softened, not melted, so it doesn’t soak straight through
- Fresh garlic gives more punch; garlic powder gives more even coverage — both work, they’re just different
- Place bread on the middle rack, not the top, until the final broil
- A wire rack instead of a pan lets the bottom crisp too, which most recipes ignore
What You Actually Need (And a Few Things You Don’t)
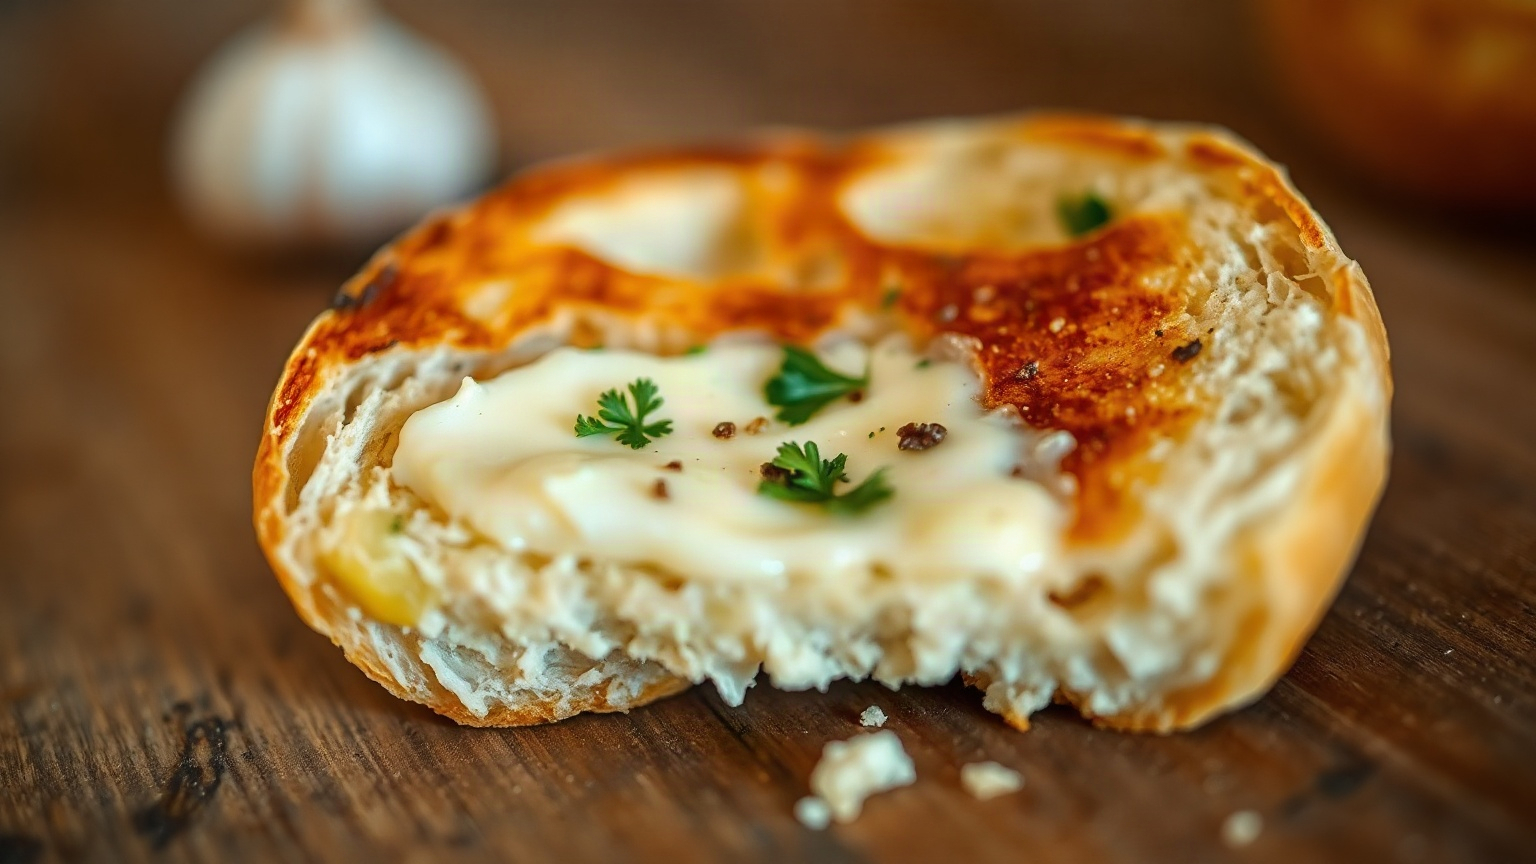
The ingredient list is short. A baguette is the classic choice — the density holds up to butter without going soggy, and the crust develops real texture under the broiler. That said, Italian loaf works fine. Texas toast works fine. I’ve made perfectly decent garlic bread from a split hoagie roll at 11pm when that was all I had. Don’t overthink the bread.
For the butter mixture, here’s my standard ratio for one baguette (about 12 inches, halved lengthwise):
- 4 tablespoons unsalted butter, softened to room temperature
- 3 cloves fresh garlic, minced very fine (or 1 teaspoon garlic powder as a backup)
- 2 tablespoons fresh flat-leaf parsley, chopped (optional but it matters for flavor)
- Pinch of flaky salt if your butter is unsalted
Softened butter is non-negotiable. Melted butter just runs off and pools at the bottom of the pan, which means you lose the coverage you need and you get greasy bread instead of rich bread. Give the butter 20–30 minutes on the counter. If you forgot, 8 seconds in the microwave at 30% power usually does it without liquefying it.
Equipment-wise, you need a toaster oven baking pan or, better yet, a toaster oven wire rack. I use the wire rack almost every time now. It lets hot air circulate under the bread so the bottom gets crispy too — something most people miss because their garlic bread comes out soft underneath and they just accept it.
Step-by-Step: How to Make Garlic Bread in a Toaster Oven
Step 1: Mix and Spread
Combine your softened butter, garlic, and parsley in a small bowl. Mash it together with a fork until it’s uniform. Then spread it on the cut side of your bread — all the way to the edges. The edges toast faster than the center, so they don’t need as much butter, but leaving them bare means they’ll dry out and taste like croutons. Not in a good way.
Step 2: Set the Temperature and Rack Position
Preheat your toaster oven to 375°F. This is lower than the 425°F you’ll see in a lot of recipes. Here’s why I go lower: toaster ovens are smaller and the heating elements are closer to the food. At 425°F, the top surface can go from golden to burnt in the time it takes you to glance at your phone. I’ve scorched more garlic bread than I’d like to admit at that temperature. 375°F gives you more control and a more even result.
Place your bread on the middle rack, cut side up. If your toaster oven only has two rack positions, use the lower one for this phase.
Step 3: Bake for 8–10 Minutes
Bake open-face for 8 minutes, then check. The butter should be fully melted and the bread edges should be starting to color. If it looks pale at 8 minutes, give it 2 more. The goal here is to fully heat the bread through and get the garlic to soften and mellow — raw garlic on underbaked bread is sharp and a bit aggressive. Toasted garlic is nutty and sweet. That difference matters.
Step 4: Broil for 1–2 Minutes
Switch to broil and move the bread to the top rack position. Set a timer for 60 seconds and stay there. The broiler in most toaster ovens is brutal. At 60 seconds, check the color. If it’s golden with slightly darker edges, pull it. If it’s pale, give it another 30 seconds. The window between “perfect” and “charcoal” is genuinely narrow here — maybe 45 seconds total. This step is what every recipe that calls for 425°F throughout is actually trying to replicate, just less precisely.
Step 5: Slice and Serve Immediately
Let it sit for 60 seconds (the butter is lava), then slice and serve. Garlic bread goes stale and limp fast. Eat it within 10 minutes of pulling it from the oven. If you’re making it for a crowd and need to hold it, tent it loosely with foil — but honestly, that soft wrapper traps steam and makes the crust go soft. Better to just time it right.
Toaster Oven vs. Full-Size Oven: Does It Actually Matter?
Short answer: not much, once you adjust for the differences. Toaster ovens preheat faster (usually 4–5 minutes versus 10–15 for a full-size oven), which means you’re eating sooner. They also run hotter relative to their set temperature — the small cavity means the air around your food heats up more intensely than it would in a big oven at the same number on the dial. That’s why I drop the temperature 25–50°F from what a standard recipe calls for. If you want more detail on how the heat works, I’ve written about how hot a toaster gets and what that means practically.
| Method | Preheat Time | Bake Temp | Total Time | Bottom Crispiness |
|---|---|---|---|---|
| Toaster Oven (baking pan) | 4–5 min | 375°F | 12–13 min | Low |
| Toaster Oven (wire rack) | 4–5 min | 375°F | 12–13 min | High |
| Full-size oven | 10–15 min | 400°F | 14–16 min | Medium |
| Toaster oven broil only | 2–3 min | Broil | 5–6 min | None |
The broil-only method is worth knowing about. If you’re in a genuine hurry and your bread is already at room temperature, you can skip the bake phase and just broil for 3–4 minutes on the middle rack, watching the whole time. It works. The inside won’t be as pillowy-soft, but it’s fully edible. I’d use this method for frozen garlic bread that’s been thawed but not for a fresh baguette where the inside texture matters.
Variations Worth Trying (and One to Skip)
Cheesy Garlic Bread
Add a layer of shredded mozzarella or provolone in the last 3 minutes of the bake phase, before the broil. Don’t add it at the start — it’ll dry out into a rubbery film. Add it at the 7-minute mark, bake 3 more minutes, then broil. The cheese gets bubbly and the top gets lightly spotted brown. Genuinely good. Low-moisture mozzarella works better than fresh here because fresh mozzarella has too much water and makes the bread soggy.
Roasted Garlic Version
If you have roasted garlic on hand, squeeze the cloves out and mash them straight into the butter. The flavor is completely different — sweet, deep, almost caramelized — and it doesn’t have that raw garlic sharpness that some people find overpowering. Serious Eats has a good breakdown of roasting garlic if you haven’t done it before. It takes about 40 minutes in the toaster oven at 400°F, but the results keep in the fridge for a week.
The Version to Skip: Garlic Powder in Melted Butter
I see this combination constantly. Garlic powder brushed on with melted butter produces a weirdly pasty, slightly gummy texture on the bread surface. The garlic powder doesn’t really toast — it kind of steams in the liquid butter and you end up with this raw-flour quality that coats your mouth. Garlic powder works great if you’re using it in softened butter where it gets pressed into the mixture. Just don’t dissolve it in liquid fat.
Frozen Garlic Bread in a Toaster Oven
This comes up a lot and it’s worth its own mention. Most frozen garlic bread (the foil-wrapped Texas toast style) is designed for a full oven at 425°F. In a toaster oven, use 375°F for 10–12 minutes without the foil — the foil wrapper traps too much steam in a small cavity and you get soft bread with condensation. Remove the foil, place on the wire rack, and check at 10 minutes. For more on reheating food in a toaster oven without it going rubbery or dry, I’ve covered that in more depth separately.
What Went Wrong: A Few Common Problems
Bread is burnt on top but cold in the middle. This happens when the toaster oven hasn’t fully preheated, so the broiler kicks on too aggressively at the start. Always preheat fully before putting bread in.
Bottom is soggy. You’re using a solid pan with no airflow underneath, or the butter was too liquid when you spread it. Switch to a wire rack, or at minimum elevate the pan.
Garlic tastes raw and sharp. The bake phase wasn’t long enough, or the garlic was cut too coarse. Mince it finely or use a garlic press. Coarser pieces need longer to soften.
Bread is dry throughout. Too much time, too high a temp, or bread that was already a day old. Older bread needs about 2 fewer minutes in the oven. It’s already lost moisture, so it dries out faster. A very light brush of olive oil on the outer crust before baking helps older bread hold up.
If you’re shopping for a toaster oven that handles tasks like this well, our picks for the best mini toaster ovens break down which models actually give you reliable broiling and consistent temperatures.
The Final Result, Every Time
Garlic bread shouldn’t be complicated, but it’s surprisingly easy to mess up. The two things that consistently make the difference: softened (not melted) butter so the coverage is even, and that short broil at the end for the crust. Everything else is adjustable. Fresh garlic vs. powder, parsley vs. no parsley, cheese vs. plain — all of that is personal preference. But the technique stays the same. 375°F, middle rack, 8–10 minutes, then 60–90 seconds under the broiler with your eyes on it. That’s the whole thing.
Once you’ve made it a few times in your specific toaster oven, you’ll start to know what it looks like at the 8-minute mark and you won’t even need to set the broil timer. That familiarity is worth more than any recipe. The Food Network’s classic garlic bread recipe is also a solid reference if you want another baseline to compare against.
Frequently Asked Questions
What temperature should a toaster oven be for garlic bread?
375°F is the right starting temperature for garlic bread in a toaster oven. This is lower than the 425°F that most recipes call for in a full-size oven because toaster ovens run hotter relative to their set temperature due to their smaller cavity size. Finish with a 1–2 minute broil to crisp the top after the main bake.
How long does garlic bread take in a toaster oven?
Total active cooking time is about 10–12 minutes: 8–10 minutes at 375°F followed by 1–2 minutes under the broiler. Add 4–5 minutes for preheating and you’re looking at roughly 15 minutes from start to plate. Frozen garlic bread takes a couple of minutes longer — usually 10–12 minutes at 375°F with no foil wrapper.
Can you make garlic bread in a toaster oven without it burning?
Yes — the main thing that prevents burning is staying at 375°F rather than going higher, and never walking away during the broil phase. The broil step is where most garlic bread burns, and it can go from golden to black in under a minute. Set a 60-second timer when you switch to broil and check it before adding more time.
Should I cover garlic bread with foil in the toaster oven?
No. Covering garlic bread with foil traps steam and makes the crust go soft — the opposite of what you want. Cook it open-face from the start. The only exception is if you’re reheating already-made garlic bread and you want to warm the inside without further browning the top; in that case, a loose foil tent for the first few minutes is acceptable.
What kind of bread is best for garlic bread in a toaster oven?
A baguette or Italian loaf gives the best results because the denser crumb holds up to the butter without getting soggy and the crust develops good texture under the broiler. Texas toast (thick-sliced white bread) also works well and is a good option when you want a softer, more bread-forward result. Avoid very thin sandwich bread slices — they dry out before the garlic has time to mellow.

Written by
Emma is a home cook who loves coaxing big flavor out of a toaster oven — from crispy roasted vegetables to easy weeknight dinners and sweet treats. She develops and tests Toastera's recipes for small-appliance kitchens.
Free: the Toaster Oven Cheat Sheet
Get the printable cheat sheet (temps, cook times & safety tips) plus new recipes. No spam, unsubscribe anytime.