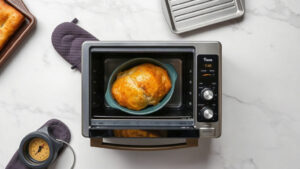
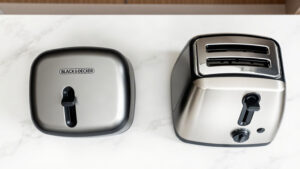
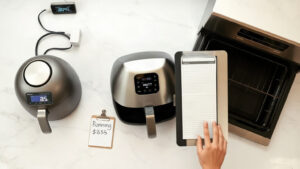
The broil setting on a toaster oven fires only the top heating element at maximum power — usually between 450°F and 500°F — to cook food from above with direct, intense radiant heat. Unlike bake, which circulates heat around the food from multiple elements, broil is all about surface-level searing and browning. That means melted cheese, crispy breadcrumbs, and caramelized meat surfaces happen in two to five minutes instead of twenty.
Safety First: Broiling generates extreme heat at the top element — surface temperatures can exceed 500°F. Never broil food in a sealed container, never leave the toaster oven unattended while broiling (grease can ignite in under a minute), keep the crumb tray clean before every broil session, and use oven mitts rated for high heat when handling racks or pans. Keep at least four inches of clearance above the toaster oven.
Quick Facts: Broil Setting at a Glance
- Broil uses only the top heating element, delivering radiant heat downward onto food — bake uses top and bottom elements together.
- Most toaster ovens broil at a fixed 450°F–500°F; some (like Oster models with variable broil) let you dial the temperature down.
- Typical broil times are 2–8 minutes depending on what you’re finishing.
- You generally skip preheating on broil — the element is at full power almost immediately.
- Position food 3–4 inches from the top element for most jobs; move it farther down if you want slower browning without burning.
What Actually Happens When You Hit Broil
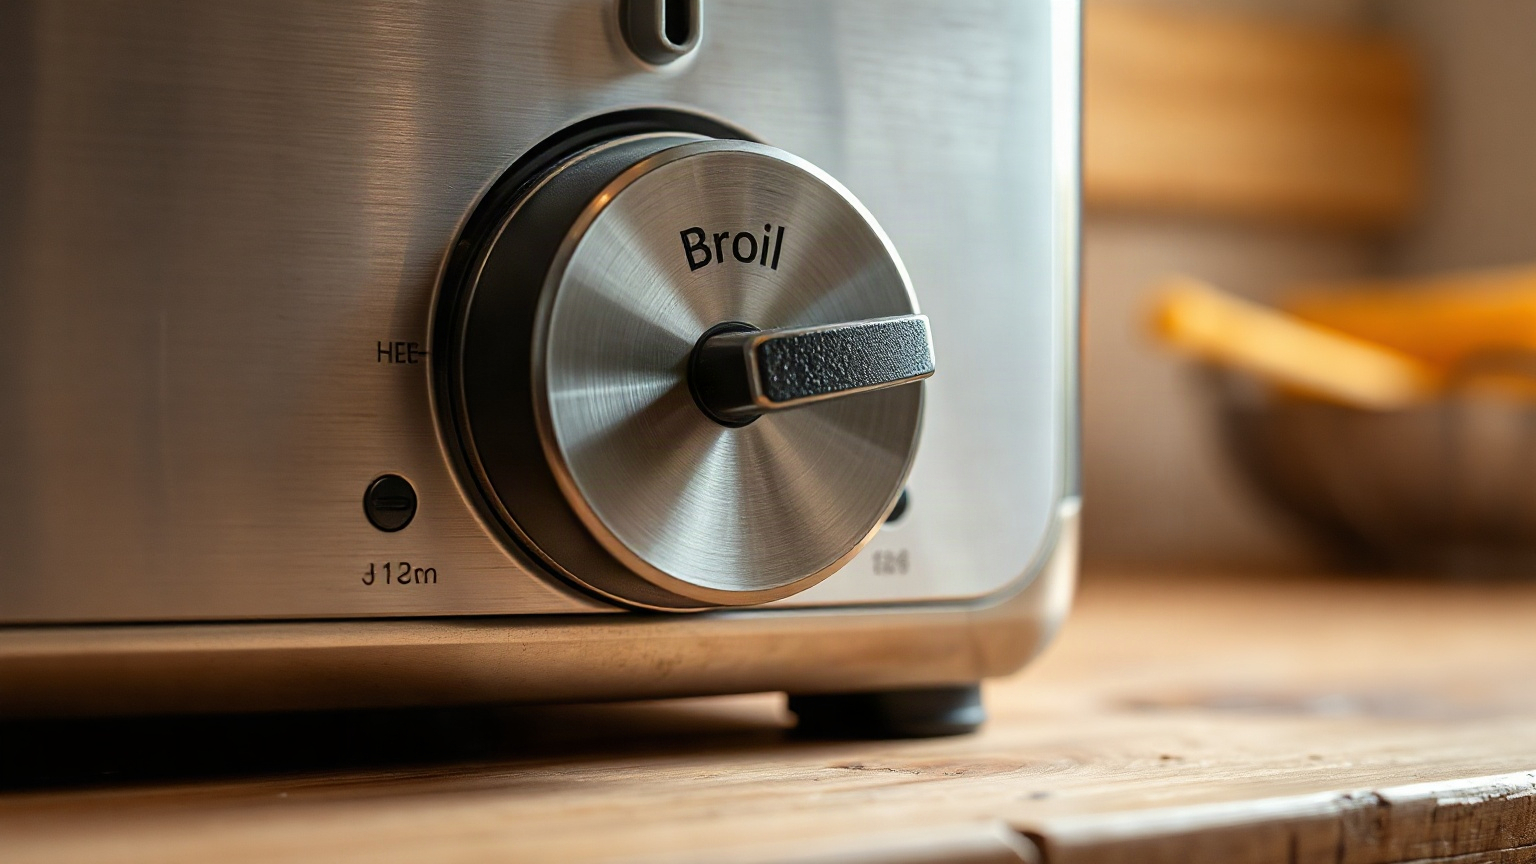
Here’s the basic physics of it. Every toaster oven has at least two heating elements — one on top, one on the bottom. Bake mode runs both (or cycles them) to build up ambient oven temperature, which then surrounds and cooks food relatively evenly. Broil mode cuts the bottom element out of the equation entirely and cranks the top one to its maximum output.
That top element is radiating heat directly at the surface of whatever is sitting below it. Infrared radiation, not hot air. It’s closer to standing under the sun than it is to sitting in a warm room. And because heat isn’t just floating around inside the oven, the interior temperature matters a lot less than how close the food is to the element.
The result? Rapid browning, crisping, and what cooks call the Maillard reaction — the chemical process that makes browned meat and toasted bread smell and taste the way they do. You’re not really cooking food through with broil (or at least, you shouldn’t be relying on it for that). You’re finishing it.
One thing that tripped me up early on: I assumed the oven needed to preheat before broiling, just like with bake. It doesn’t. The element reaches working temperature in about 60 seconds. Preheating is basically pointless here, and some manuals actually tell you not to bother.
Broil vs. Bake: The Real Differences (With a Comparison Table)
People mix these up constantly — including me, for an embarrassingly long time. Here’s the clearest breakdown I can give you.
| Feature | Broil | Bake |
|---|---|---|
| Heat source | Top element only | Top + bottom elements |
| Heat type | Direct radiant heat | Ambient convected heat |
| Typical temp | 450°F–500°F (fixed or near-fixed) | 200°F–450°F (adjustable) |
| Preheat needed? | No (or minimal) | Yes, usually 5–10 minutes |
| Cook time | 2–8 minutes | 10–60+ minutes |
| Best for | Browning, melting, crisping surfaces | Cooking food through evenly |
| Risk if unattended | High — things burn fast | Lower — more forgiving |
The short version: bake cooks food, broil finishes it. Most serious cooking uses both — bake a chicken thigh through, then hit it with broil for 3 minutes to crisp the skin. That combo is genuinely one of my favorite techniques for weeknight cooking. It’s so much faster than waiting for skin to crisp in bake mode alone.
When to Use Broil Instead of Bake
Finishing and Browning Already-Cooked Food
This is where broil earns its keep. Lasagna that’s cooked through but pale on top? Two minutes under broil, and it looks like it came out of a restaurant kitchen. Same with casseroles, frittatas, shepherd’s pie, anything with a cheese or breadcrumb topping that needs color.
I ran a quick test with a tray of leftover mac and cheese — baked it at 350°F for 12 minutes to heat through, then switched to broil for 3 minutes. The top went from beige to genuinely golden. Worth it every time.
Melting Cheese
Open-faced sandwiches, nachos, French onion soup — broil is the only setting that makes sense here. You want the cheese to go from solid to bubbling-and-spotted in under three minutes, without heating the bread to the point where it dries out. Broil does exactly that. Bake would take too long and dry everything out in the process.
Watch it. Seriously. I’ve burned more than one piece of toast-with-cheese because I walked away to refill my coffee. Set a two-minute timer and stand there.
Thin Cuts of Meat and Fish
A thin piece of fish — salmon fillet, tilapia, a thin chicken cutlet — can cook completely under the broiler in 6–8 minutes without ever touching the bake setting. The direct heat sears the surface while the heat penetrates through the thin cut quickly. You don’t need more than that.
For thicker cuts, bake first, broil last. A thick pork chop needs 15 minutes in bake mode at 375°F before you even think about broiling it.
Vegetables You Want Charred, Not Steamed
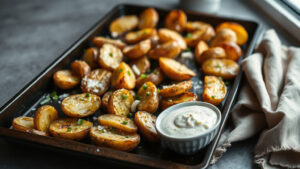
Roasting vegetables under the broiler is underrated. Asparagus, cherry tomatoes, sliced zucchini, bell peppers — 5 to 7 minutes under high broil on a toaster oven wire rack gives you caramelized edges and slightly softened centers. You want the vegetables spread out so they char rather than steam. If they’re piled on top of each other, bake is the better call.
An Edge Case Most People Skip: Broiling Fruit
I know, it sounds odd. But broiled grapefruit with a little brown sugar on top, or broiled peach halves, is genuinely great. The direct heat caramelizes the sugars on the cut surface in about 4 minutes without turning the fruit to mush. None of the competing articles on this topic mention it, and it’s a real shame because it’s one of the easier impressive things you can do with a toaster oven broiler.
Variable Broil: What It Is and Whether You Need It
Standard broil on most toaster ovens is an all-or-nothing setting — it runs the top element at full power, full stop. But some models, particularly certain Oster toaster ovens, offer what they call “variable broil.” This lets you set a specific temperature while still using only the top element in broil mode. So instead of a locked-in 500°F, you might set it to 400°F for more gentle, controlled browning.
Is this useful? Sometimes. If you’re broiling something delicate — a thin piece of white fish, or bread that burns easily — having the option to dial down the heat is genuinely helpful. For most broiling tasks though, the standard fixed-temperature setting is perfectly fine. I wouldn’t make it a dealbreaker when choosing a toaster oven, personally.
Breville’s Smart Oven line (and similar higher-end models) handles this differently, using what Breville calls Element IQ to distribute heat intelligently across multiple elements. The practical effect is similar to variable broil — more even browning, less scorching at the edges — but the underlying mechanism is different. If you’re using one of those, you’ll notice broil still concentrates heat at the top but does it more evenly across the element’s length.
Practical Tips for Broiling in a Toaster Oven
Toaster oven broiling is a little different from broiling in a full-size oven, mostly because the heating element is much closer to the food. In a standard oven, you might have eight inches or more between the broiler and the rack. In most toaster ovens, that gap is three to five inches at most. Things brown faster — and burn faster.
- Use the right pan. A toaster oven baking pan with a broiler-safe rack insert is ideal for meat — it lets fat drip away from the heat source. Avoid glass bakeware under the broiler; it can crack.
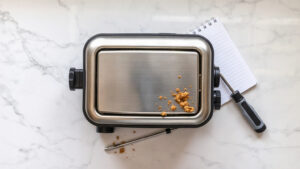
- Don’t skip the crumb tray clean. Fat dripping onto a crumb-filled tray under 500°F heat is a fire risk. Clean it before broiling.
- Keep the door cracked if your manual says to. Some toaster ovens recommend leaving the door slightly open during broiling to prevent heat buildup — check yours specifically.
- Check at the 2-minute mark, always. No exceptions. Set a timer and look through the glass.
- Move the rack down for gentler browning. If you want browning without burning on the very surface, dropping the rack one position gives you an extra inch or two of buffer and slows the browning enough to matter.
For more on getting the most out of your toaster oven for everyday cooking, my post on reheating food in a toaster oven covers a lot of the same practical territory. And if you’re wondering how hot other heating elements actually get, this breakdown of how hot a toaster gets puts the numbers in perspective.
The Food Network’s broiling guide is also worth reading if you want more recipe-focused advice beyond the mechanics.
The Bottom Line on Broil
Broil isn’t a mysterious setting you should avoid. It’s just a tool for a specific job — browning, crisping, and finishing food quickly with direct top-down heat. Once you understand that it’s about the surface of food and not cooking it through, the right uses become obvious pretty fast.
Use it for cheese, for finishing, for thin cuts, for vegetables you want actual color on. Don’t use it for anything delicate that needs gentle, even cooking — that’s what bake is for. And never, ever walk away from a broiling toaster oven without a timer going. I say this as someone who has, in fact, walked away. It goes wrong quickly.
If you’re in the market for a new unit and want one with a good broil element, check out our picks for the best mini toaster ovens — I specifically note which ones have stronger top elements worth using for broiling.
Frequently Asked Questions
What temperature does the broil setting reach in a toaster oven?
Most toaster ovens broil at a fixed temperature between 450°F and 500°F (232°C–260°C). This is essentially the top element running at maximum power. Some models with variable broil let you set a lower temperature, but standard broil on most units doesn’t give you temperature control.
Should I preheat my toaster oven before broiling?
No — broiling doesn’t require preheating. The top heating element reaches working temperature within about 60 seconds of switching to broil mode. Starting with a preheated oven can actually cause the surface of your food to burn before the element stabilizes, so just put the food in and start the clock.
Can I use broil to cook raw meat all the way through?
You can, but only for thin cuts — think fish fillets under an inch thick, thin chicken cutlets, or skirt steak. Anything thicker than an inch risks burning the surface before the center reaches a safe internal temperature (165°F for poultry, 145°F for fish and pork per USDA guidelines). For thicker pieces, bake to temp first, then broil to finish.
What’s the difference between broil and toast on a toaster oven?
Toast mode cycles both top and bottom elements on and off to brown bread evenly on both sides, usually with a set shade level rather than a time or temperature. Broil mode uses only the top element continuously at high heat — it’ll brown the top of your bread faster, but the bottom won’t get much color. For regular toast, use the toast setting; for open-faced items you want browned on top only, broil is right.
Is it safe to broil with the toaster oven door open or closed?
It depends on your specific model — always check your manual first. Some toaster ovens are designed to broil with the door closed; others recommend leaving it slightly ajar to prevent the thermostat from cycling the element off once it hits a set temperature. If the element keeps shutting off during broiling, try cracking the door an inch and see if that keeps it running consistently.

Written by
Emma founded Toastera to turn vague appliance advice into clear, researched, safety-first guidance on toasters and toaster ovens.
Free: the Toaster Oven Cheat Sheet
Get the printable cheat sheet (temps, cook times & safety tips) plus new recipes. No spam, unsubscribe anytime.