To clean toaster oven heating elements without removing them, use a dry or barely damp soft cloth to gently wipe away loose debris, then apply a baking soda paste to stubborn grease and let it sit before carefully wiping it off — never submerging or soaking the elements. Heating elements are fragile and fixed in place by design, so the goal is targeted surface cleaning rather than deep removal. Done right, this keeps your toaster oven running efficiently and reduces smoke from burning food buildup.
Key Takeaways
- Never use water directly on heating elements — moisture can cause shorts or damage the coils
- A baking soda paste is the safest DIY cleaning agent for baked-on grease near elements
- Always unplug your toaster oven and let it cool completely before cleaning — at least 30 minutes
- Self-cleaning cycles (on ovens that have them) can help burn off residue, but they don’t replace manual cleaning
- Regular cleaning every 2–4 weeks prevents heavy grease buildup that becomes much harder to remove
If your toaster oven has started smoking every time you use it — or smells like something’s burning even when nothing is — the heating elements are almost certainly coated in grease and food residue. It’s one of the most common toaster oven problems people ignore until it gets bad. And the fix isn’t complicated, but you do need to be careful. Cleaning heating elements is different from cleaning a baking pan or the crumb tray. You can’t just scrub them hard or dunk them in soapy water. Here’s exactly how to do it safely.
Why Heating Elements Get Dirty (And Why It Matters)
Every time you cook something with fat in it — bacon, roasted vegetables, cheese toast — tiny droplets of grease and moisture get launched into the air inside the oven cavity. Some of those droplets land directly on the heating elements, which sit close to the food and run extremely hot. Over time, these deposits bake on and carbonize. That’s the black, crusty coating you might see on older elements.
This matters for a few reasons. First, burnt-on grease smokes. If your toaster oven is producing more smoke than usual, it’s usually the elements, not the food itself. Second, heavy buildup can actually reduce heating efficiency — the elements have to work harder to get to temperature. And third, in rare but real cases, extreme grease accumulation can become a fire hazard.
Toaster oven heating elements typically operate between 300°F and 500°F depending on your settings. You can read more about how hot a toaster gets to get a sense of the temperatures involved — it puts into perspective why grease bakes on so aggressively.
What You’ll Need Before You Start
You don’t need fancy products. Most of what works best is already in your kitchen. Here’s what to gather:
- Baking soda
- White vinegar (optional)
- Soft cloths or microfiber towels
- A soft-bristle toothbrush or pastry brush
- A dry paper towel
- Dish soap (for the surrounding interior, not the elements)
Skip anything abrasive — steel wool, scouring pads, rough scrub brushes. The metal coils on heating elements are not as tough as they look. Scratching them can damage the protective oxide layer and shorten their lifespan significantly. And definitely don’t use commercial oven sprays like Easy-Off on the heating elements themselves. Those are designed for oven walls, not coils, and the chemical residue can burn and release fumes next time you heat up the oven.
Step-by-Step: How to Clean Toaster Oven Heating Elements Without Removing Them
Step 1: Unplug the Toaster Oven and Let It Cool
This sounds obvious but it’s genuinely important. Unplug it from the wall — not just turn it off. Then wait at least 30 minutes after the last use. The elements retain heat longer than you’d expect, and touching a warm element with a damp cloth can cause steam burns or, worse, a short circuit.
Step 2: Remove the Crumb Tray, Rack, and Baking Pan
Pull out everything that comes out easily. The toaster oven baking pan and wire rack can go in the sink for a proper wash. The crumb tray should be emptied and wiped down. Getting these out of the way gives you clear access to the interior and the elements.
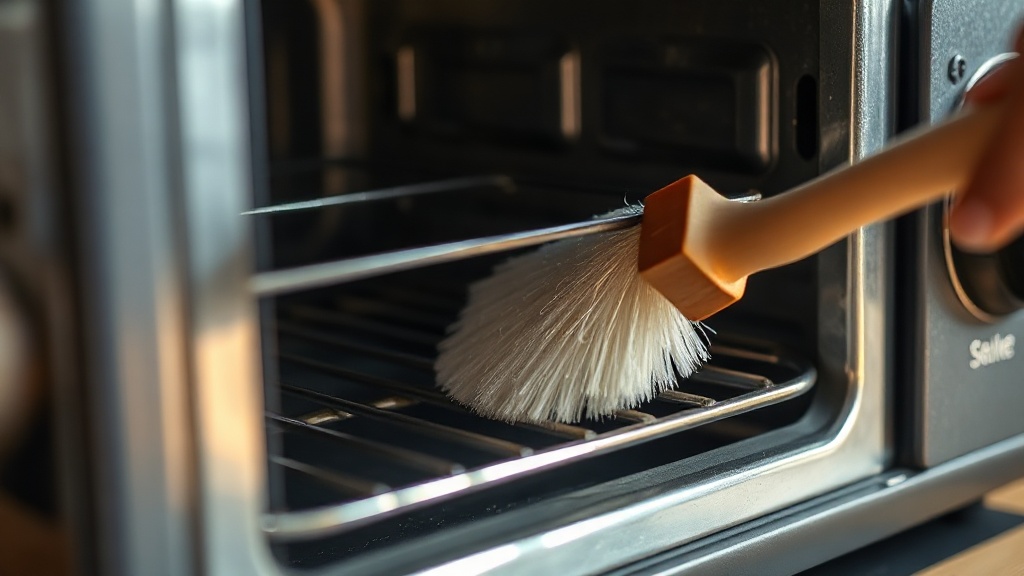
Step 3: Brush Off Loose Debris First
Before you apply anything wet or paste-like, use a dry pastry brush or soft toothbrush to gently knock loose crumbs and dry debris off the elements. Work lightly — don’t press hard or try to scrape. Just brush, and let the crumbs fall to the bottom of the oven where you can wipe them up. This step matters more than people think. Applying a wet paste over loose dry crumbs just turns them into a muddy mess that’s harder to clean.
Step 4: Apply a Baking Soda Paste to Stubborn Spots
Mix about two tablespoons of baking soda with just enough water to form a thick paste — think toothpaste consistency. Using your toothbrush or a cotton swab, apply small amounts of the paste directly to the greasy or discolored areas on the elements. Be precise. You want the paste on the element, not dripping down into the oven’s electrical components or wiring.
Let the paste sit for 15–20 minutes. Baking soda is mildly alkaline, which helps break down fatty deposits. Don’t rush this step — the dwell time is doing the actual work.
Step 5: Wipe Off the Paste Carefully
Use a barely damp cloth — wrung out as much as possible — to wipe the paste off the elements. Work gently. If residue remains, re-apply and wait again rather than scrubbing harder. After removing the paste, go over the elements one more time with a dry cloth or paper towel to absorb any remaining moisture. This is non-negotiable. You do not want water sitting on or near heating elements when you plug the oven back in.
Step 6: Clean the Interior Walls While You’re At It
With everything out, it’s worth wiping down the interior walls and ceiling of the oven with a damp cloth and a drop of dish soap. Rinse with a clean damp cloth and dry thoroughly. Grease on the walls contributes to smoke just like grease on the elements. You can also use the baking soda paste on walls — it’s safe on most toaster oven interiors.
Step 7: Let Everything Air Dry, Then Do a Short Test Run
Leave the oven door open for at least 15–20 minutes after wiping everything down. Then plug it back in, set it to 300°F, and let it run empty for 5 minutes. This burns off any last traces of moisture or baking soda residue. You might see a tiny wisp of steam or smell a faint baking soda smell — that’s normal and it’ll clear quickly.
Cleaning Methods Compared
| Cleaning Method | Safe for Elements? | Effectiveness | Risk Level |
|---|---|---|---|
| Dry brush only | Yes | Low (loose debris only) | None |
| Baking soda paste | Yes (with care) | High (grease and buildup) | Low |
| Damp cloth wipe | Yes (barely damp) | Medium | Low |
| Commercial oven spray | No | High (walls only) | High — can damage elements |
| Soaking / submerging | Absolutely not | N/A | Very High — electrical damage |
| Self-clean cycle | Yes | Medium (burns off residue) | None (if oven supports it) |
How Often Should You Clean the Heating Elements?
For most households using a toaster oven a few times a week, a thorough wipe-down of the interior every two to four weeks keeps things manageable. The elements themselves don’t need paste treatment every time — that level of cleaning is more of a quarterly thing, or whenever you notice visible grease buildup or increased smoking.
After cooking anything particularly greasy — roasted chicken thighs, bacon, anything with cheese — it’s smart to do a quick dry brush of the elements once the oven cools. That 30 seconds of prevention adds up. It’s much easier to knock off fresh debris than to dissolve carbonized grease that’s been baking on for months.
If you use your toaster oven daily for things like reheating food in a toaster oven, you’ll want to stay on the more frequent end of that schedule. Daily use equals faster buildup — simple as that.
According to Food Network’s toaster oven cleaning guide, keeping the crumb tray emptied regularly is one of the single most impactful habits for reducing interior smoke and grease accumulation — and it takes about 10 seconds.
Tips to Prevent Heavy Buildup in the First Place
- Use a toaster oven liner on the bottom rack to catch drips before they bake on
- Cover greasy foods loosely with foil to reduce splatter (but never let foil touch the elements)
- Empty the crumb tray after every 2–3 uses
- Do a dry brush of the elements monthly as basic maintenance
- Run the oven at 400°F for 5 minutes empty after cooking particularly greasy meals — it burns off light residue before it hardens
Final Thoughts
Cleaning toaster oven heating elements without removing them is genuinely doable — and it doesn’t require special tools or products. The keys are patience (let things cool, let paste dwell), gentleness (no scrubbing, no soaking), and consistency (don’t let buildup get out of hand). A well-maintained toaster oven cooks more evenly, smokes less, and lasts years longer than one that’s been neglected. If you’re in the market for an upgrade, check out our picks for the best mini toaster ovens — some newer models are designed with much easier-to-clean interiors that make this whole process even simpler. But for now, a baking soda paste and a soft brush will take you a long way.
Frequently Asked Questions
Can you use vinegar to clean toaster oven heating elements?
White vinegar can be used very sparingly to help cut through grease on heating elements, but it should be applied on a cloth that’s barely damp — never sprayed directly onto the elements. Vinegar’s acidity makes it useful for dissolving light residue, but it’s less effective than baking soda paste on heavy, carbonized buildup. Always follow up with a dry wipe to remove all moisture before plugging the oven back in.
Is it safe to use a toaster oven with dirty heating elements?
Light residue on heating elements is common and generally won’t cause immediate harm, but heavy grease buildup is a real smoke and fire risk. Carbonized grease can ignite at high temperatures, especially if the oven is set above 400°F. Clean the elements when you notice visible dark buildup or increased smoking during normal use.
How do you clean a toaster oven heating element that has turned black?
A blackened heating element usually has carbonized grease baked onto it, which requires a baking soda paste treatment and patience — apply the paste, let it sit 20 minutes, then wipe gently with a barely damp cloth. Some discoloration is permanent oxidation from normal heat exposure and won’t wipe off, which is fine — that doesn’t affect performance. Repeat the paste treatment two or three times for heavily soiled elements rather than scrubbing harder.
Can I use oven cleaner spray on toaster oven heating elements?
Commercial oven cleaners like Easy-Off should never be used directly on heating elements — the caustic chemicals can damage the element’s coating and leave residue that burns and fumes dangerously when the oven heats up. These sprays are formulated for oven walls and racks, not electrical components. Stick to baking soda paste for the elements and save the oven cleaner for the interior walls if your toaster oven manufacturer approves its use.
How often should I clean my toaster oven heating elements?
A full baking soda paste cleaning of the heating elements is recommended every one to three months, depending on how frequently you cook greasy foods. A dry brush to remove loose crumbs and debris should happen monthly at minimum. If your oven starts smoking noticeably during normal use, that’s a clear sign the elements need attention regardless of when you last cleaned them.